
Last updated November 17, 2026
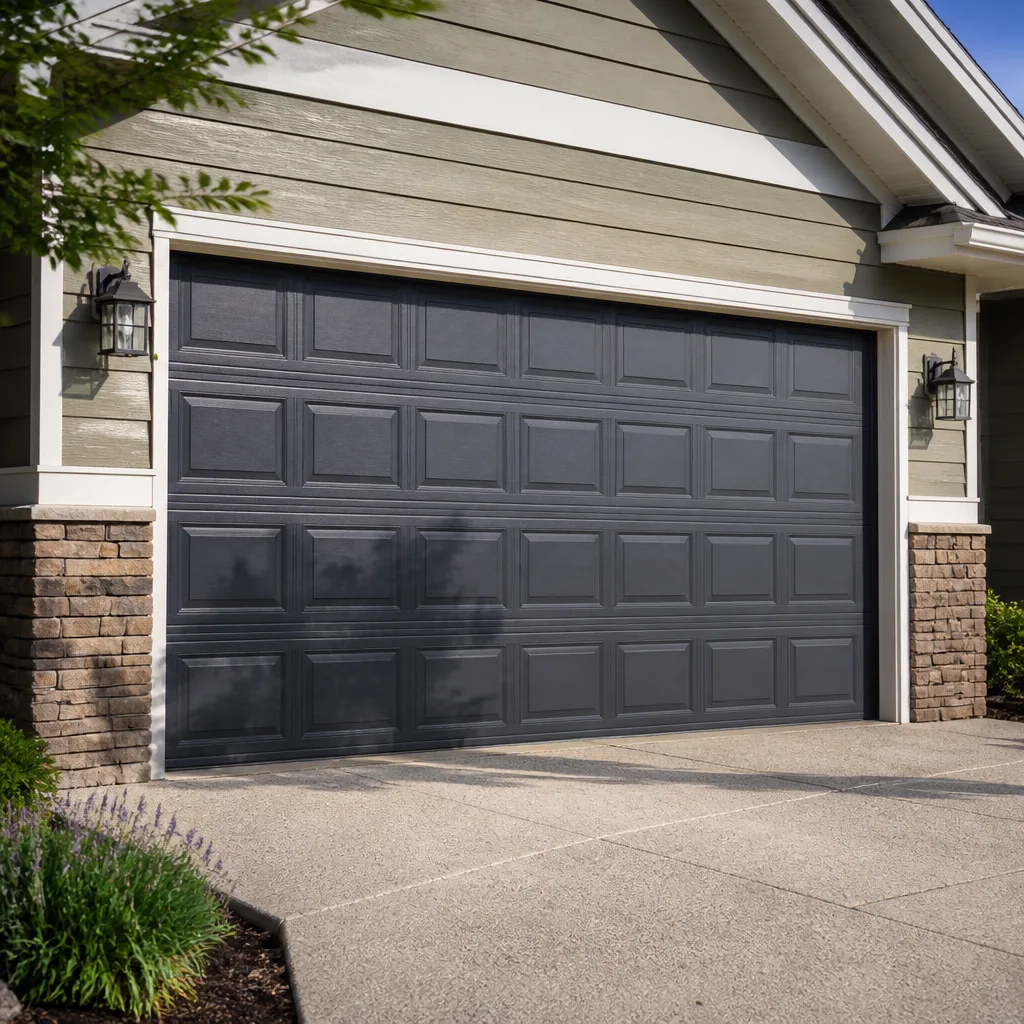 Raised-panel steel
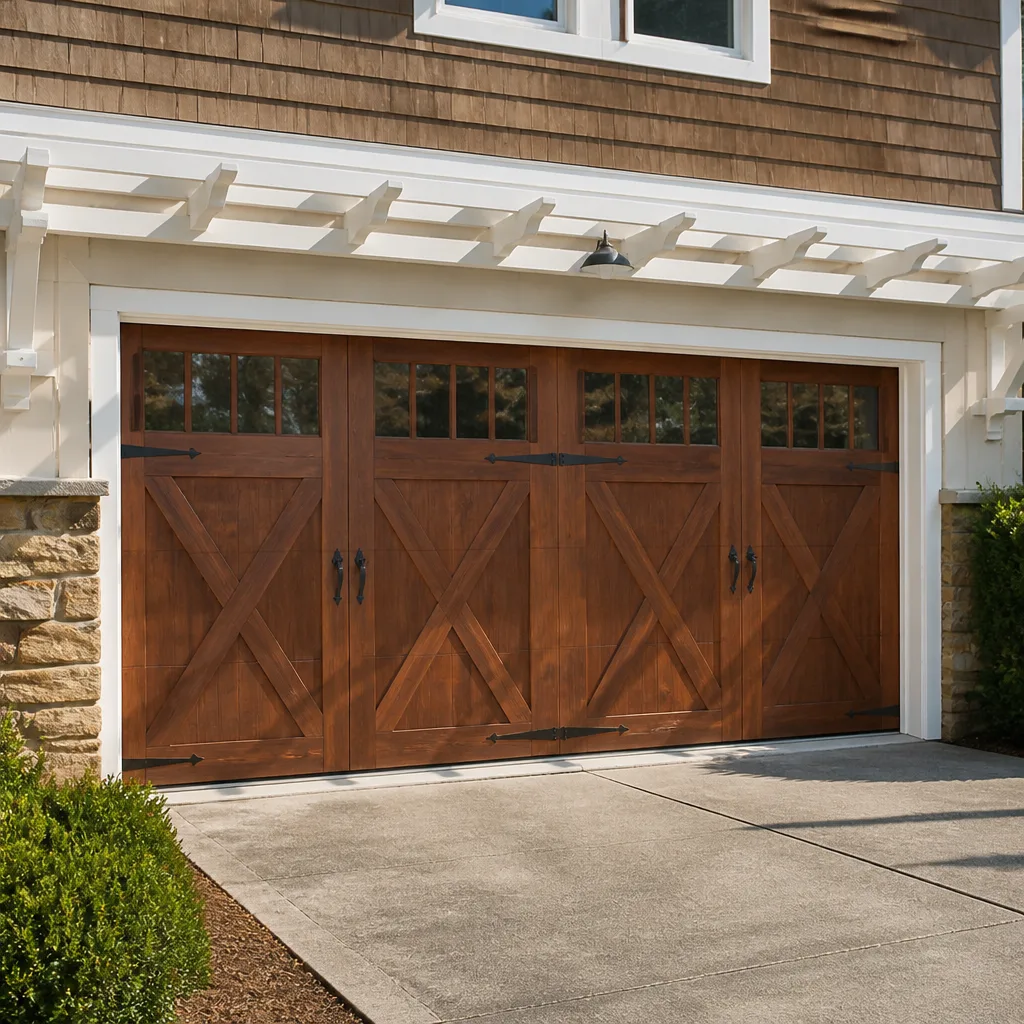 Carriage house
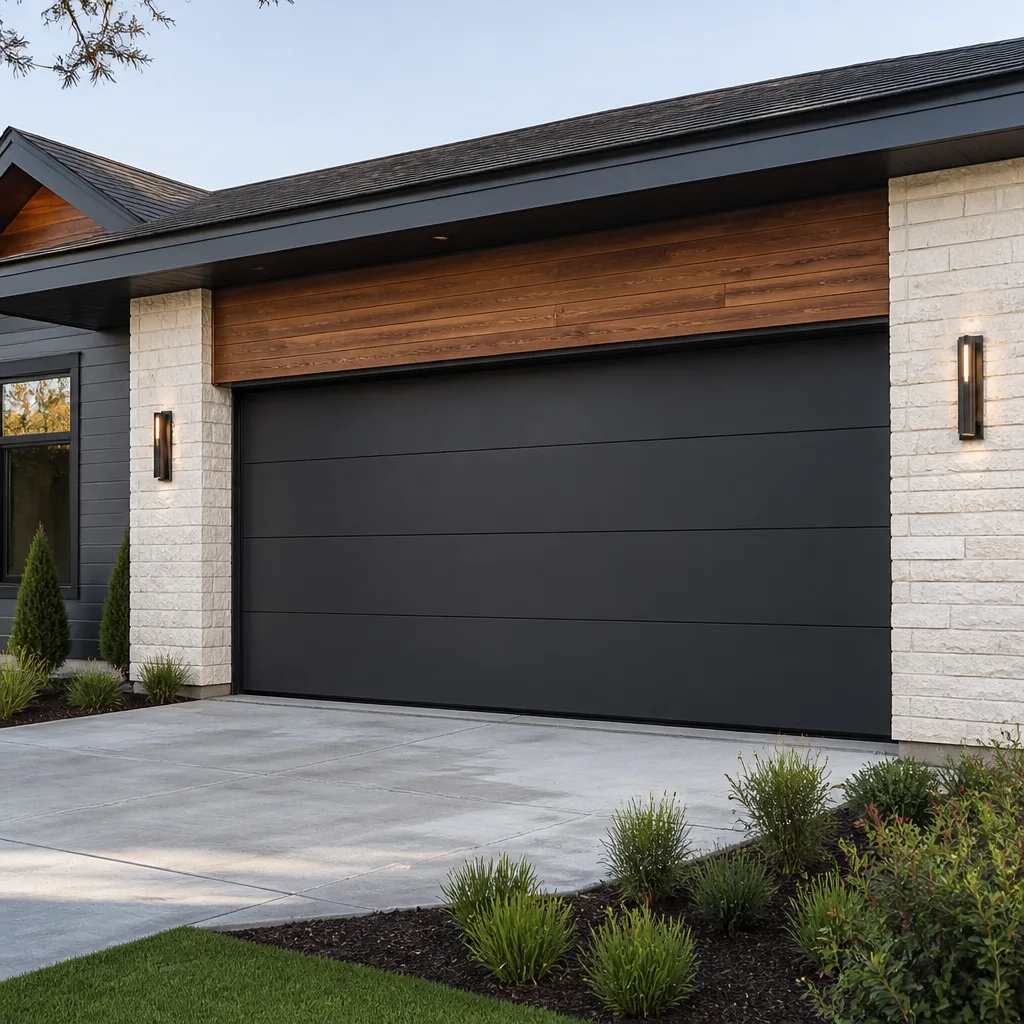 Modern flush
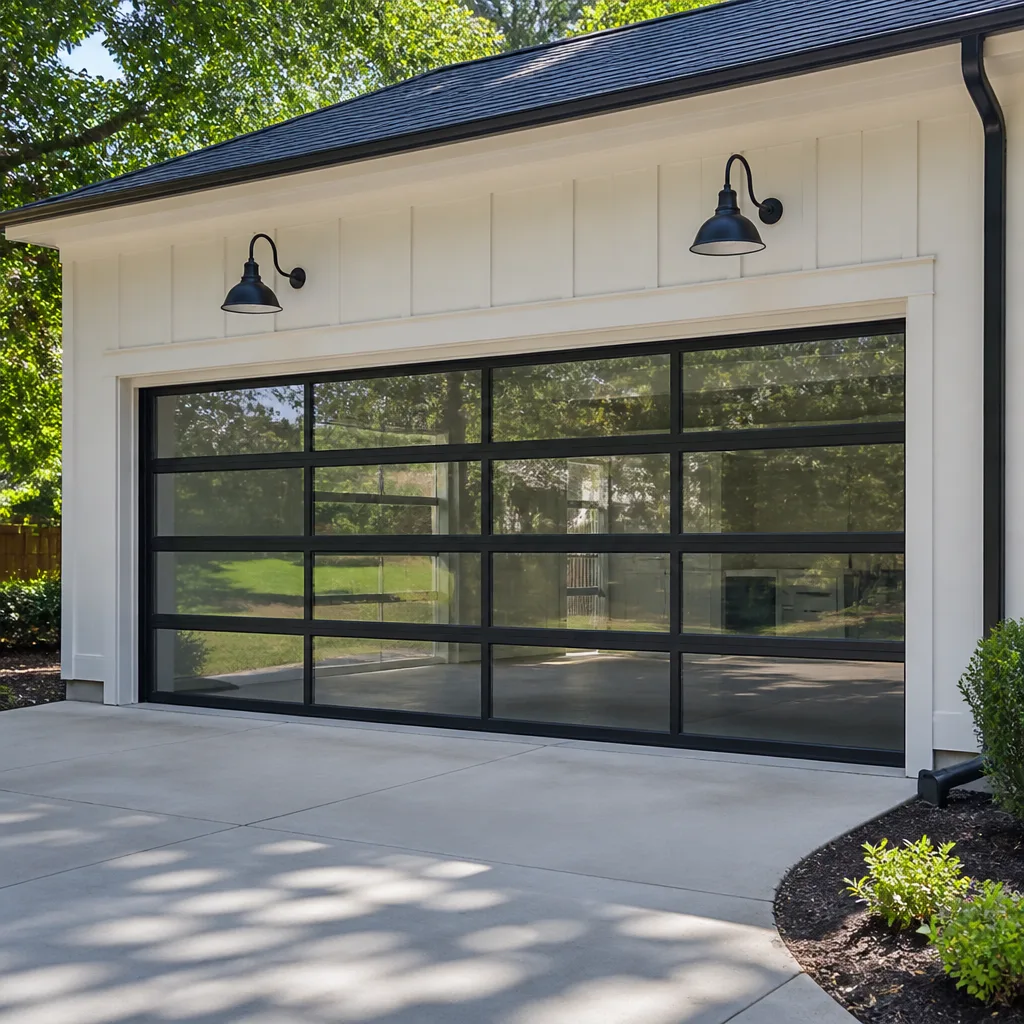 Full-view glass
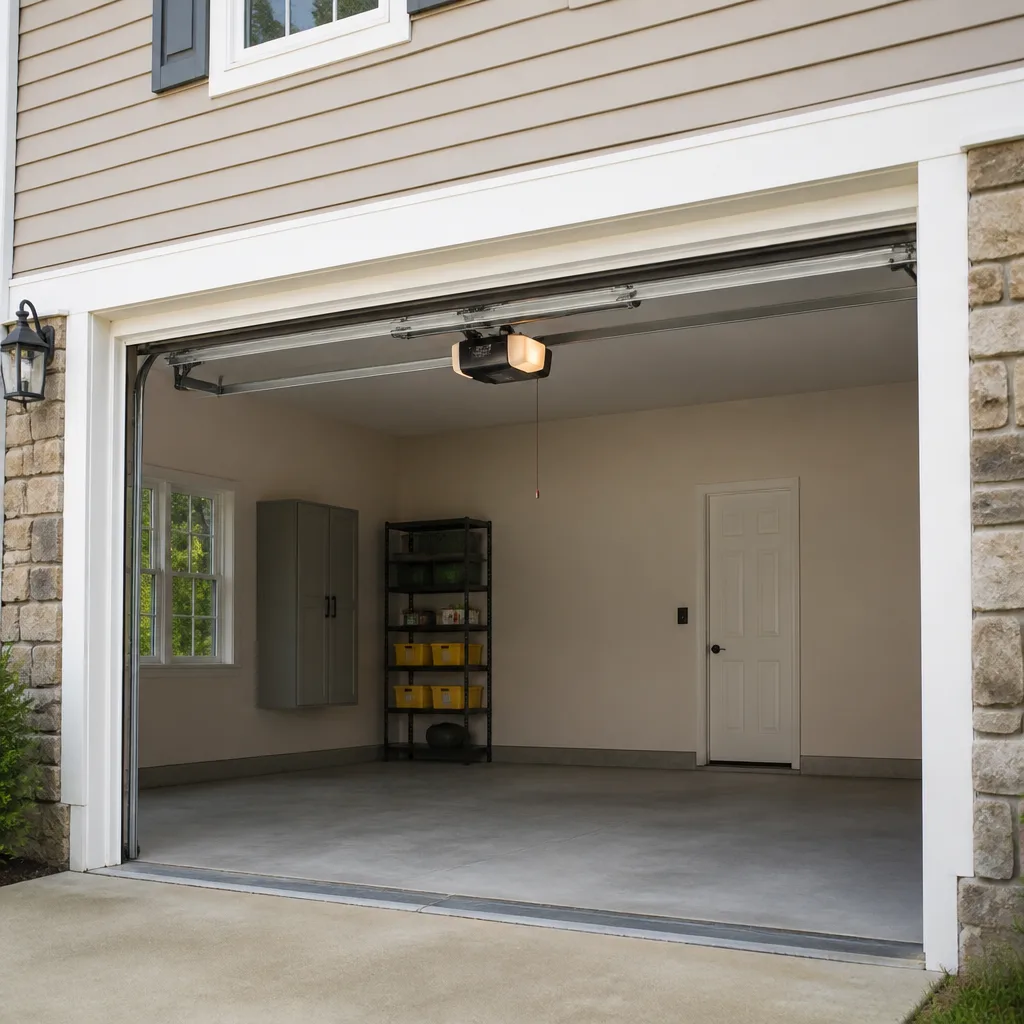 LiftMaster openers
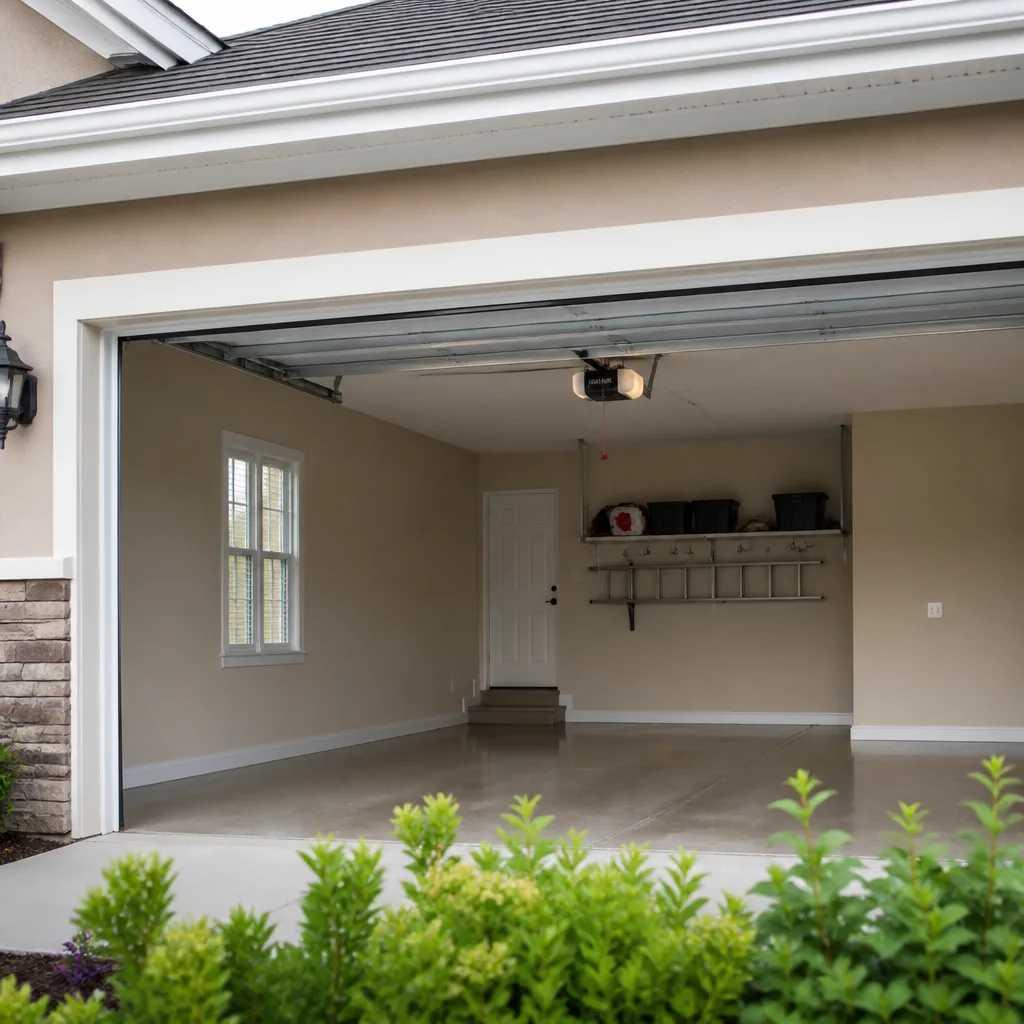 Chamberlain openers
Full 25-point door and opener safety check with every visit - springs, cables, rollers, tracks, and your LiftMaster or Chamberlain opener included
You get a price before we start. It does not change when the pro arrives.
Get your free estimateHow Long Does Garage Door Opener Take? Timelines and What to Expect
The biggest time variable in an opener installation isn’t the opener. It’s the existing wiring. A home where the previous opener used 18-gauge two-conductor wire, and the new unit calls for three-conductor, can add forty-five minutes without anyone moving slowly. We’ve pulled old Craftsmans off Whitney walls and had the new motor running in eighty minutes; we’ve also spent an hour chasing a rusted header bracket into sound lumber. Same opener, same technician, wildly different clocks. This guide breaks the job into phases with honest time estimates, explains what actually adds minutes and what doesn’t, and covers what you can check before we arrive so nothing turns into a mid-job surprise.
Quick Answer
A straightforward opener swap takes about 90 minutes in the hands of a prepared technician. A fresh install in a bay that never had an opener takes two to three hours. Most single-visit jobs land between those two numbers, and the flat price is agreed before any work starts.
Styles & brands we work with
- Raised-panel steel
- Carriage house
- Modern flush
- Full-view glass
- LiftMaster openers
- Chamberlain openers
Table of Contents
- A Swap Versus a Fresh Install: Why the Numbers Diverge
- The Job, Phase by Phase, With Time Estimates
- What Adds Time and What Doesn’t
- What You Can Check Before We Arrive
- When a Half-Day Job Becomes a Full-Day Job
- Smart Features and Network Setup
- Timing in Whitney: Heat, Dust, and Older Homes
- When to Call a Professional
A Swap Versus a Fresh Install: Why the Numbers Diverge
The word “installation” covers two very different jobs, and the time gap between them is real. A swap means the ceiling already has a motor mounted to it, the wall has a button, the door has safety sensors on both sides, and the wiring runs from point to point. You’re replacing a unit, not building a system. A fresh install means none of that exists yet. Every bracket, every wire run, every sensor mount is new work.
In Whitney, most of the homes we service were built with an opener already in them, so swaps are the common case. But the valley has grown, and we see plenty of additions, detached garages, and older properties where a previous owner removed an opener or never had one. Knowing which situation you’re in before we arrive is the single best way to predict how long your morning will run.
- Swap (existing opener): about 90 minutes. Existing wiring, existing header bracket, existing wall button and sensors all get reused where they test clean.
- Fresh install (no opener ever): two to three hours. New header bracket, new rail, new motor hang, full wiring run, new wall button, new sensor set.
- Swap with surprises: two to four hours. The old wiring fails a continuity check, the header bracket is rusted into soft wood, or the door doesn’t balance once the old motor comes off.
If you’re not sure which you have, the giveaway is simple. Look at the ceiling above the middle of your door. A mounted motor and a rail track mean swap. Bare ceiling and a door with no operator means fresh. If your opener has been failing for months, see our Garage Door Opener in Whitney page for what a replacement involves.
The Job, Phase by Phase, With Time Estimates
Here’s where the time actually goes. These are working numbers from a prepared technician with the right parts on the truck, not a rough guess from a video tutorial.
- Old unit removal (10 to 20 minutes). Unbolt the motor from the ceiling, disconnect the rail, cut power first. A unit that’s been up twenty years can fight back on rusted bolts.
- Header bracket installation (15 to 25 minutes). This is the anchor above the door, and it has to hit solid framing. A clean mount is fast. A rusted bracket into soft wood means sistering in new lumber, which is structural work, not a swap.
- Rail assembly (15 to 20 minutes). Chain-drive and belt-drive rails come in sections. Belt-drive tends to run quieter and faster to assemble; chain-drive is heavier and stiffer but no slower in steady hands.
- Motor hang (10 to 15 minutes). Mounting the motor to the ceiling joists and setting the rail height so the door arm travels clean. This is where a ceiling that isn’t level costs time.
- Wiring (10 to 45 minutes). The wild card. Existing two-conductor wiring reused for a compatible unit: ten minutes. New three-conductor run from button to motor, or a sensor run that has to go around a finished wall: up to forty-five.
- Travel limit setup (10 to 15 minutes). Setting how far the door opens and closes so the motor stops exactly at the floor. This is fiddly work and it’s where a door that doesn’t balance eats extra minutes.
- Sensor alignment (10 to 15 minutes). Both safety sensors have to see each other squarely across the opening, and the beam has to trip the motor on test. A crooked jamb or a sun angle can slow this down.
- Test cycles (5 to 10 minutes). Full open and close cycles, safety reverse test with a block, force adjustment, wall button check. We don’t leave until all of it passes.
Add those up and you get 85 minutes on the friendly end and right around three hours on the unfriendly end. That range is honest, and it’s the range we work inside.
What Adds Time and What Doesn’t
Homeowners tend to overestimate the effect of the opener itself and underestimate the house around it. A more expensive opener doesn’t take longer to install. The building does.
| Factor | Time Effect |
|---|---|
| Belt-drive vs. chain-drive | No meaningful difference, maybe five fewer minutes for belt |
| Smart features (Wi-Fi, app control) | Adds 10 to 15 minutes of network setup, not installation |
| Rusted or soft header bracket | Adds 30 to 60 minutes of structural repair |
| New three-conductor wiring needed | Adds up to 45 minutes |
| Door out of balance | Adds 15 to 30 minutes, sometimes a separate adjustment |
| Ceiling with no accessible joists | Adds 20 to 40 minutes for blocking or strapping |
| Brand name (LiftMaster, Genie, Chamberlain) | None, in the hands of a factory-familiar tech |
One more item that doesn’t add time but often gets blamed for it: the model. A Clopay door and a Wayne Dalton door take the same setup effort, and any technician who works on all the major brands has the mounting hardware for all of them within arm’s reach. If someone quotes you a longer timeline because your opener is an unfamiliar brand, that’s a preparation problem, not a door problem.
What You Can Check Before We Arrive
These four checks take ten minutes of your time and can save half an hour on the job. You don’t need tools beyond a flashlight and a ladder you already trust.
- Outlet within six feet of the motor. Openers need a live outlet, and a cord that can’t reach is a wiring run. Walk out, look up, confirm there’s a working outlet on the ceiling or wall near where the motor hangs.
- Header clearance of at least two inches. The header bracket sits above the door opening and needs a couple of inches of solid material above the track to mount to. Measure it.
- Door balance. Pull the release handle to disconnect the door from the opener (or lift the door by hand if there’s no opener). It should open with one hand and stay put at the halfway point. If it drops or fights you, the spring is tired, and that’s a repair before an install. This is a spring job, and we need to be blunt: garage door springs carry the entire weight of the door under real tension, and adjusting or replacing them yourself can cause serious injury. That work belongs to a trained technician.
- Obstructions above and behind. Shelving, stored lumber, a finished soffit, or a low garage ceiling can block the motor or the rail. Clear the ceiling space above the door travel path.
If any of these come up short, mention it when you book so we can bring the right parts on the truck. That’s how most jobs stay a single visit.
When a Half-Day Job Becomes a Full-Day Job
Sometimes the honest answer is that the work stops being an opener install and becomes a repair job with an opener at the end of it. We’d rather say that before the wrench comes out than after the bill arrives, so here are the situations that push a half-day into a full-day.
- The header bracket is anchored into drywall or soft wood. That’s a structural fix, not a swap. We sister in sound lumber, then mount. This is common in older Whitney garages with minor water intrusion.
- The door doesn’t balance after the old motor comes off. A worn spring can hide behind a strong motor for years. Once the motor is off and the door is tested by hand, an unbalanced door needs a spring repair before the new opener can be set up safely.
- The wiring is a full replacement. If the existing run shorts out on a continuity check, or a previous homeowner stapled it through the insulation, we pull new wire. That’s a time item, not a trick.
- No accessible outlet and no clean path for a new one. This is a licensed electrician’s job in most cases, and we’ll tell you if that’s the situation rather than run a cord somewhere unsafe.
- A ceiling that’s been finished over the joists. Sometimes the motor has to hang from blocking we install first. That’s twenty to forty minutes before the mounting begins.
- A high-lift or low-clearance setup. A garage with an unusually low ceiling or a door that needs a non-standard rail configuration takes a different approach. It’s still doable, it just runs longer.
When we see this coming during the estimate, we say so. No surprises on the bill is the whole point of stating the flat price up front, and a job that changes mid-stream is a conversation we have before we start, not after. If you already have a written estimate from someone else and you’d like a second look, we offer a free second opinion on it.
Smart Features and Network Setup
A common question is whether a Wi-Fi opener takes longer to install. It adds ten to fifteen minutes of setup at the end of the job, and that setup is app pairing, not installation.
The mounting, wiring, limit setting, and sensor alignment are identical to a standard unit. The extra work is connecting the opener to your home network and walking you through the app so you can open the door from the driveway if you want to. If your router is on the far side of the house from the garage, we’ll tell you if the signal is weak enough to slow the pairing. That’s a home network issue, not an opener problem, but it’s a useful thing to know before you pick a model. For a closer look at the options, see our opener page.
What does not take longer: a remote with a battery backup, a keypad, or a wall console with a light. Those are plug-in accessories, and installing them is a couple of minutes each as part of the test cycle at the end.
Timing in Whitney: Heat, Dust, and Older Homes
Whitney sits in the Las Vegas Valley, and that matters for timing in a few practical ways. Summer heat above 110 degrees makes a closed garage hot enough that we don’t rush an install – a technician working in that heat takes breaks, and the job runs maybe ten or fifteen minutes longer than it would in October. It’s the right call for the work and the person doing it.
The desert dust is another factor. Whitney garages sit closer to the open desert than most of the valley, and the wind carries fine grit that works into chains and gets onto the safety sensor lenses. A clean install takes the same time as anywhere, but the test cycles at the end sometimes need an extra minute or two to get sensor alignment right when the lenses have been sitting exposed. Belt-drive units tend to run quieter in a dusty environment, and that’s a choice we’ll walk through with you at the estimate.
On the housing side, Whitney has a mix of newer construction and homes from the 1990s and earlier, and the older garages are where the surprises live. A Clopay door from 1995 might still be balanced perfectly but the header bracket has been rusting quietly for three decades. We plan for that when we quote the older neighborhoods. If you are in the market for a door rather than an opener, the garage door installation in Whitney page covers what’s involved in a full replacement, which is a separate timeline from an opener swap.
See the difference
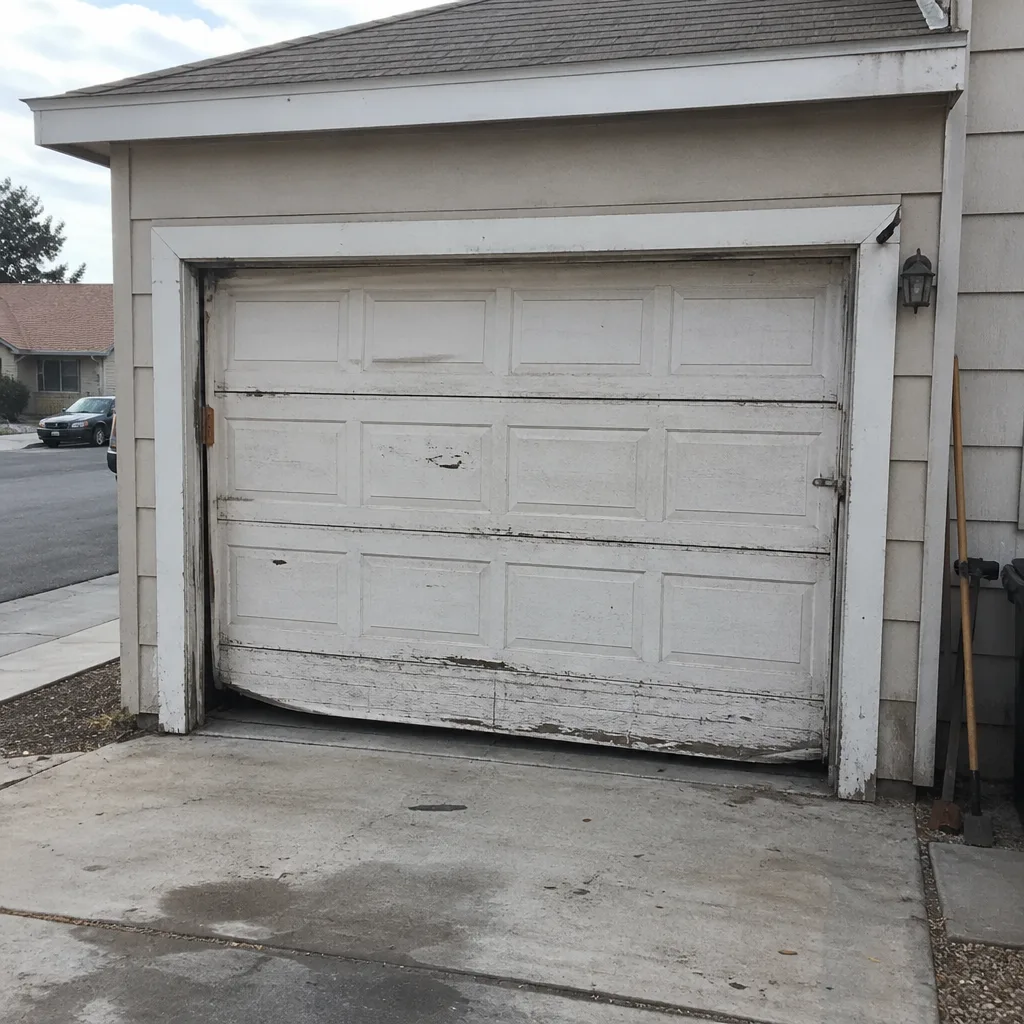 Before
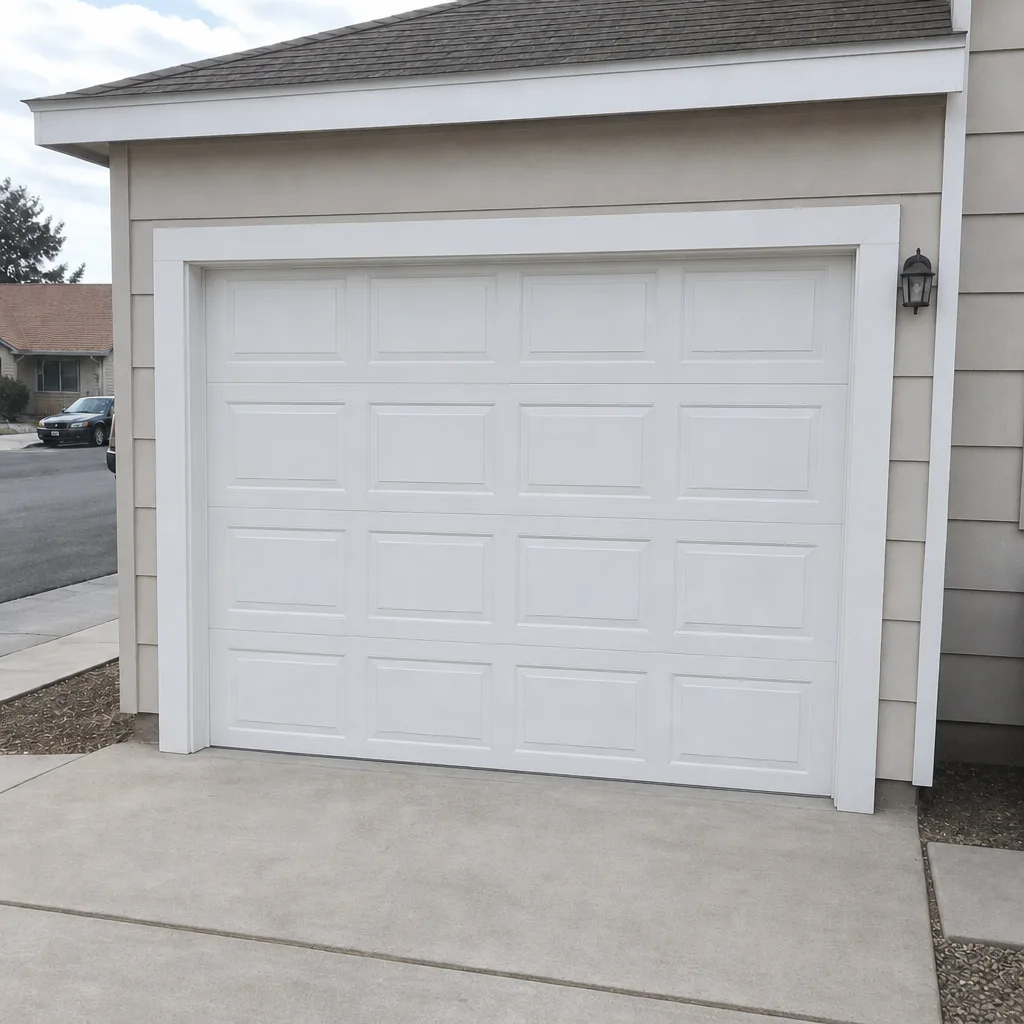 After
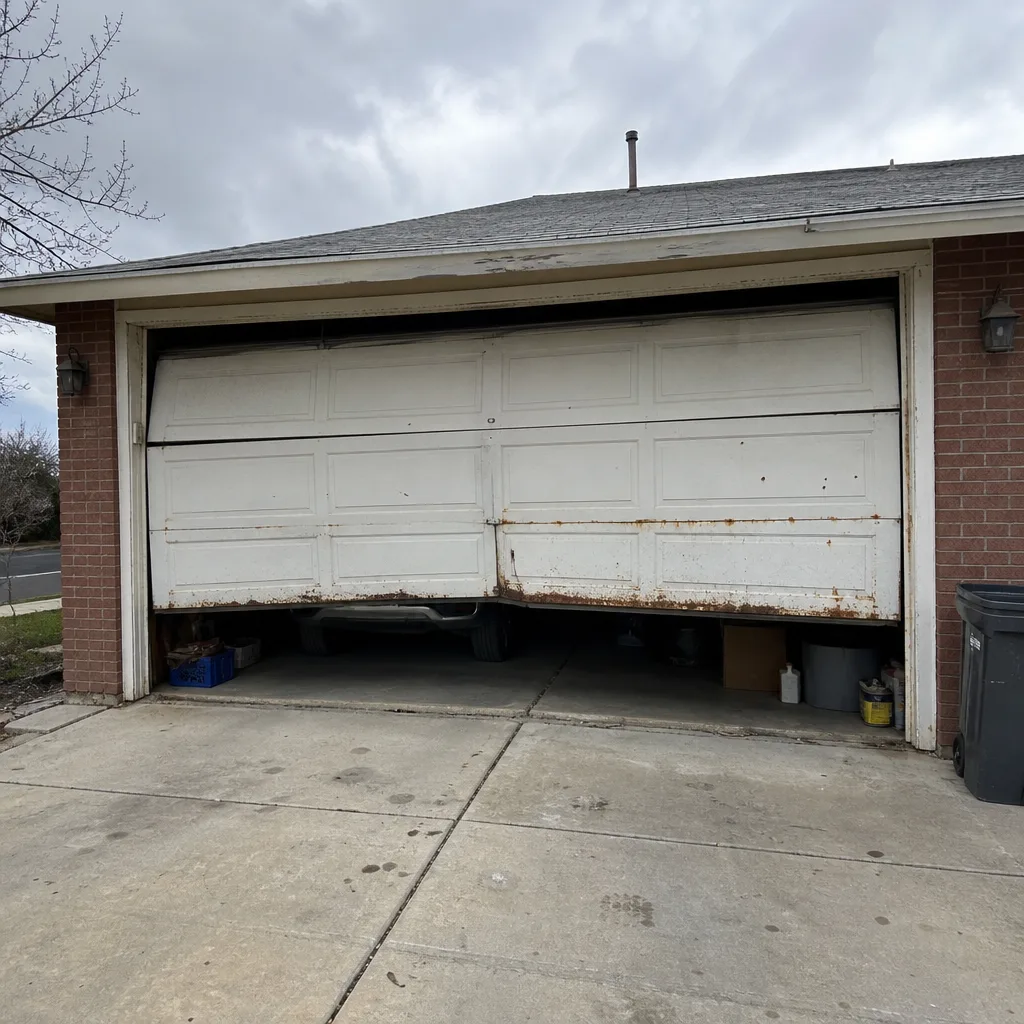 Before
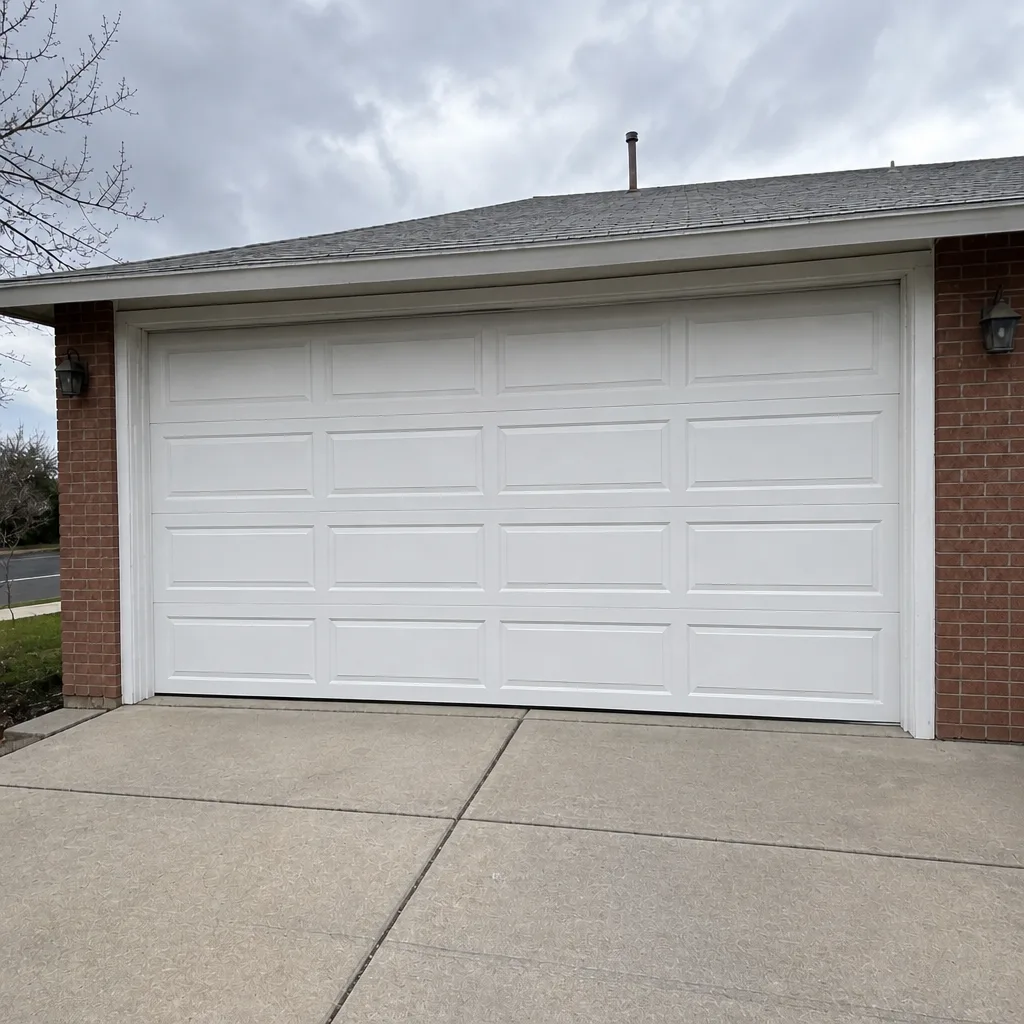 After
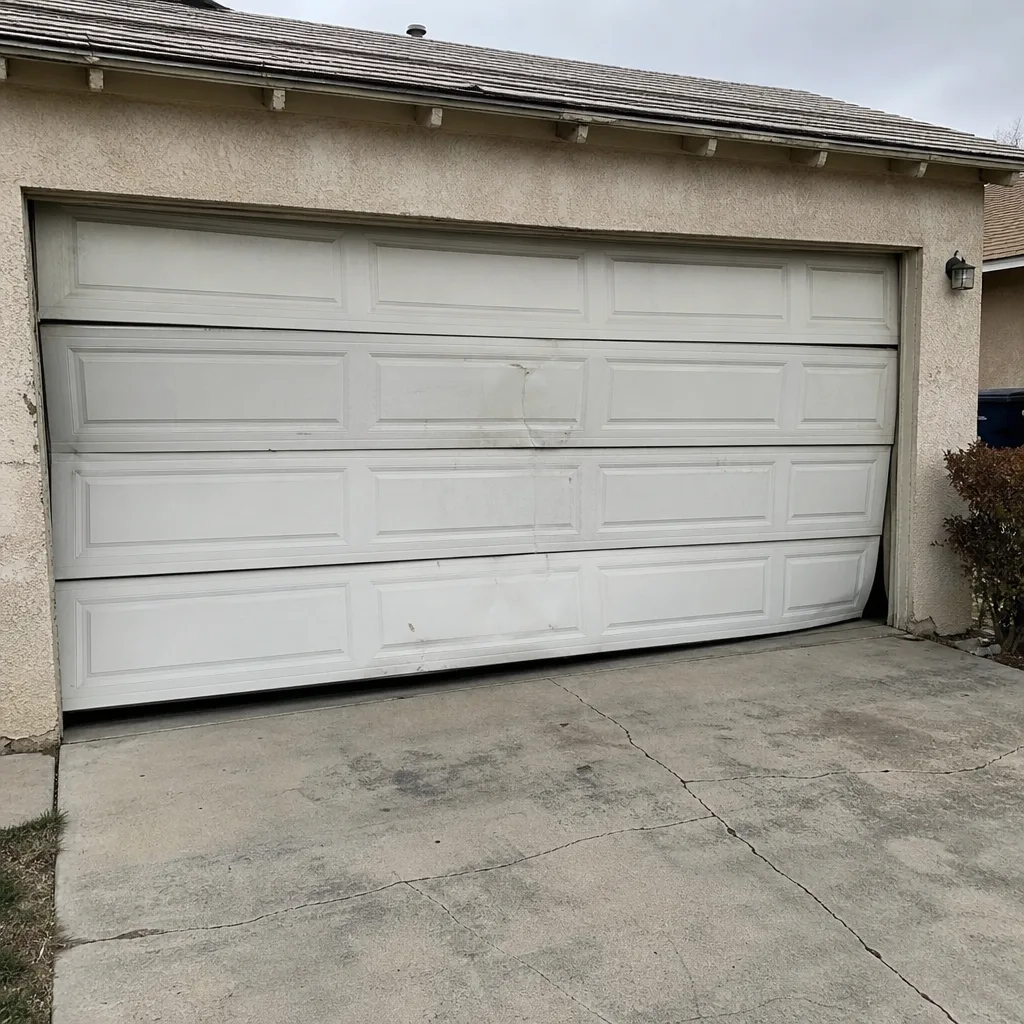 Before
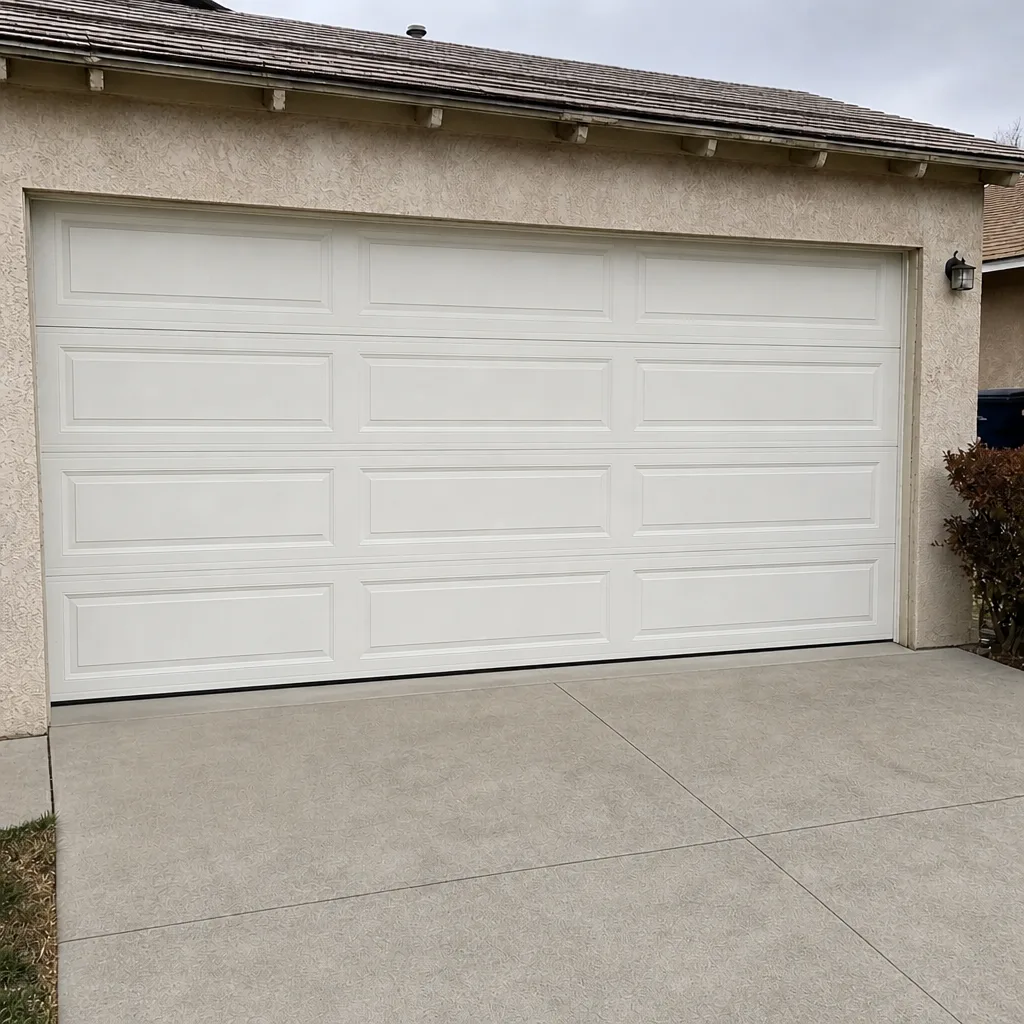 After
Common Mistakes to Avoid
- Booking the job without confirming the outlet. A ceiling outlet within six feet of the motor is non-negotiable. Confirm it on the phone so we bring what you need.
- Assuming every opener install is the same length of job. A swap is 90 minutes, a fresh install is two to three hours. If a quote doesn’t distinguish between the two, ask why.
- Trying to save time by skipping the balance check. A door that doesn’t balance is a safety issue before it’s a setup issue. Skipping this step can mean an opener that fails early or a door that comes down hard.
- Buying the opener online before confirming the header. If the header bracket has to be sistered into new wood, the model doesn’t matter. Check the header first.
- Hiring on the low bid and discovering mid-job that it’s a wiring project. A square deal includes being told what the job actually is before it starts, not after.
- Letting a “same-day” promise on an install set the wrong expectation. Opener installs are measured, scheduled work. Speed language belongs on repairs and emergencies; a new opener takes time to do right.
- Ignoring the old wiring on a swap. It’s the number one time variable. Ask whether the existing wire will work with the new unit before the technician shows up.
When to Call a Professional
If the old opener is dead, the ceiling above your door is bare, or the wiring has ever shown a sign of failing, this is a professional job. Opener installation involves mounting into structural framing, running low-voltage wire, adjusting travel limits so the door stops at the floor, and setting the safety reverse beam. Getting any of that wrong can produce a door that closes on an obstacle or a motor that pulls against a jammed rail, and neither is a small problem. On top of that, the springs above the door carry the full weight under tension, and working near them without training is dangerous – we recommend a trained professional for anything that touches the springs or the cables. Mainspring Garage Door Co. Whitney offers free estimates in Whitney and most jobs are finished in a single visit; the flat price is agreed before work begins, and every job is backed by our 90-Day Done Right Promise. Call (844) 797-9248 for a time.
Frequently Asked Questions
A swap of an existing opener takes about 90 minutes; a fresh install with no prior opener takes two to three hours. The main variable is the wiring and the condition of the header bracket, not the opener model.
Opener installation is scheduled work, not same-day work, because the unit is measured and confirmed before we come out. Call (844) 797-9248 and we’ll set the earliest available slot, often within a few days.
It adds ten to fifteen minutes of app and network setup at the end. The physical installation is the same as a standard unit.
No. We state the flat price before any work begins and stand behind it. If the job turns into something else once we’re there, we stop and talk to you first. Call (844) 797-9248 for an exact quote; estimates are free.
Yes. Our technicians are background-checked, uniformed, and trained as journeymen under our K.E.Y.S. values code, and they have up to 10 years of experience. Every job is covered in writing by the 90-Day Done Right Promise.
Older openers used two-conductor wire; some newer units require three-conductor. If the existing wire won’t carry the new unit, we pull a fresh run, and that adds up to forty-five minutes. Call (844) 797-9248 for a free estimate and we’ll flag it on the quote.
The Bottom Line
If you have an existing opener, plan on about ninety minutes. If your garage has never had one, plan on two to three hours. The opener model matters less than the wiring and the header bracket, and both of those are things we check before the job so nothing turns into a surprise. In Whitney, the older homes are where the extra time lives, and knowing that lets us quote a realistic timeline instead of an optimistic one. The flat price is agreed before we start, and if we’re going to need more time, you hear it from us first.
Call Mainspring Garage Door Co. Whitney at (844) 797-9248 for a free estimate on your opener installation. A live person answers every call, day or night.
Written by the team at Mainspring Garage Door Co. Whitney.