
Last updated November 17, 2026
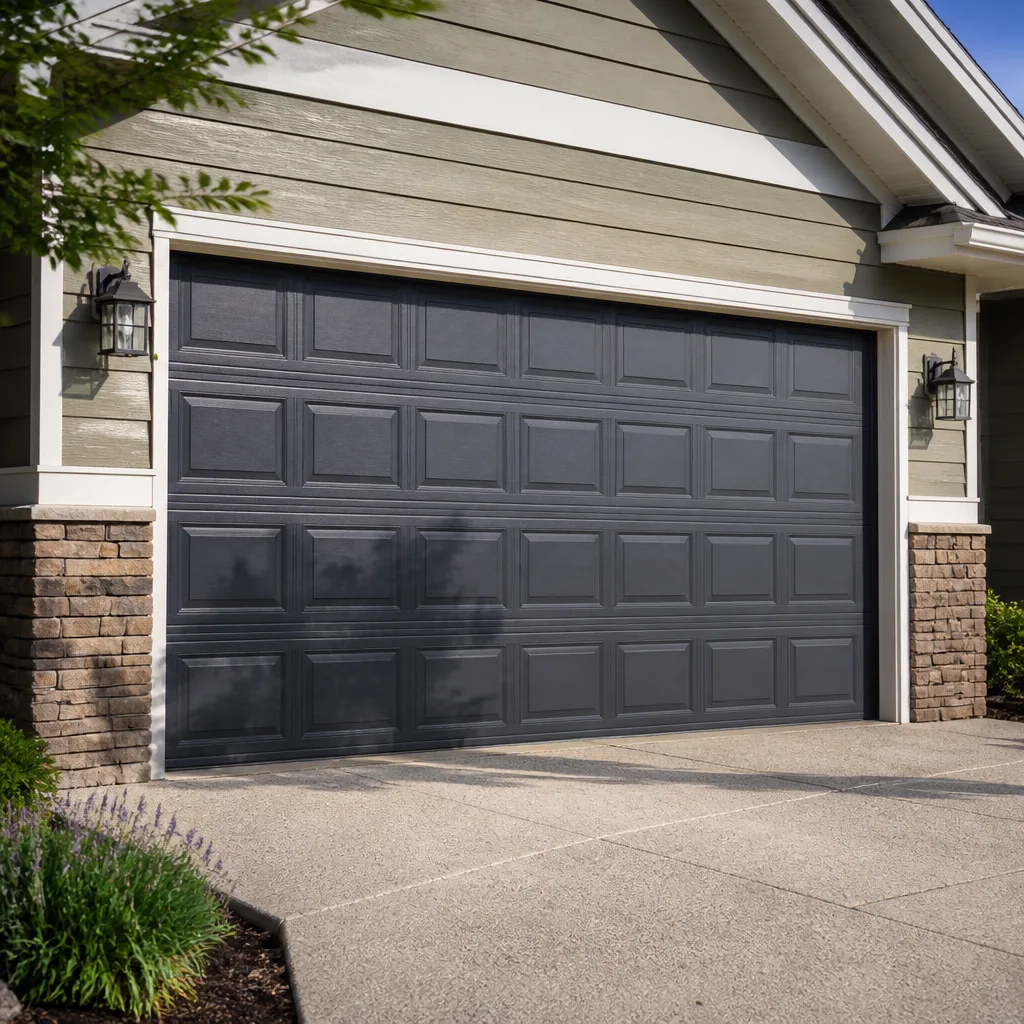 Raised-panel steel
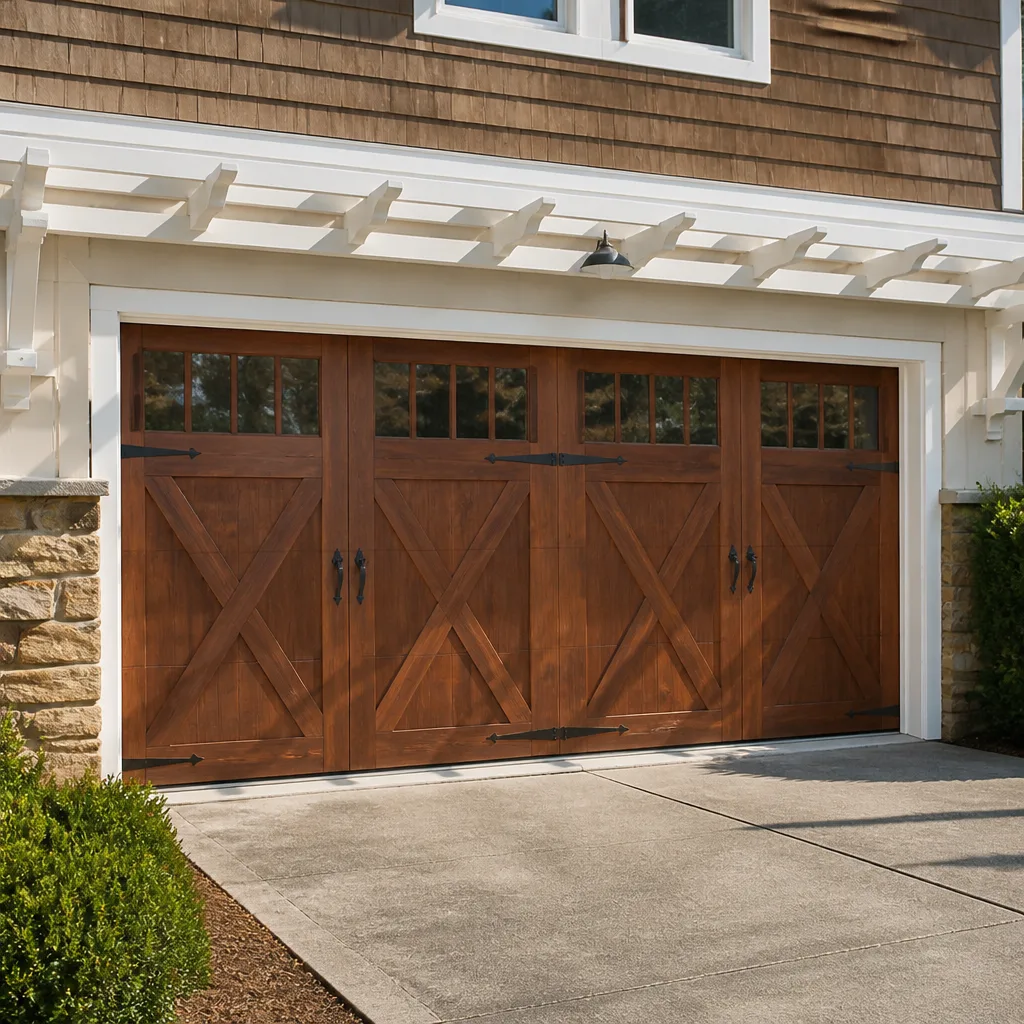 Carriage house
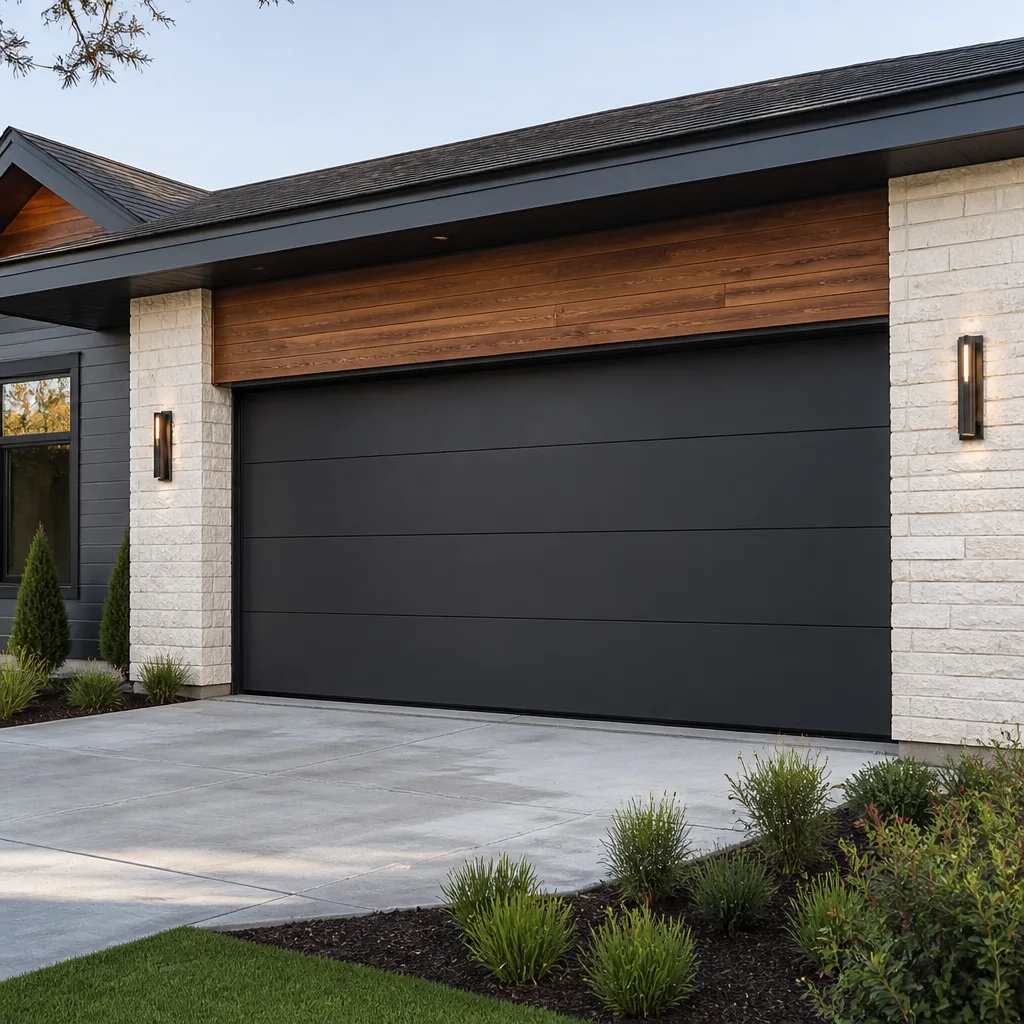 Modern flush
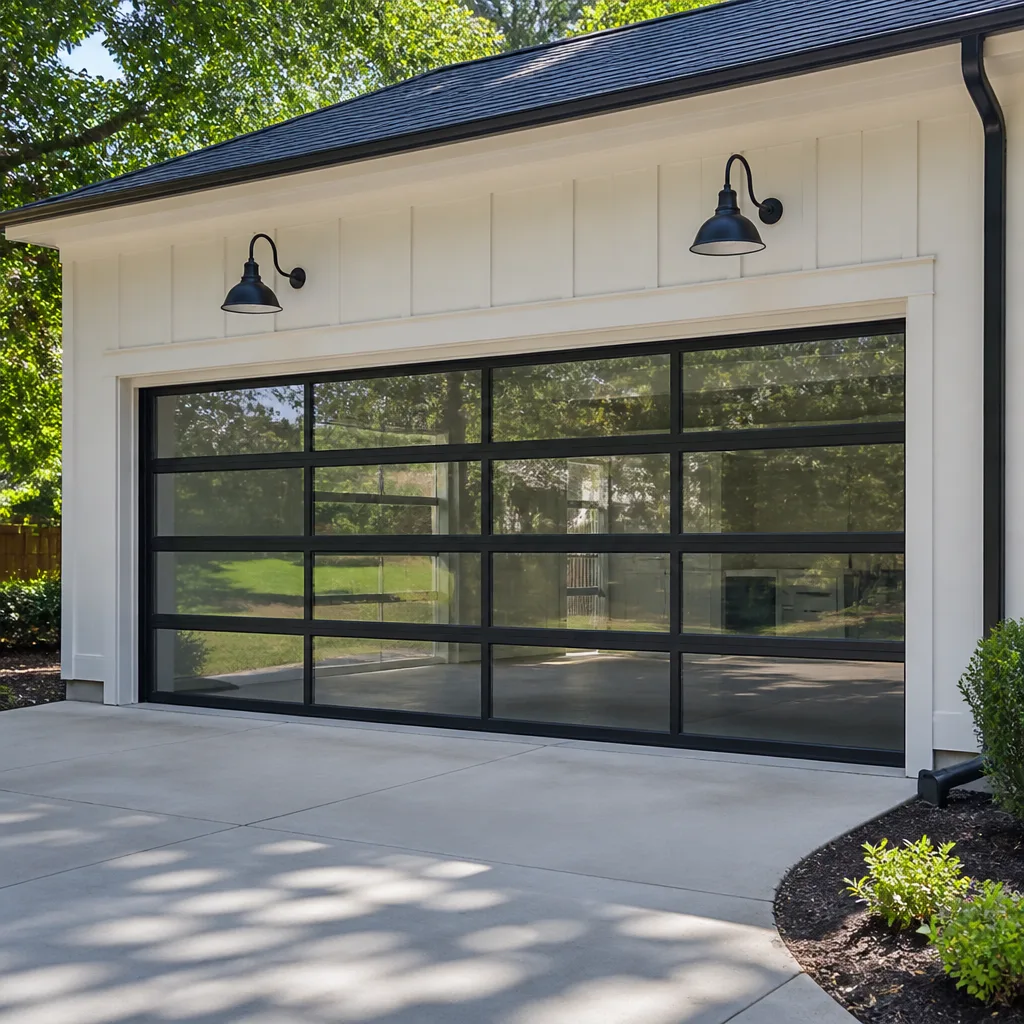 Full-view glass
 LiftMaster openers
 Chamberlain openers
Full 25-point door and opener safety check with every visit - springs, cables, rollers, tracks, and your LiftMaster or Chamberlain opener included
You get a price before we start. It does not change when the pro arrives.
Get your free estimateGarage Door Installation Troubleshooting: Common Problems and How to Fix Them
A garage door that binds on one side during the first week is almost never a defective door. In our experience, it’s a header bracket set at the wrong height during rough-in – a five-minute correction that turns into a two-hour disassembly if the torsion spring is wound before anyone notices the track is leaning. Most problems that show up after a new installation trace back to three setup decisions made in the first hour of the job. This guide walks Whitney homeowners through the plumb, level, and balance checks that catch those problems before the truck leaves the driveway, how to describe a fault so it’s fixed under warranty instead of billed as a service call, and what to inspect 30 days in.
Quick Answer
Most post-installation garage door problems come from three things: a header bracket mounted out of plumb, tracks that aren’t level side to side, and spring tension set to the wrong balance point. You can catch all three before the installer leaves by checking that the door is plumb, the tracks are level, and the door stays halfway open on its own. If any of those fail, say so before the technician packs up – a correct adjustment takes minutes at that stage and hours later.
Styles & brands we work with
- Raised-panel steel
- Carriage house
- Modern flush
- Full-view glass
- LiftMaster openers
- Chamberlain openers
Table of Contents
- The Three Measurements to Take Before You Accept a Completed Installation
- How to Spot a Binding or Racking Door
- How to Describe a Problem So It’s Fixed Under Warranty
- Opener Programming Errors That Show Up Right After Installation
- Why a Door That Works by Hand Struggles on the Opener
- The 30-Day Check: What to Look For After the First Weather Cycle
- Whitney Conditions That Stress a New Installation
The Three Measurements to Take Before You Accept a Completed Installation
A finished installation isn’t finished until it’s plumb, level, and balanced. Those three checks take a homeowner about ten minutes with a four-foot level and a tape measure, and they tell you more about the quality of the work than the appearance of the finished door. We’ve walked Whitney homeowners through these measurements on many new installs, and the ones who run them catch small errors while the technician is still on site – when fixing them is a courtesy, not a charge.
- Plumb: Hold the level against the vertical track on each side. The bubble should sit dead center. If either track leans in or out, the door will rub against the jamb and wear the rollers early.
- Level: Set the level across the top of both tracks. The two sides should be at the same height. A track that’s half an inch low on one side pulls the door off-center – this is the classic cause of one-side binding.
- Reveal: With the door closed, step back and look at the gap between the door edge and the door jamb. The gap should be even from top to bottom and side to side. A wedge-shaped gap means the door isn’t hanging square.
If any measurement fails, point it out before the technician leaves. A track adjusted at that stage takes a wrench and a few minutes. Once the concrete is set and the door has cycled a few hundred times, the same fix means pulling panels and re-setting anchors.
How to Spot a Binding or Racking Door
Binding and racking are the two symptoms homeowners report most often in the first two weeks, and they’re closely related. Racking means the door frame has gone out of square – one side rides ahead of the other as the door travels. Binding means the door is rubbing against something as it moves. Both make the door stiff, noisy, and hard on the opener. Both usually trace back to a track that isn’t level or a header bracket that wasn’t set plumb during rough-in.
Here’s how to tell them apart in a new installation:
- Watch the gap at the top corners. As the door rises, if one top corner separates from the jamb noticeably before the other, the door is racking.
- Listen for a rhythmic scrape. A steady scrape on one side that gets louder toward the top of the travel usually means the vertical track is pinching the roller.
- Check the roller gap. With the door closed, look at the gap between each roller stem and the track. If it’s tight on one side and loose on the other, the tracks aren’t parallel.
- Feel the door edge. Run a hand along the bottom edge as the door moves a few inches. If you feel vibration or resistance on one side, that side is binding.
In Whitney, we regularly see racking show up within the first hot week after installation – the afternoon sun on a west-facing door expands the panels enough to reveal a track that was set a quarter inch off. The door may run clean in the morning and stick by 2 p.m. That pattern is almost always a track tolerance issue, not a door defect.
How to Describe a Problem So It’s Fixed Under Warranty
Getting a post-installation problem corrected under warranty rather than billed as a service call comes down to how you describe it. “The door is broken” invites a diagnostic charge. “The left vertical track is out of level by about a quarter inch and the door binds on that side in the afternoon heat” gets it treated as an installation adjustment, which is what it usually is. The more specific the description, the harder it is to classify the work as a new problem.
Before you call, gather these details:
- When the issue appears – cold mornings, hot afternoons, or all day.
- Which side of the door is affected. Stand inside the garage and say “left” or “right” as you face the door from inside, so you and the technician are looking from the same side.
- The sound. A rhythmic scrape, a single loud pop, or a grinding at a specific height are three different diagnoses.
- Whether the door does it by hand, on the opener, or both. This alone tells a trained technician whether to look at the door or the operator.
- A photo or short video from outside, in daylight, showing the gap or the tilt.
At Mainspring, every completed installation is covered by the 90-Day Done Right Promise. If the work isn’t right, we come back and make it right – in writing, with no dispute process. That’s not a marketing line; it’s the reason we document what we adjusted on every job.
Opener Programming Errors That Show Up Right After Installation
Opener programming issues show up almost immediately after a new installation because the operator, the remote, and the wall control are three separate devices that all need to be paired to each other and to the travel limits of the door. When one of those links isn’t set, the door behaves in a specific way that tells you which link is wrong. Here’s how to work through the most common ones, whether your operator is a LiftMaster, Chamberlain, or Genie unit.
- Door stops before fully closing, then reverses. The down-travel limit is set too short, or the safety sensors are misaligned. Check that both sensor lenses are lit (usually a small LED) and that nothing blocks the beam across the opening. If the lights are steady, adjust the down limit slightly.
- Door reverses on its own a few inches off the floor. This is usually the force setting, but on a brand-new door it’s just as often the spring balance (see the next section). Before adjusting force, disconnect the opener and lift the door by hand to check it’s balanced.
- Remote works, wall control doesn’t (or the reverse). The remote isn’t paired, or the wall control’s wires are reversed at the operator terminals. Re-pair the remote following the operator manual; check the two low-voltage wires at the back of the unit.
- Opener runs but door doesn’t move. The manual release has been pulled, or the carriage is disengaged. Pull the release cord down and slide the carriage back into the drawbar – you’ll hear it click into place.
- Opener beeps and the light flashes when you press the button. On most modern operators this is a safety-reversing signal – the sensors aren’t seeing each other. Clean the lenses and check for a spider web or a leaf across the beam.
If you’ve walked through all five and the door still misbehaves, stop and call. Repeatedly pressing the button on a door with a mis-set travel limit can strip the gear in the operator.
Why a Door That Works by Hand Struggles on the Opener
If a new door lifts and lowers easily by hand but the opener grinds, strains, or reverses, the problem is almost always the spring balance – not the operator. This is the single most common misdiagnosis we see in Whitney. Homeowners assume the brand-new opener is at fault, so they call about the opener; the actual fault is that the torsion spring was wound a half-turn short (or long) during setup, and the door is heavier to lift than the operator was designed to move.
Here’s the test. With the door closed, pull the manual release cord so the door is disconnected from the opener. Lift the door by hand to about waist height, then let go. A correctly balanced door will stay roughly where you let it go. If it sags to the floor, the spring is under-wound. If it rises toward the open position on its own, the spring is over-wound. Either way, that’s a spring adjustment, and it should be done by a trained technician – the springs carry the full weight of the door and are under high tension even when the door is down.
Once the balance is right, the opener’s job is easy. A well-balanced door takes very little effort, which is why the opener should sound the same on day one as it does on day one thousand. If it doesn’t, the door needs attention before the operator wears out.
The 30-Day Check: What to Look For After the First Weather Cycle
Give a new installation 30 days and one full weather cycle, then inspect it again. This is when the small stuff – hardware loosening under vibration, the door settling, temperature swings doing their work – either shows up or doesn’t. In Whitney, the swing from a cool morning to a 100-degree afternoon is a real stress test on a new door, and we recommend a full check right at the 30-day mark. Here’s what to look at:
- Hinge screws and track bolts. Walk the door and check each hinge for a loose screw. Vibration from 30 days of daily cycling will have seated everything – now tighten anything that’s backed out.
- Bracket anchor points. Look at the jamb brackets and the header bracket for any gap or movement. If you can wiggle a bracket by hand, the anchor is loose.
- Weather seal at the bottom. The bottom seal should touch the floor evenly across the full width. If it’s gaping on one side, the door is out of level, and that’s a warranty adjustment.
- Roller wear. Look for a flat spot or a rough edge on the nylon rollers. Early wear means the tracks aren’t lined up.
- Paint or finish at the panel edges. On a steel door, look for bubbling or scuffing at the panel edges where they meet. This catches a rubbing issue before it wears through the finish.
If you find something at 30 days, call. Most of it is minor adjustment, and on a Mainspring install it’s covered by the 90-Day Done Right Promise. If you’re calling a different outfit, ask first whether the adjustment is warranty work or a service call, and get the answer before anyone touches the door.
Whitney Conditions That Stress a New Installation
A new door in Whitney faces conditions that a door in a cooler, wetter climate doesn’t. The valley’s summer heat regularly pushes a west-facing door’s steel surface past 150 degrees in direct afternoon sun, and the daily swing between a cool night and a hot afternoon puts real thermal load on the panels and the seal. We’ve seen a door that ran quiet on an overcast Tuesday start to pop and creak by the following Friday. That’s not a defect – it’s the installation finding its balance point under real conditions.
A few local habits worth knowing. If you live near the McCullough Hills or the open desert east of town, windblown dust finds its way into the rollers and the bottom seal, and those need a wipe-down and a light lube more often than a door behind a block wall. And if your garage faces east toward the Sunrise Manor area, the morning sun will bake a dark-colored door hotter than the same door faces the other way, so the paint finish matters. A dark Clopay steel door west-facing in Whitney needs a lighter finish or a top coat to last, and we’ll say so before the door is ordered.
Common Mistakes to Avoid
- Accepting the job before the door is cycled 10 times in front of you. A door can look right and run wrong. Have the technician cycle it fully, open and closed, three or four times while you watch before signing off.
- Adjusting the opener force to fix a stiff door. Turning up the force setting masks a spring-balance problem and burns out the operator. Fix the balance, not the force.
- Paying for a service call on a warranty issue. Get the warranty terms in writing before the installation, and confirm in the same conversation that adjustment visits are covered. In Whitney, where installation scheduling is competitive, a few outfits will blur that line.
- Letting a dark door go west-facing without a top coat. Whitney’s afternoon sun will fade and chalk a dark finish on a west wall within a few summers. It’s worth the extra $60 to $120 in finish, and it’s cheaper than replacement.
- Ignoring the sensors. A garage door that stops and reverses on its own is signaling a sensor problem. Fiddling with the sensors on a brand-new installation can mask a wiring fault. Check that both sensor LEDs are steady, and if one is dark, call it in as a sensor fault, not an opener fault.
- Doing your own spring adjustment. Torsion springs are under high tension even when the door is down, and the springs, cables, and drums are the parts of the system most likely to cause serious injury. A trained technician is the right call for anything involving spring tension.
- Skipping the 30-day check. The first weather cycle is the real test of a new installation, and the issues it reveals are usually the cheapest to fix. Miss it and a small adjustment becomes a repair bill.
See the difference
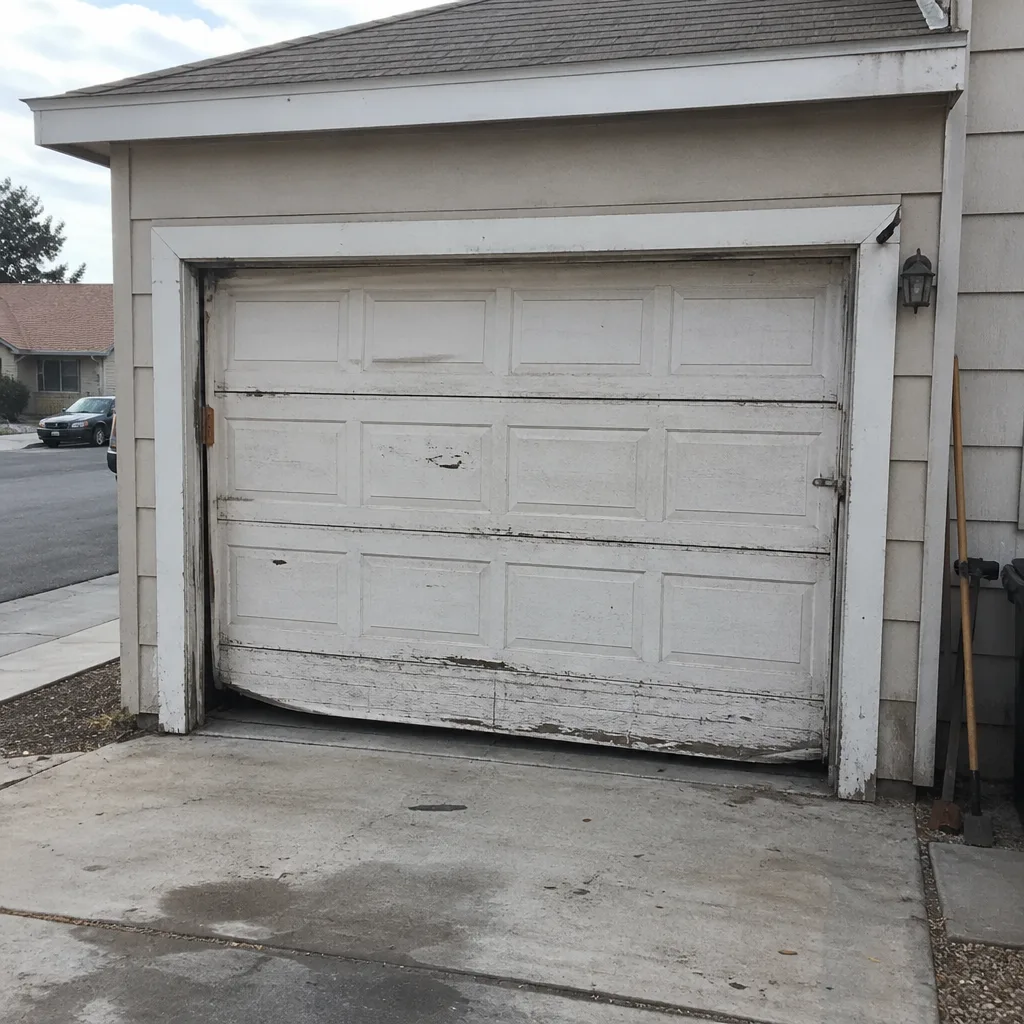 Before
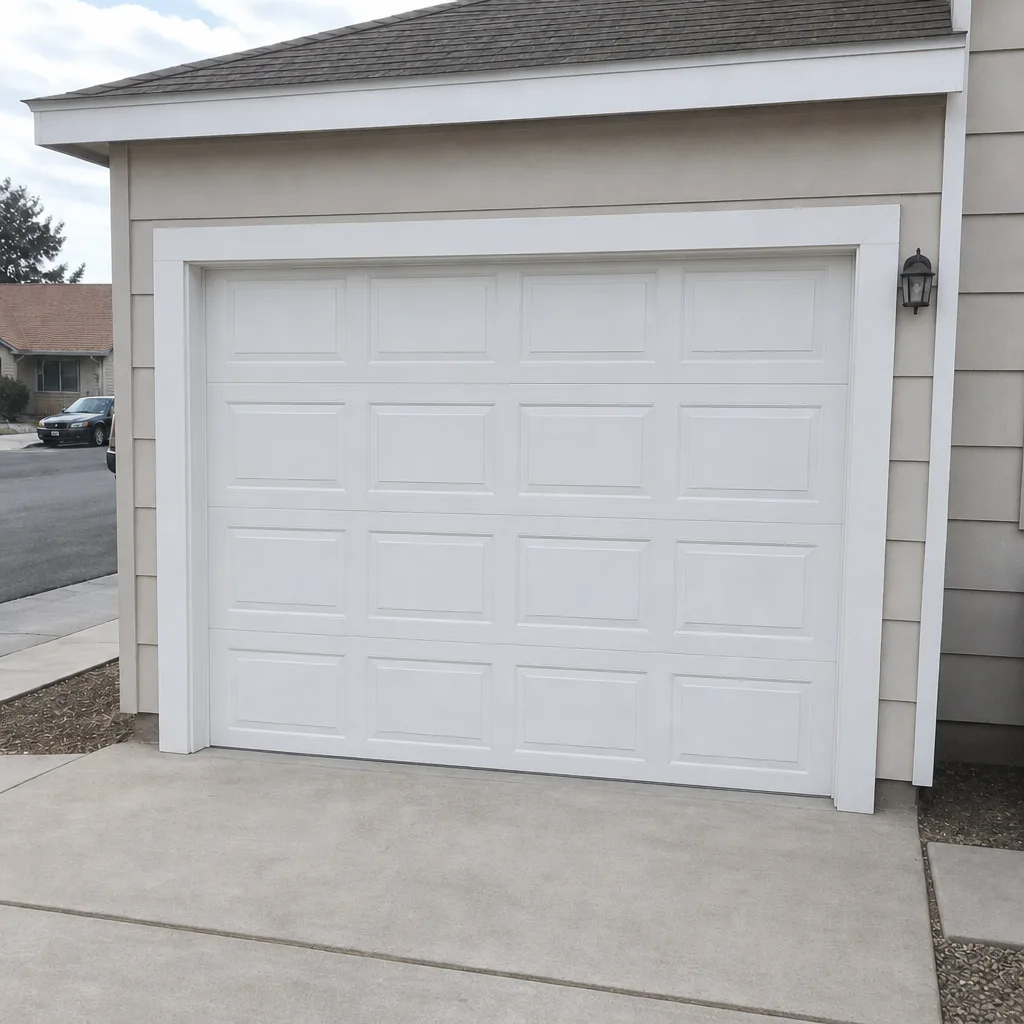 After
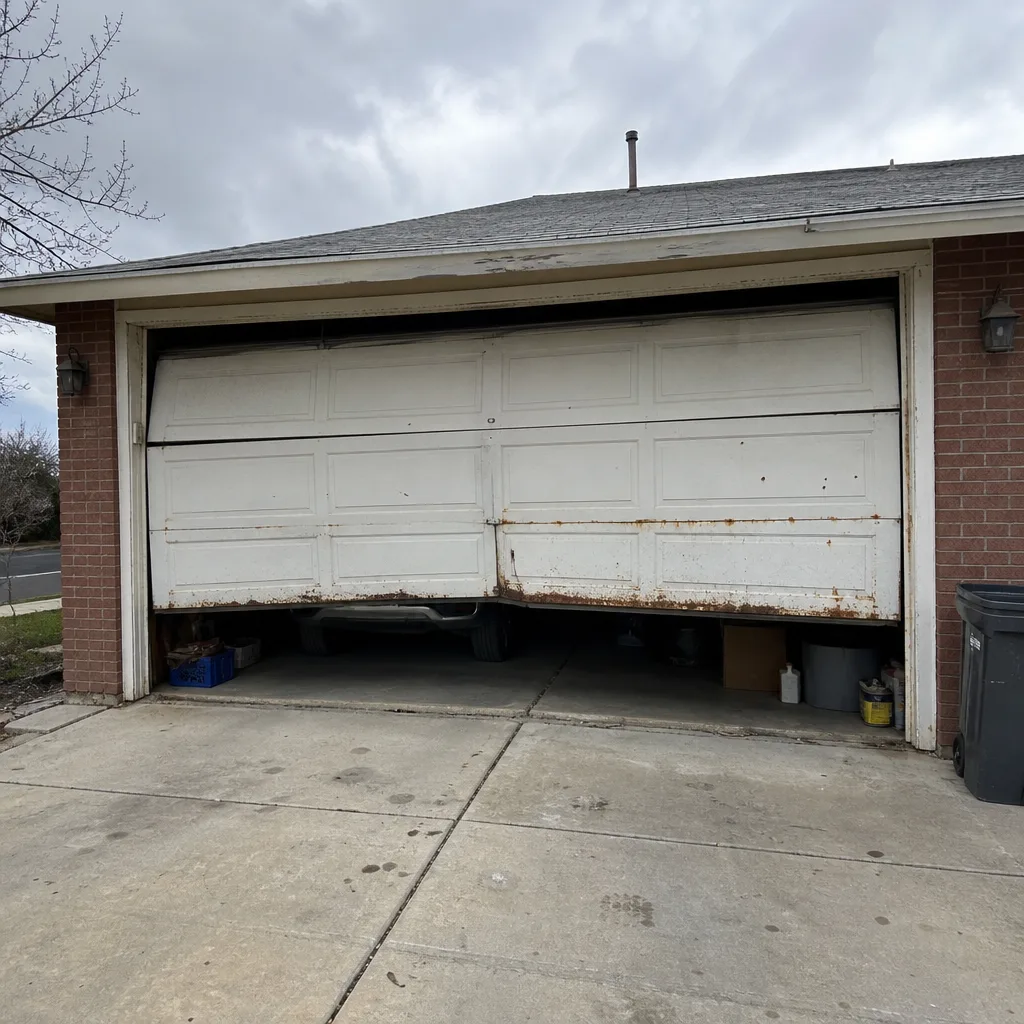 Before
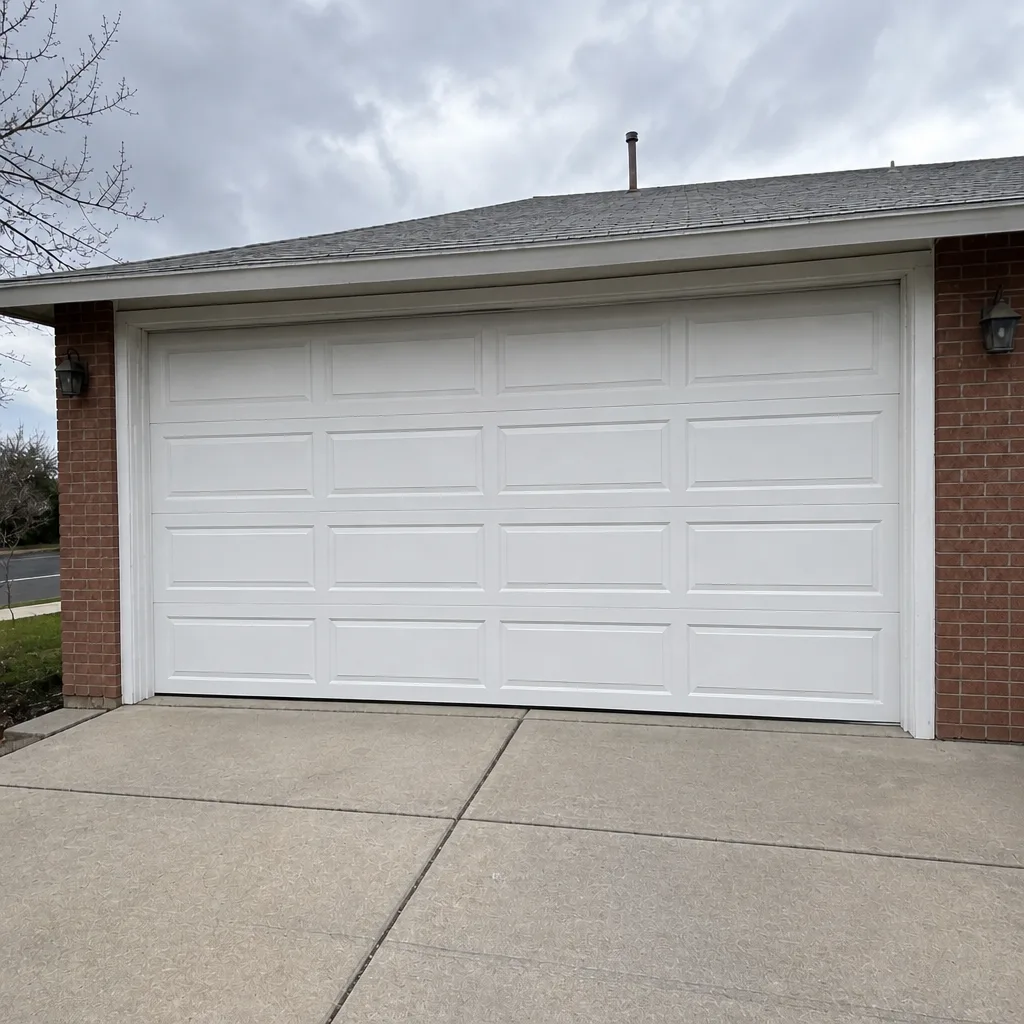 After
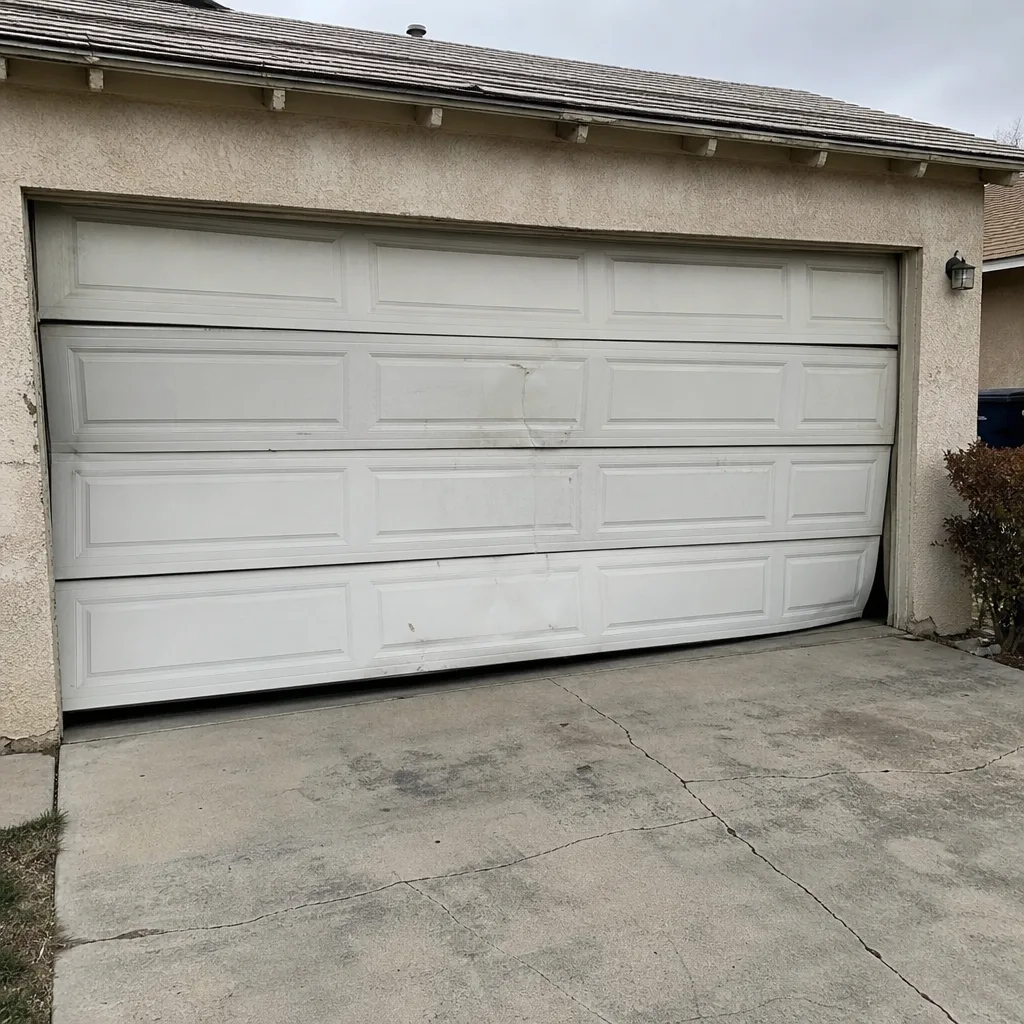 Before
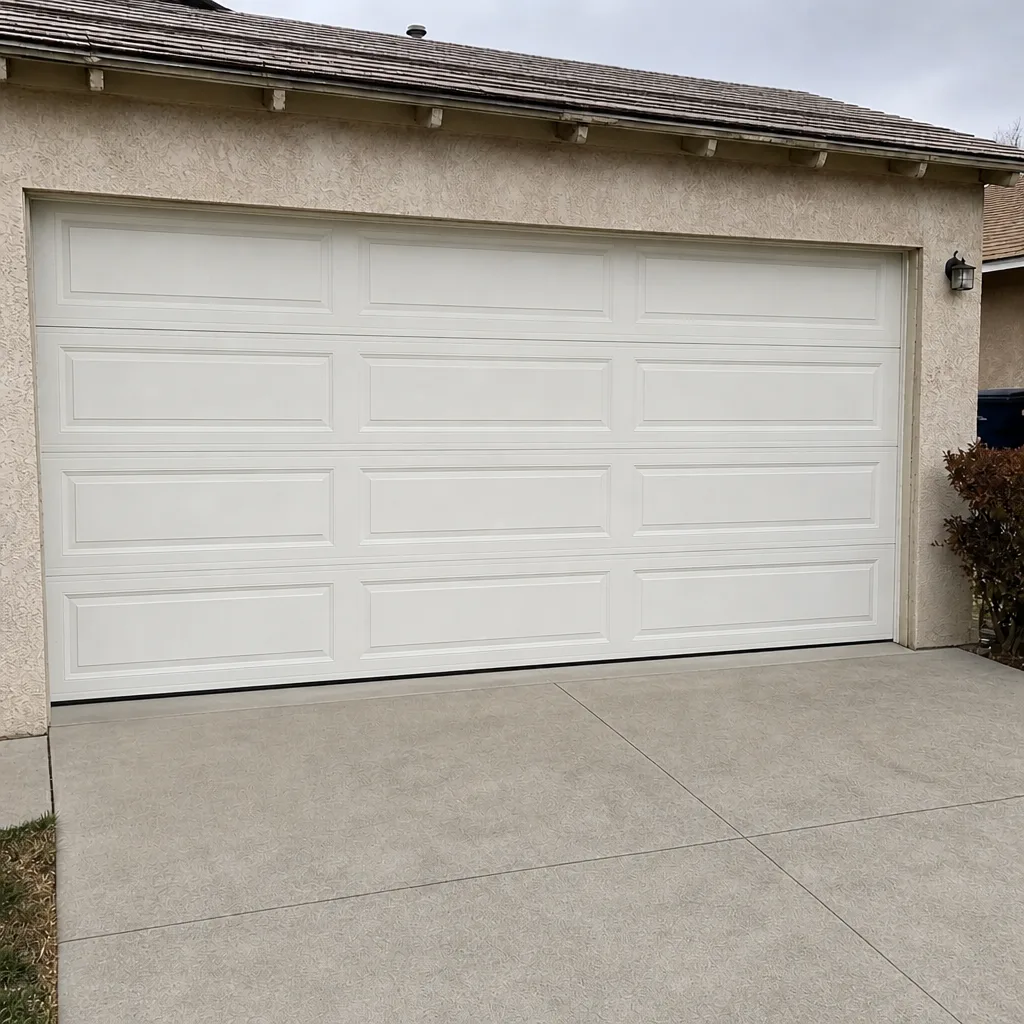 After
When to Call a Professional
Call a professional when the door won’t stay balanced by hand, when it binds on one side during normal travel, when the opener strains or reverses on a new door, or when the springs, cables, or drums need work. Those are the parts of the system where a mistake becomes an injury. Also call when the installation warranty is on the line and the fault isn’t obvious – a trained technician can document what’s wrong so it’s corrected under the warranty rather than billed. If you’d rather not climb on a ladder to chase a sensor misalignment, that’s a reasonable call too. Mainspring Garage Door Co. Whitney offers free estimates in Whitney – call (844) 797-9248, or see our Garage Door Installation in Whitney page for what’s involved in a new door.
Frequently Asked Questions
Usually yes – binding on one side in the first week almost always traces back to a vertical track that isn’t level or a header bracket that isn’t plumb, not a defective door. Both are installation setup issues, and both are typically corrected at no charge under the installation warranty. Take a photo in daylight showing the gap on the affected side and call the installer. For a Whitney installation, call (844) 797-9248 and describe which side binds and whether it’s worse in the afternoon heat – that tells us whether it’s a track tolerance issue or a panel expansion problem.
That pattern almost always means the torsion spring isn’t set to the correct balance point – not that the opener is faulty. A balanced door stays roughly where you let go when you lift it by hand; a door that sags to the floor is under-wound, and one that rises on its own is over-wound. Spring adjustment is a trained-technician job because the springs carry the full weight of the door under high tension. Call (844) 797-9248 and describe the balance test in your own words; we’ll tell you what to expect before we arrive.
Some of it, yes. Travel-limit adjustments, safety sensor alignment, and remote re-pairing are homeowner tasks on most modern operators, including LiftMaster, Chamberlain, and Genie units, and the manual walks you through each one. Stop and call if you’ve been through the manual and the door still misbehaves, or if a repeated press on the button produces grinding – pressing through a fault can strip the gear in the operator. For an opener that’s misbehaving on a new door, see our Garage Door Opener in Whitney page or call (844) 797-9248.
At the 30-day mark, check hinge screws and track bolts for looseness, look at the jamb and header bracket anchors for movement, confirm the bottom seal touches the floor evenly, look for early wear on the nylon rollers, and inspect the panel edges for rubbing. The first full weather cycle is when a new door either settles in or shows a setup issue that’s easy to fix now and expensive to fix later. If you find something, call (844) 797-9248 for a free estimate on the correction – on a Mainspring install, it’s covered under the 90-Day Done Right Promise.
No. We quote the price before any work begins, and the price on the invoice matches the price we stated. For warranty adjustment on a new installation, there’s no charge at all – the 90-Day Done Right Promise covers it in writing. If you’re calling about a different installer’s job, ask them for the price in writing before they dispatch, and get the warranty terms in the same message. Call (844) 797-9248 for a free estimate and a flat price you can compare, or see our Garage Door Repair in Whitney page for how our repair service works.
Yes – every technician we send is background-checked, uniformed, and trained as an apprentice under our journeymen. Our technicians have up to 10 years of experience, and our work on every job is backed by the 90-Day Done Right Promise in writing. For the full picture of what we do and how we work in Whitney, see the Mainspring Garage Door Co. Whitney home page, or call (844) 797-9248 with any question before you book.
The Bottom Line
Most post-installation problems trace back to the first hour of the job: header bracket plumb, track level, and spring balance. Check all three before the technician leaves – plumb with a level on each vertical track, level across the top, and balance with the door disconnected from the opener. If any of them fails, say so while the truck is still in the driveway, because the fix takes minutes there and hours later. Then run the 30-day check after the first Whitney weather cycle. If the door still misbehaves, call – a trained technician can document the fault, tell you whether it’s warranty work, and correct the balance before the opener wears. A door that’s set right on day one runs right for years; that’s what a square deal looks like.
Call (844) 797-9248 for a free estimate. A live person answers every call, around the clock, and we’ll state the price before any work starts.
Written by the team at Mainspring Garage Door Co. Whitney.