
Last updated November 17, 2026
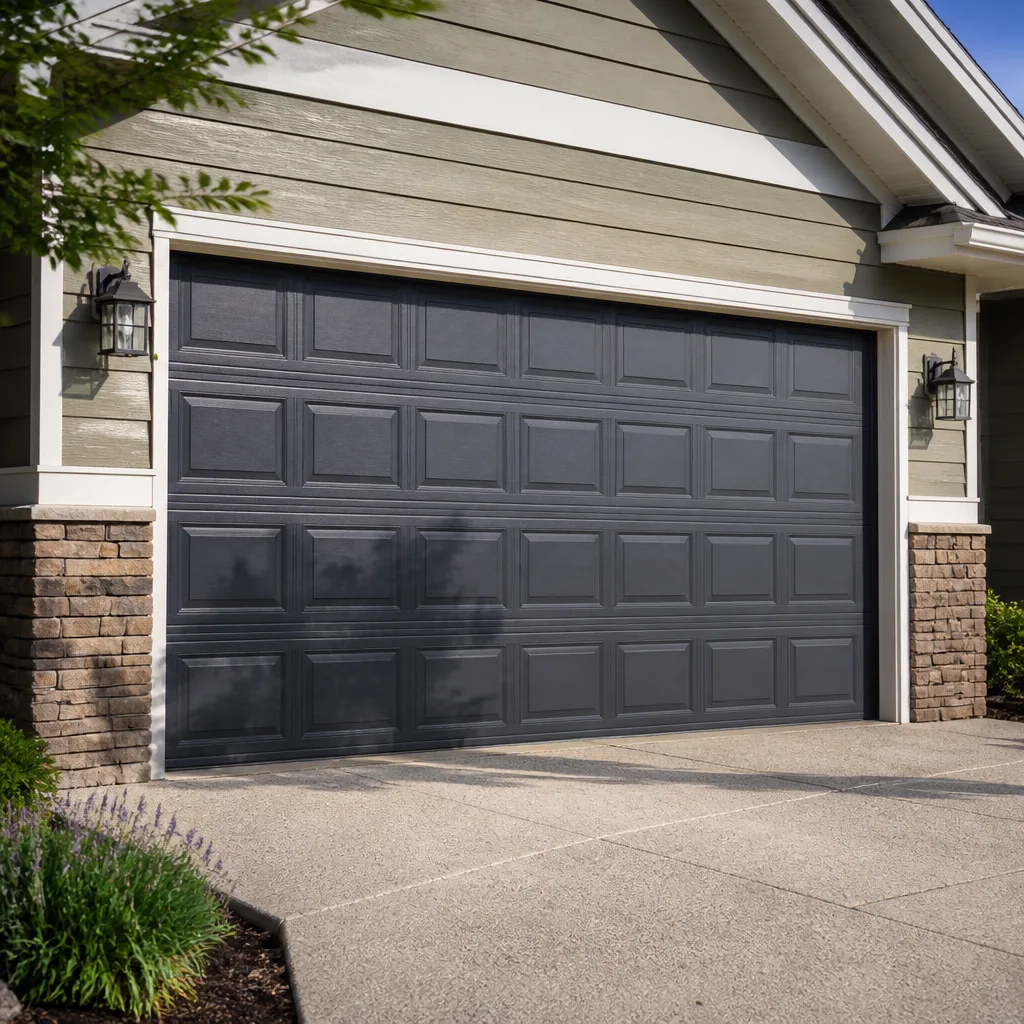 Raised-panel steel
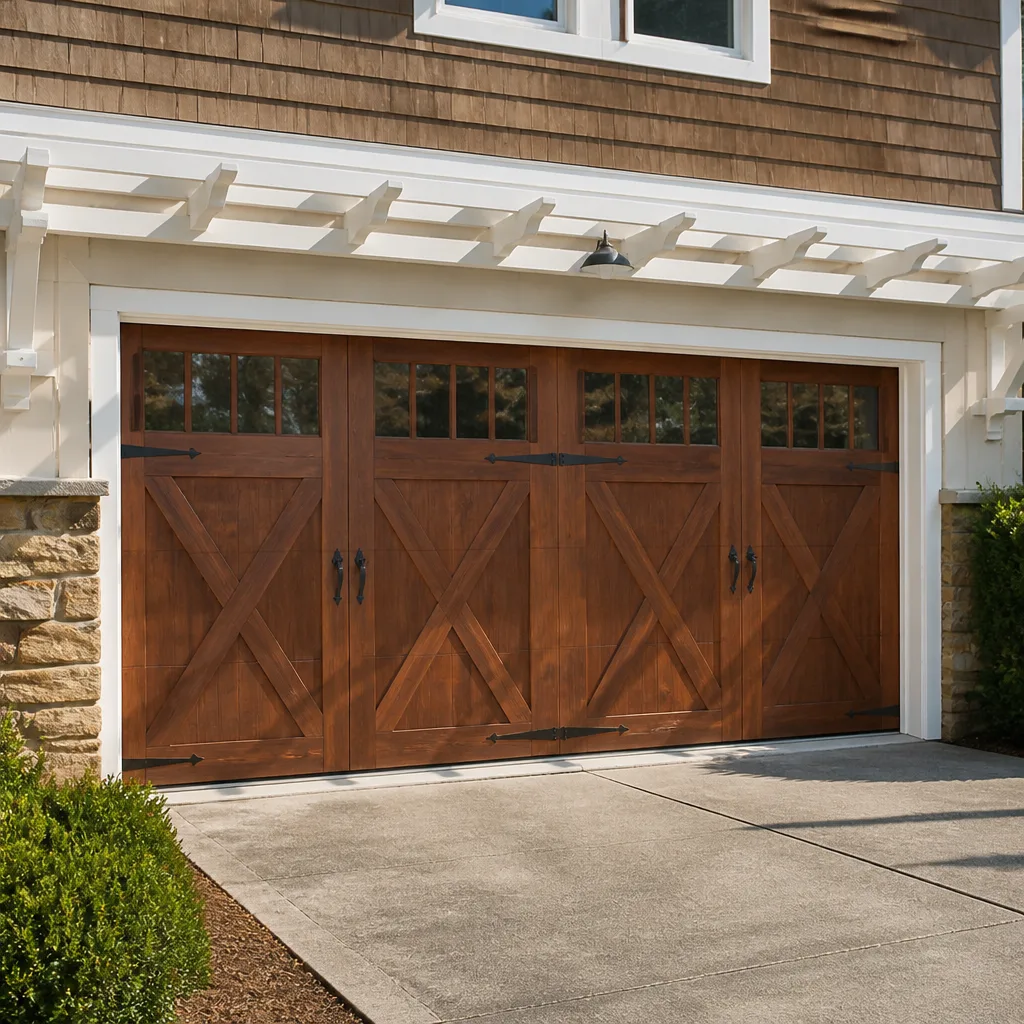 Carriage house
 Modern flush
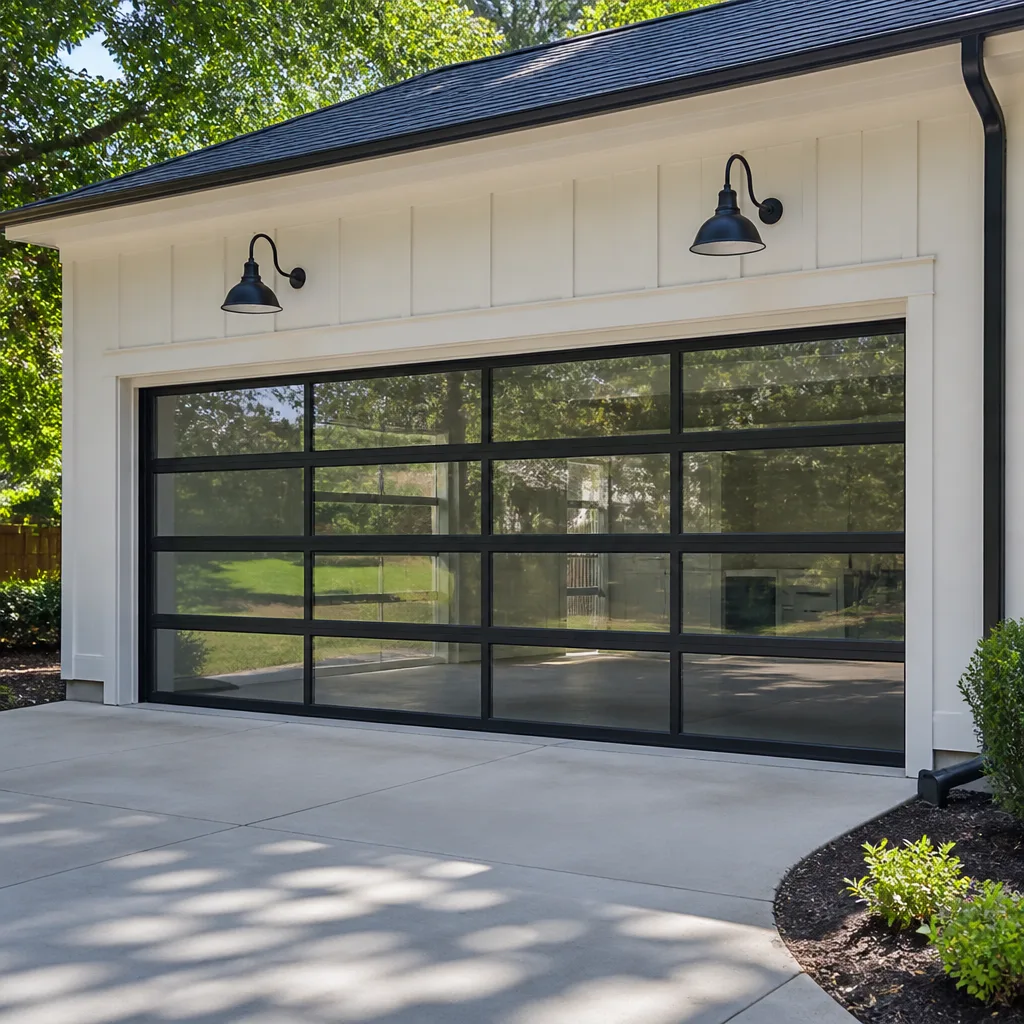 Full-view glass
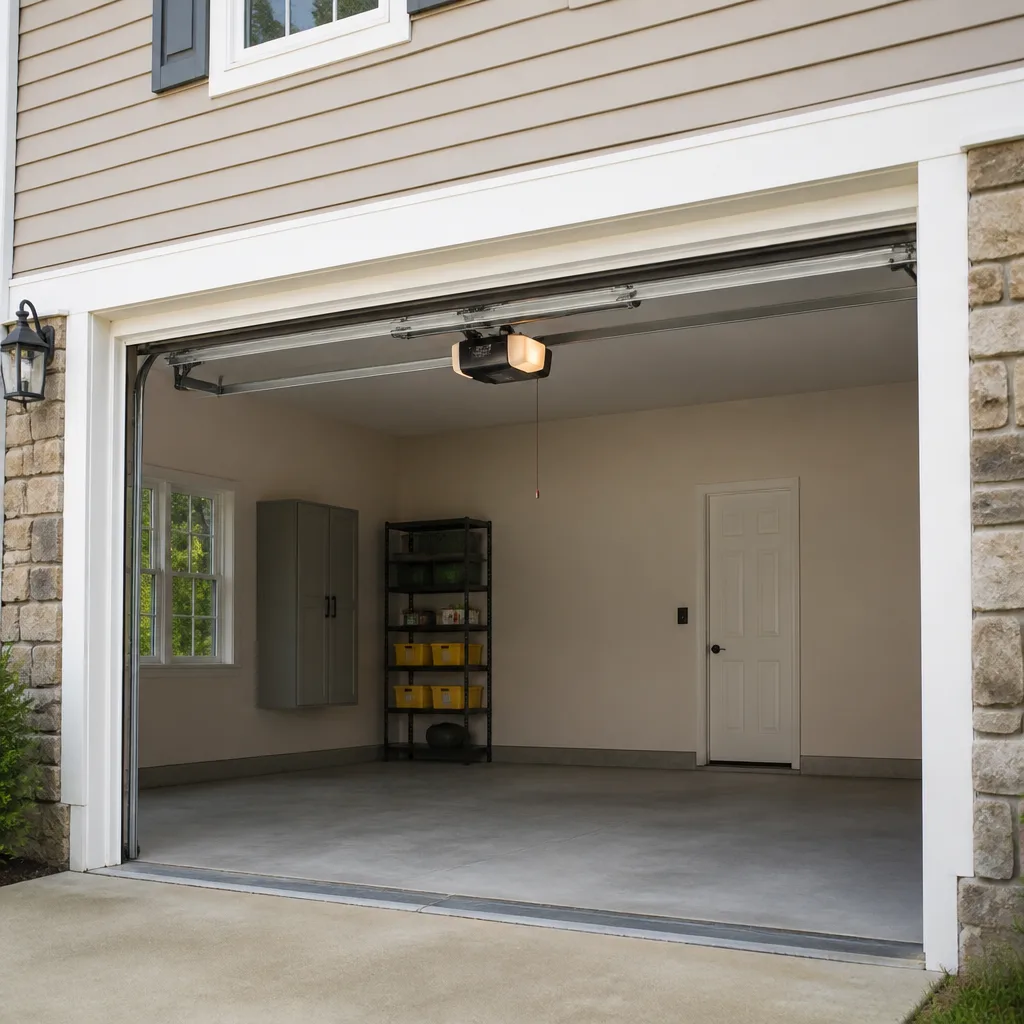 LiftMaster openers
 Chamberlain openers
Full 25-point door and opener safety check with every visit - springs, cables, rollers, tracks, and your LiftMaster or Chamberlain opener included
You get a price before we start. It does not change when the pro arrives.
Get your free estimateGarage Door Installation Warning Signs Every Homeowner Should Know
A garage door installed with misaligned tracks will typically wear through its rollers in under two years, roughly one-fifth of the lifespan those same rollers should deliver. Most homeowners never connect the early roller failure to the sloppy install that caused it. They just pay for new rollers and wonder why their door is loud again. This guide is about catching the shortcuts before they turn into failures: the five-minute walkthrough to run the moment the installer’s truck pulls away, what a correctly wound torsion spring actually looks like, the red flags hiding in the paperwork, and which warning signs you can fix yourself versus which ones the installer needs to come back and own. We’re writing it from Whitney, where the desert heat puts its own spin on installation quality.
Quick Answer
The clearest garage door installation warning signs are a gap between the door and the floor that won’t seal, uneven cable tension between the two sides, a door that drifts down when you disengage the opener, grinding or scraping during the first three open-close cycles, and paperwork that lists no parts, no torque specs, and a warranty shorter than a year. If you see any of these in the first week, call the installer back before the job is considered closed. Waiting rarely fixes an installation problem; it just moves the failure to a later date and out of warranty.
Styles & brands we work with
- Raised-panel steel
- Carriage house
- Modern flush
- Full-view glass
- LiftMaster openers
- Chamberlain openers
Table of Contents
- The Five-Minute Post-Installation Walkthrough
- What a Properly Tensioned Torsion Spring Looks Like
- Red Flags Hiding in the Paperwork
- Warning Signs That Show Up Weeks Later
- How Whitney Heat Exposes Bad Installs
- What You Can Fix Versus What the Installer Should Fix
- Why You Should Never Touch Springs or Cables
- Common Mistakes to Avoid
The Five-Minute Post-Installation Walkthrough
Before the installer drives away, run this walkthrough with them standing next to you. It takes five minutes and it catches more bad installs than any other single habit. We’ve walked Whitney homeowners through this exact routine on countless second-opinion calls, and it has saved more than one of them a repair bill three months down the road.
- Gap check at the floor. Close the door and look at the bottom seal. A correct install leaves the seal touching the floor evenly across the full width, with no daylight showing under any section. A thin sliver of light on one side usually means the track height is off, not that the seal is bad. In Whitney, a gap lets in dust and summer heat, and it also lets in scorpions and the occasional mouse, so it matters more here than the installer might think.
- Travel limit test. Let the door open fully, then close fully. Watch where it stops at the bottom. A properly set limit stops the door at the floor with slight pressure, not with a bounce or a delay. If the door stutters at the top or bottom, the open and close limits on the operator weren’t dialed in. LiftMaster and Chamberlain openers both have simple limit screws for this, but on a brand-new install the tech should have set them correctly before leaving.
- Manual release test. Pull the red release handle, lift the door to about waist height with one hand, and let go. A correctly balanced door stays there. If it drops, the springs are under-tensioned. If it rises on its own, they’re over-tensioned. Either way, it’s a callback.
- Visual cable symmetry check. Look at the cables on both sides of the door, from a safe distance, with the door closed and springs relaxed. They should look identical in how they sit on the drums. One cable wound tight and the other loose is a warning sign. If you see fraying or a kink on a brand-new cable, stop and ask. Do not reach in to touch anything near the springs or drums.
- Listen to the first three cycles. Have the installer run the door through three full open-close cycles while you stand still and listen. A quiet door makes a smooth hum from the opener and a soft roll from the rollers. Grinding, scraping, rattling, or a thumping sound at one spot in the track is a problem the installer should hear before they leave.
If all five checks pass, you’ve confirmed the basics of a sound install. If any one fails, ask the installer to correct it before signing anything. That’s a reasonable request, and a shop that stands behind its work won’t argue. The Garage Door Installation in Whitney page covers what a complete install should include in more detail.
What a Properly Tensioned Torsion Spring Looks Like
The torsion spring is the part that carries your door’s entire weight. On a correctly installed door, the spring does almost all the lifting and the opener just nudges it along. When the install shop rushes the spring tension, the opener takes on weight it was never designed to carry, and both the spring and the opener fail early. In our experience the mis-tensioned spring is the most common shortcut we find on fresh installs in Whitney.
A properly tensioned spring, at rest with the door closed, looks like a coil with even spacing between the coils and a clean, unbroken line from end to end. The winding bars are removed, the set screws are tight, and the two springs (if your door has two) sit at the same length and turn count with the same number of visible coils.
Here’s what a shortcut looks like:
- Under-tensioned: the door feels heavy when you lift it manually, and it drifts down when the opener disengages. The spring looks stretched out with wide gaps between the coils. The opener strains audibly on the first lift of the morning, especially in cold weather.
- Over-tensioned: the door feels springy and light, almost too easy to lift, and it floats or rises when you try to hold it at half position. Coils are bunched tightly together with visible compression. The door slams the floor at the bottom unless the close limit is set very conservatively.
- Mismatched pair: on a two-spring door, if one spring is visibly longer or the coils are uneven between the two, the installer used the wrong pair or didn’t wind them equally. This causes the door to shift to one side and wears the track and rollers unevenly. We’ve seen doors in Whitney that went through four sets of rollers in two years for exactly this reason.
You can check tension visually and with the manual release test, but please do not attempt to adjust the spring yourself. Winding a torsion spring wrong is one of the most dangerous ways to get hurt around a house. The Garage Door Repair in Whitney page explains why spring work always belongs to a trained technician.
Red Flags Hiding in the Paperwork
The paperwork tells you almost as much as the door. An installer who plans to stand behind the work puts specifics on paper. An installer who plans to disappear leaves it vague. Before you sign a final invoice, look for these tells.
- A warranty that only covers the parts, not the labor. Parts warranties from the manufacturer are standard. Labor warranties are where the installer puts their name on the work. A warranty under 90 days on labor is thin. A warranty that doesn’t spell out whether the installer returns for free on a defect is worth almost nothing. Mainspring backs every job with a 90-Day Done Right Promise in writing for exactly this reason.
- No written parts list. A proper invoice names the springs (wire gauge, inside diameter, and length), the cables (diameter and length), the rollers (sealed bearing versus standard), the hinges (numbered 1 through 5 by position), and the opener model. If your paperwork just says “springs replaced” or “hardware,” ask for the specifics. You’ll want them if you ever need a warranty claim or a matching replacement.
- No torque or tension specs noted. Some installers record the number of turns on the torsion spring and the resulting door balance. Good shops note it. It’s the difference between a callback and a guess.
- No torque value or fastener detail on the track bolts. Track brackets that were power-driven without a final torque pass work loose over a few months. Written notes show the installer cared about the finish.
- A vague verbal promise instead of a written one. “Call us if anything comes up” is not a warranty. If the shop won’t put their commitment on paper, assume it doesn’t exist the moment they cash the check.
If your installer used a Chamberlain or LiftMaster opener, the paperwork should also note the model number and the program setting used for the remote. Both brands make programming easy to look up later if you have the model number, and impossible if you don’t.
Warning Signs That Show Up Weeks Later
Some installation problems don’t show up in the first five minutes. They show up three to eight weeks later, once the door has cycled a few hundred times and settled into whatever it’s going to be. These are the signs we hear about most often from Whitney homeowners who call us for a second opinion.
- Uneven wear on the weatherstripping. Look at the rubber seal along the bottom of the door after a month. If one side is compressed more than the other, or the seal is torn at one corner, the door is tracking slightly out of square. That’s a track alignment issue, not a seal issue.
- One side of the door moving faster than the other. Stand back and watch a full cycle. A door should move up and down in a straight line. If the left edge rises half an inch ahead of the right edge, one of the cables is off or one of the springs is under-tensioned. Do not try to correct this by lifting the door manually. Call the installer back.
- Opener straining on cold mornings. Whitney winters drop into the thirties on the coldest nights, and that’s enough to thicken the grease in the opener gear and stiffen the door. A properly installed and balanced door barely changes on a cold morning. One that strains or hesitates is under-lubricated, mis-balanced, or both. Operators lose years of life this way.
- Rattling that wasn’t there at install. A new noise is usually a loose track bolt or a hinge that’s working its way out. Both are easy to correct if caught, expensive if ignored.
- Light coming through a new gap. Gaps that open up after a month usually mean the door has settled into a track that wasn’t set square to begin with. The fix is realignment, and it belongs to the installer.
These are the failures that turn into real repair bills. A door that’s tracking properly should run the same in month three as it did on day one. If it’s getting louder, slower, or misaligned, that’s the install telling on itself.
How Whitney Heat Exposes Bad Installs
Whitney’s desert heat is unforgiving to shortcuts. Where a poorly installed door in a mild climate might limp along for two years before anyone notices, a door installed badly in Whitney tends to show its problems in the first summer. That’s actually good news for homeowners paying attention: the heat acts as an early warning system, if you know what to look for.
Here’s what we see play out in Whitney neighborhoods every summer:
- Lubrication failure. The grease a rushed installer uses at the start of the day is already wrong for ninety-degree summer afternoons. On a door installed with generic lubricant, rollers start squealing by August. Heavy-duty lithium grease rated for high-temperature service holds up; the thin stuff doesn’t.
- Weatherstripping drying out early. Cheap bottom seals on a misaligned door crack and shrink within one season here. A properly installed door with a quality seal will last three to four summers. If your seal is already failing in the first year, look at the alignment first, then the seal.
- Spring tension drift. Metal springs change tension as the ambient temperature swings. A spring that was slightly off at install can drift noticeably by August. Homeowners who listen to their door in the first week of summer hear the difference right away.
- Opener motor strain on the hottest days. A LiftMaster or Chamberlain opener rated for your door weight will still work hard on a 105-degree afternoon. An opener paired with an undersized motor or a mis-tensioned spring will overheat and trip. That’s not a defect in the opener; it’s a sign the install put the opener on the wrong door.
If you’re in the market for a new installation, ask your installer what grease they’re using and what the door’s balance spec is before the truck pulls up. If they can’t answer, that’s a warning sign before work ever begins. Browse more in our Garage Door Opener in Whitney guide to understand how the opener and door have to match.
What You Can Fix Versus What the Installer Should Fix
Some installation issues are small enough to correct yourself. Most aren’t. Knowing the difference saves you time, money, and the occasional emergency room visit. Here’s how to draw the line:
What you can handle yourself:
- Opener limit adjustments. On most LiftMaster and Chamberlain openers, the open and close limits are set by two screws on the back or side of the operator housing. If the door stops short of the floor or reverses before it reaches the top, a small turn of these screws corrects it. The owner’s manual covers this and the adjustment is quick. Take your time and make small adjustments.
- Remote programming. Pairing a new remote or resetting the opener after a power outage is a homeowner task. Your manual has the steps.
- Lubrication. A light spray of white lithium grease on the hinges and rollers, once a season, is fair game. Do not spray near the springs.
- Weatherstripping replacement. Bottom seals slide out of their track and can be replaced with a new piece from the hardware store. If the door is aligned properly, this is a simple swap.
What the installer should come back and fix:
- Track alignment and squareness. If the door isn’t square in the opening, the installer needs to correct it. This is on them.
- Spring tension and balance. A door that’s under or over-tensioned needs the springs re-wound. That is a trained-technician job, no exceptions.
- Cable tension and drum seating. Cables that aren’t seated on the drums evenly or that show any wear need the installer’s attention. Never touch them yourself.
- Fastener torque on the track brackets and opener mount. A track that’s shifting on the wall is a structural issue and belongs to the shop that installed it.
- Opener mounting and rail alignment. If the opener is mounted to a rail that isn’t square to the door, the whole unit runs crooked and wears out early. The installer owns this fix.
If your installer used a Craftsman or Raynor system and the rail is out of alignment, do not try to correct it by loosening the ceiling bracket. That mount is carrying weight and torque that will surprise you when it lets go.
Why You Should Never Touch Springs or Cables
Torsion springs carry hundreds of pounds of stored energy. Cables hold that energy in place under tension. Both can release instantly and without warning if handled wrong, and a spring that lets go is not a slow, creaky release; it’s an immediate, violent force. We flag this every single time we talk to a Whitney homeowner about installation problems because it’s the most serious safety issue in the trade.
If your door has a spring that looks wrong, a cable that’s frayed, or a drum that’s come loose, do not attempt to correct it. Disengage the door from the opener, keep the door closed and your family away from it, and call a trained technician. If the door is completely non-functional and blocking a car, we advise against trying to force it. Our 24/7 emergency line at (844) 797-9248 exists for exactly this scenario. A live person answers, day or night.
The other safety point: installation problems sometimes hide until they fail. A cable that looks fine at install can wear through its fitting over time if the tension was wrong to begin with. That’s why the post-installation walkthrough matters, and why a documented, warranted install from a shop you trust matters more here than the lowest bid.
Common Mistakes to Avoid
- Skipping the walkthrough. Most homeowners are glad to see the installer leave and just wave goodbye. Running the five-minute check with the crew still standing there is far easier than chasing them down a month later. Do it every time.
- Paying in full before the final check. A final payment after the walkthrough gives you leverage. Paying up front and hoping for the best leaves you with nothing but a phone call and a hope the shop answers.
- Accepting a verbal warranty. In Whitney, where summer heat can accelerate a bad install’s failure, a written warranty is the only kind worth having. If the installer promises “we’ll take care of you,” ask them to write that down and sign it.
- Ignoring a small gap under the door. A quarter-inch gap doesn’t look dramatic. It lets in heat, dust, and small desert animals. And more importantly, it’s a warning sign that the door isn’t sitting square in the opening.
- Letting a “we’ll call you” installation sit through a Whitney summer without follow-up. If you’ve noticed a warning sign and you called the installer, and they haven’t called back after two weeks, assume the warranty is only as good as the shop that answers the phone. Call a shop that answers, and get a second opinion. Mainspring offers a free second opinion on any written estimate.
- Assuming the cheapest bid reflects the same work. A low bid often means fewer installation steps (no torque pass on track bolts, no spring balance check, no written parts list). The bid you compare should describe the same job the way we do in writing, with parts and labor spelled out.
- Using a general handyman for a door install. Garage doors are a specific trade with specific tools and specific safety rules. A handyman who is great at drywall is not the person to wind a torsion spring. Use a shop that installs doors every day.
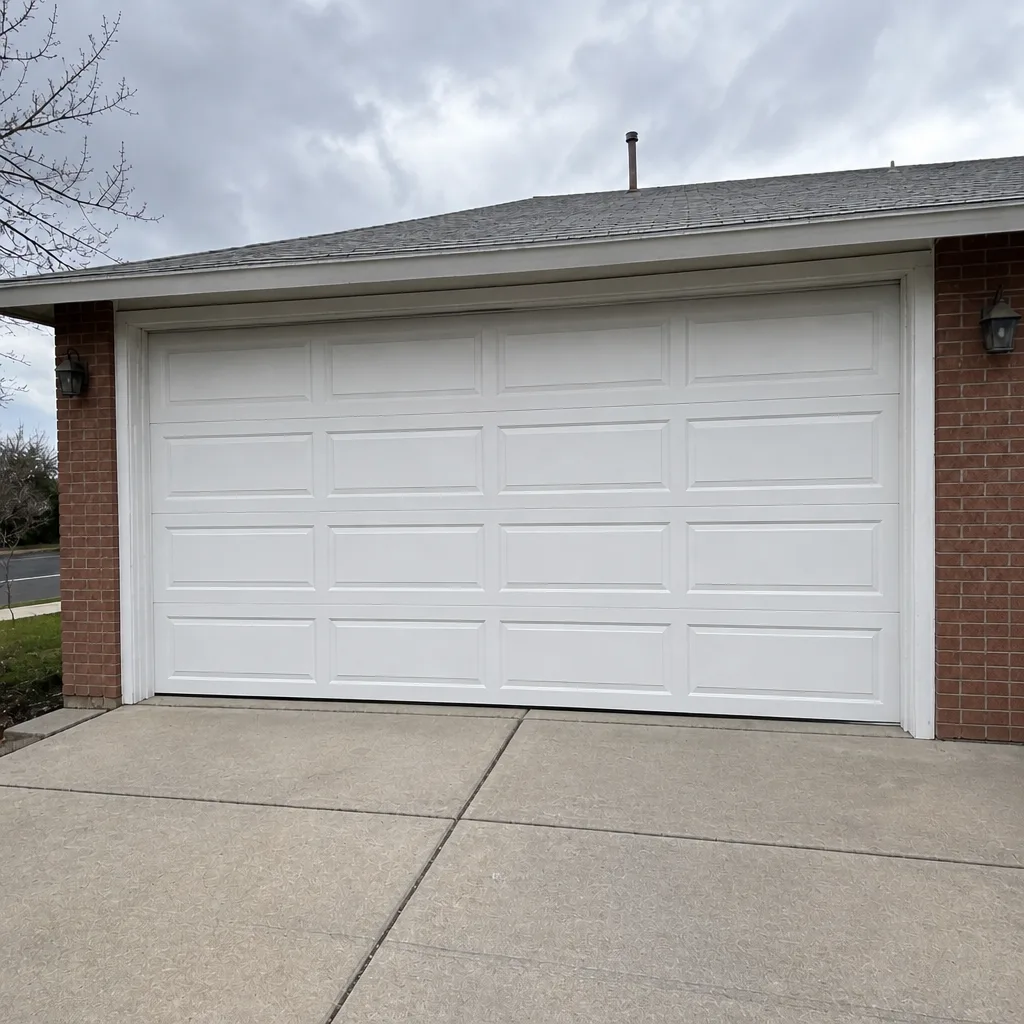
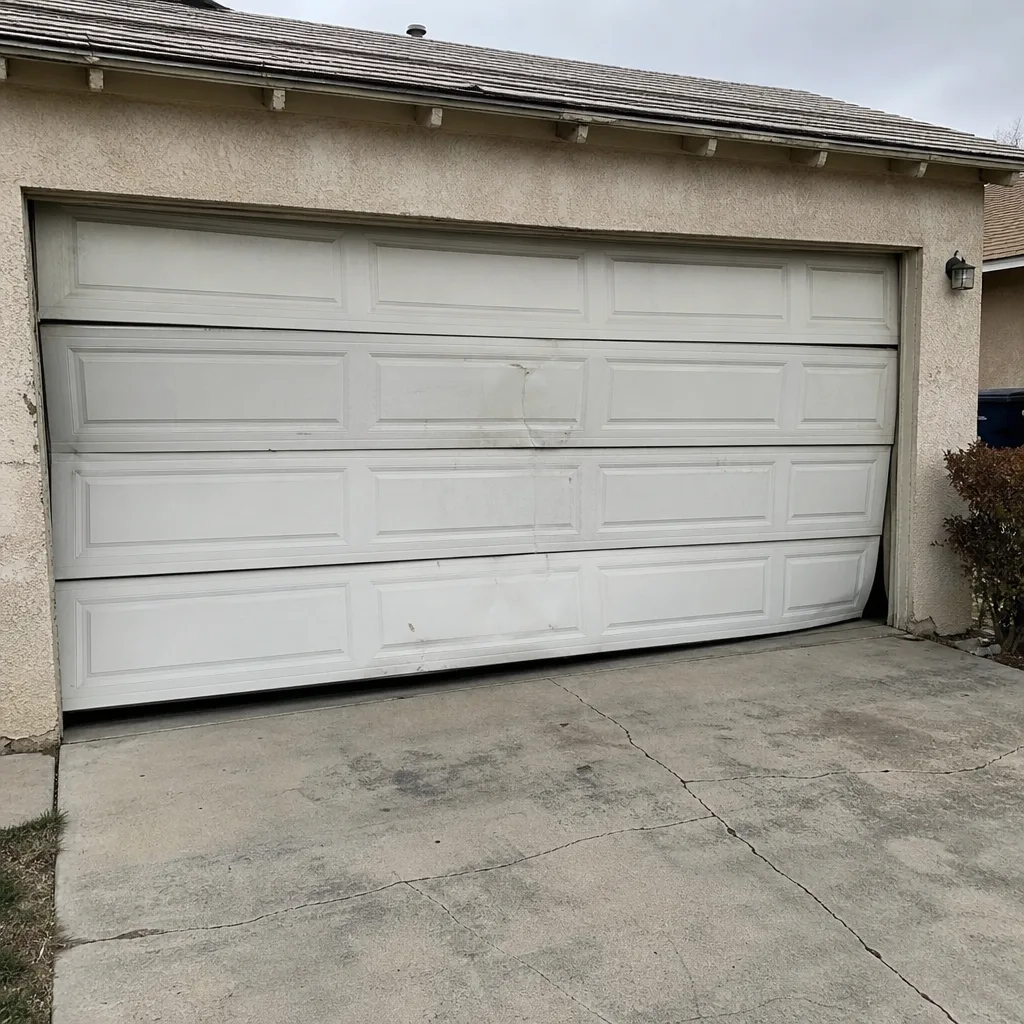
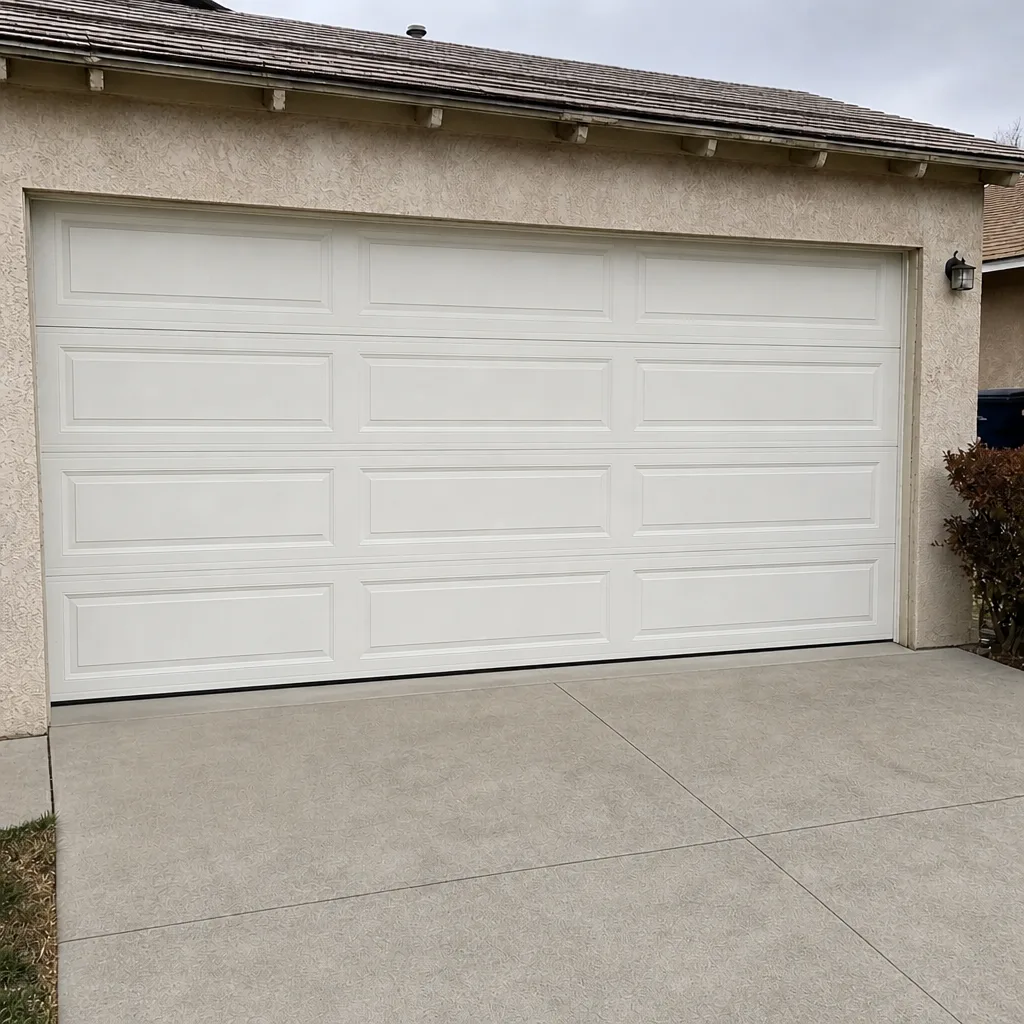
See the difference
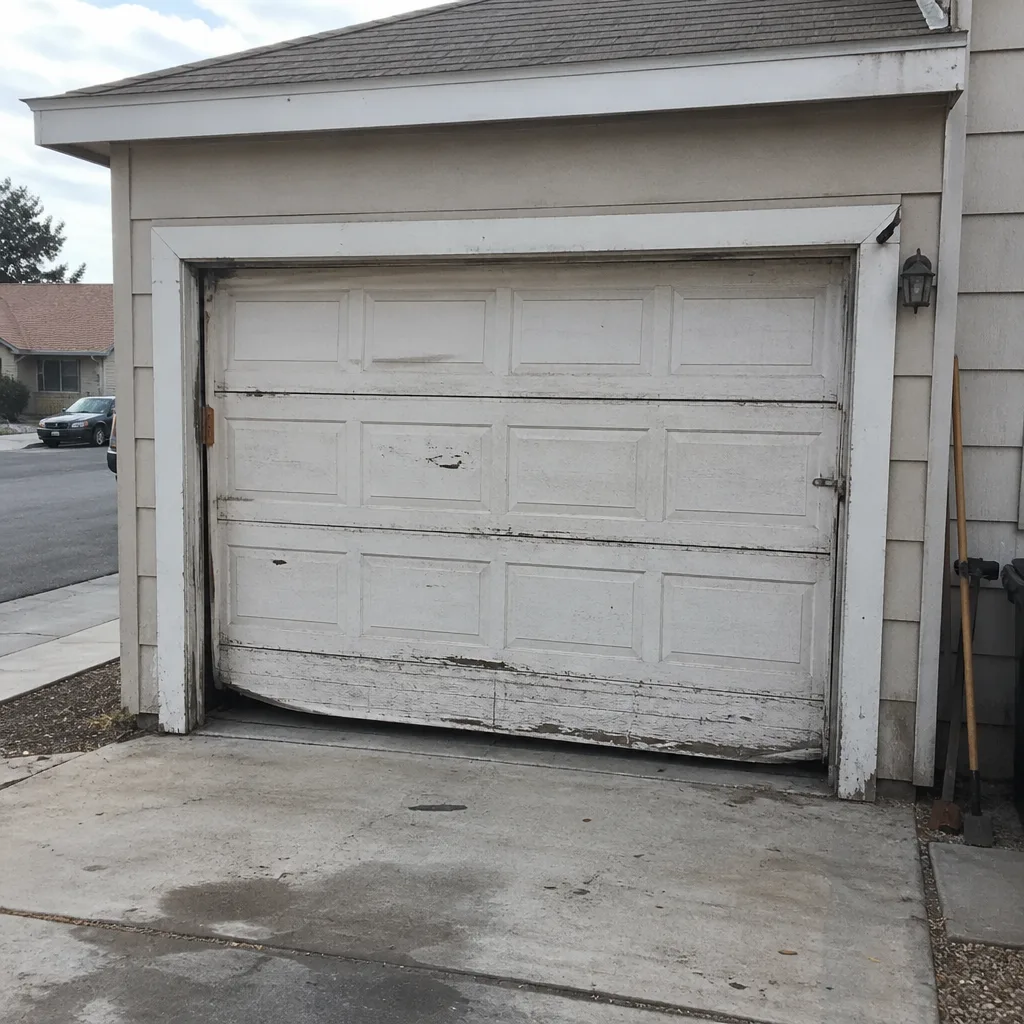 Before
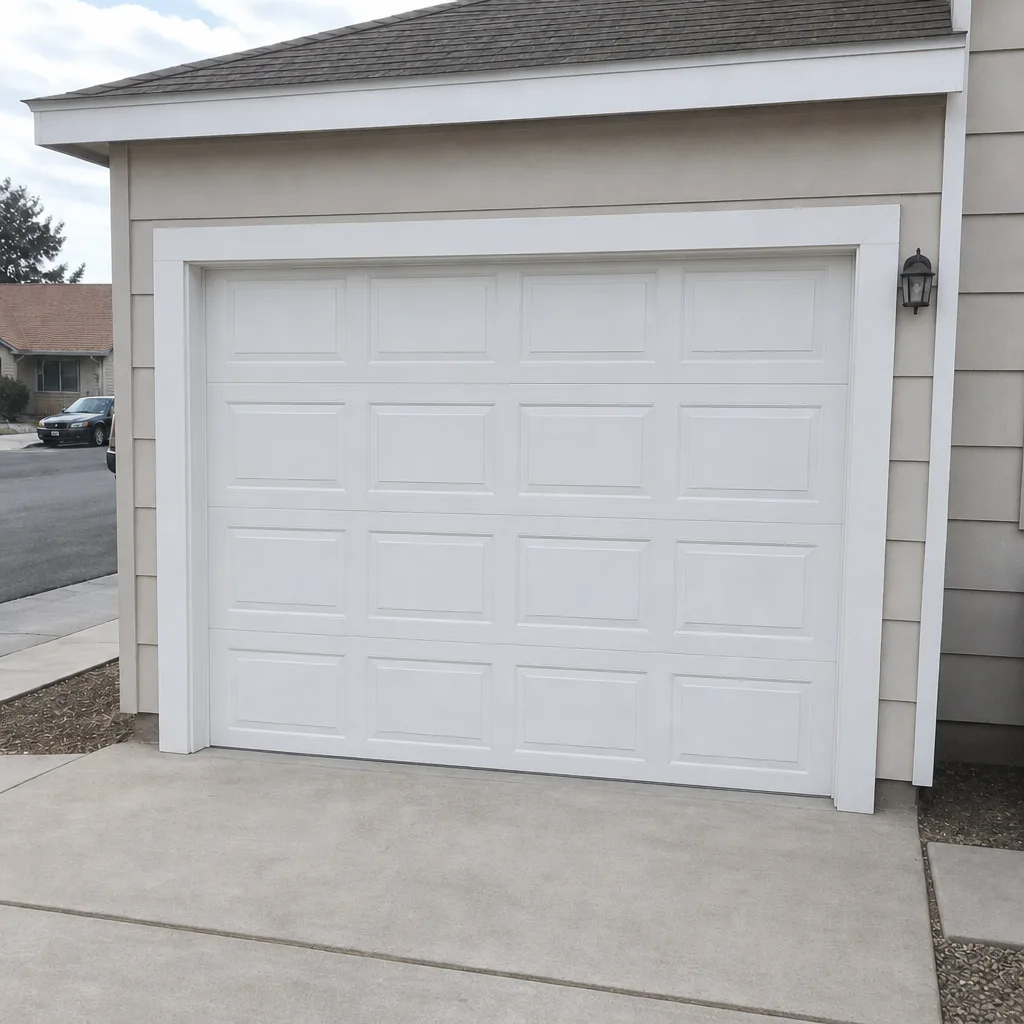 After
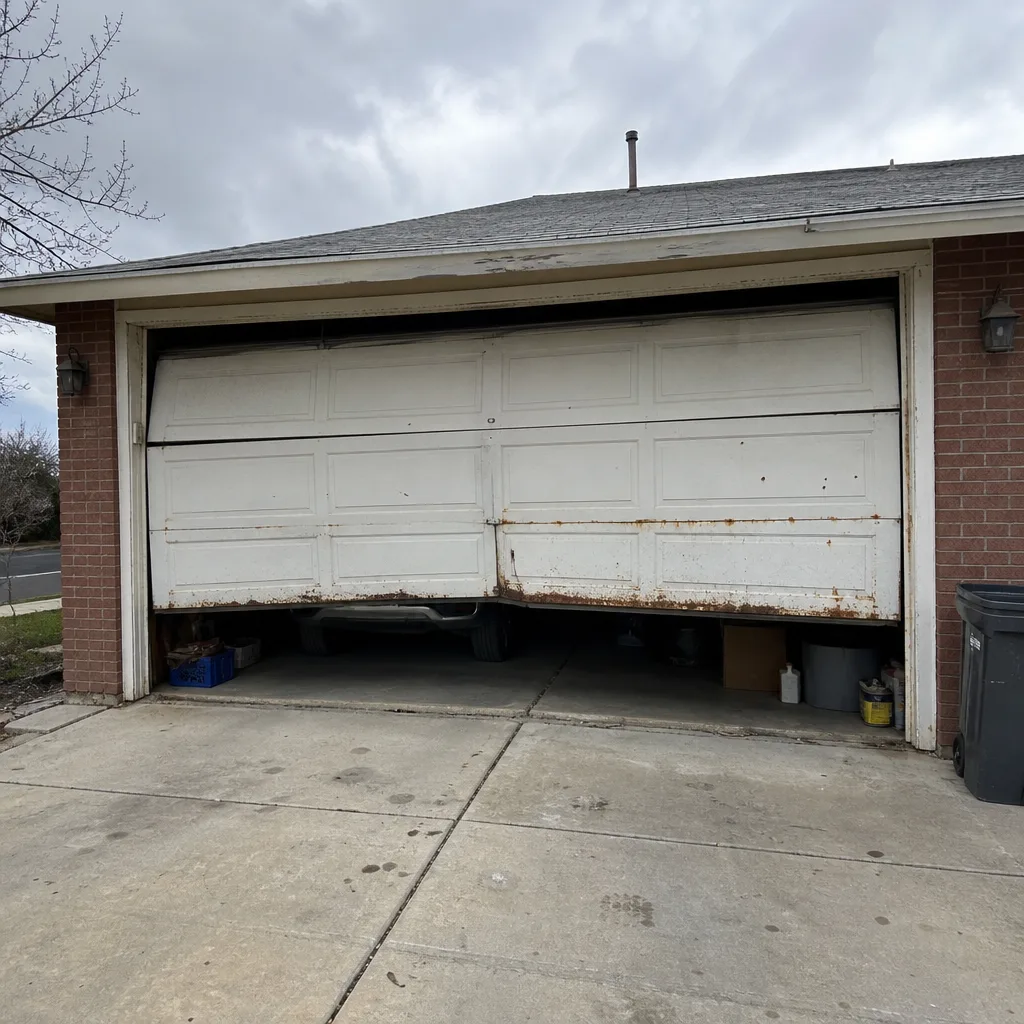 Before
 After
 Before
 After
When to Call a Professional
Call a professional for any warning sign that involves springs, cables, drums, or alignment. Call immediately, before the door gets worse, if you hear a loud bang from the garage, if the door hangs crooked or won’t close fully, or if the opener refuses to lift the door at all. These are safety cases, not something to fix over the weekend. If the door simply runs louder than it should, drifts down when manually released, or has a gap under the seal you can’t correct with a limit adjustment, that’s a call for an inspection before the problem compounds.
Mainspring Garage Door Co. Whitney offers free estimates in Whitney and a free second opinion on any written estimate you have. If you’re not sure whether what you’re seeing is a warning sign or normal behavior, call us at (844) 797-9248 and we’ll walk through it with you over the phone. Live people answer, around the clock.
Frequently Asked Questions
Check within the first five minutes, with the installer still on site, and then again at the one-month mark. The five-minute walkthrough catches alignment, balance, and travel problems before they become remote. The one-month check catches anything that settled or loosened as the door broke in. If both checks pass, you’re likely looking at a solid install.
A properly installed new door should run quieter than an old door, not louder. A new installation that sounds louder is usually a sign of an ungreased set of rollers, an opener pushed slightly off-center on the rail, or a track that’s not square. None of those are normal, and all of them belong to the installer to correct. Call them back before you accept the noise as “the way it is.”
Yes. A written invoice should name the exact Chamberlain model installed (for example, the B970 or the B4603T) along with the number of remotes, the wall console model, and the safety sensor model. Without that detail, you can’t program a replacement remote correctly later or file a warranty claim. If your paperwork just says “Chamberlain opener,” ask for the specific model number in writing.
A bad spring install usually looks like one of three things in the first month: the door drifts down when you pull the manual release and let go, the door feels noticeably heavier in one hand than the other, or you hear the opener straining on cold mornings or hot afternoons. Whitney’s summer heat makes the third one obvious every August. Any of the three is a callback the installer should handle.
Close the door and look at the gap between the door edge and the track on each side. It should be even top to bottom. Then open the door slowly and watch the gap; if the door drifts toward one side as it rises, the track is out of square. You can also stand at the floor and glance up at the track; a square track runs straight and parallel to the door edge from floor to ceiling curve. If either check looks wrong, call the installer back.
Yes. A second opinion from a shop with no stake in the original install is the fastest way to know whether you’re seeing a real warning sign or normal break-in wear. Mainspring offers a free second opinion on any written estimate, which gives you a trained technician’s read without committing to anything. If the original install is fine, you’ll hear that. If it isn’t, you’ll know what needs to be corrected before it becomes a repair bill.
The Bottom Line
A good garage door install is quiet, balanced, and documented. A bad one is quiet for a few weeks and then starts talking. The five-minute walkthrough, the spring check, and the paperwork review are the three moves that catch most installation problems before they turn into failures. The warning signs that show up weeks later, in Whitney’s case especially, are almost always the ones you can learn to spot: uneven wear on the weatherstripping, one side lifting ahead of the other, an opener straining in the heat. Learn to see them and you’ll know when to handle a small fix yourself, when to call the installer back, and when to call a shop that answers the phone. If you’d like a trained eye on your door, our Mainspring Garage Door Co. Whitney home page has the full picture of what we do and how we do it.
Give us a call at (844) 797-9248 for a free estimate on a new installation, a repair, an opener service call, or a second opinion on a job you’re not sure about. A live person answers every call, every day, and we’ll walk you through your options without any pressure.
Written by the team at Mainspring Garage Door Co. Whitney.