
Last updated November 17, 2026
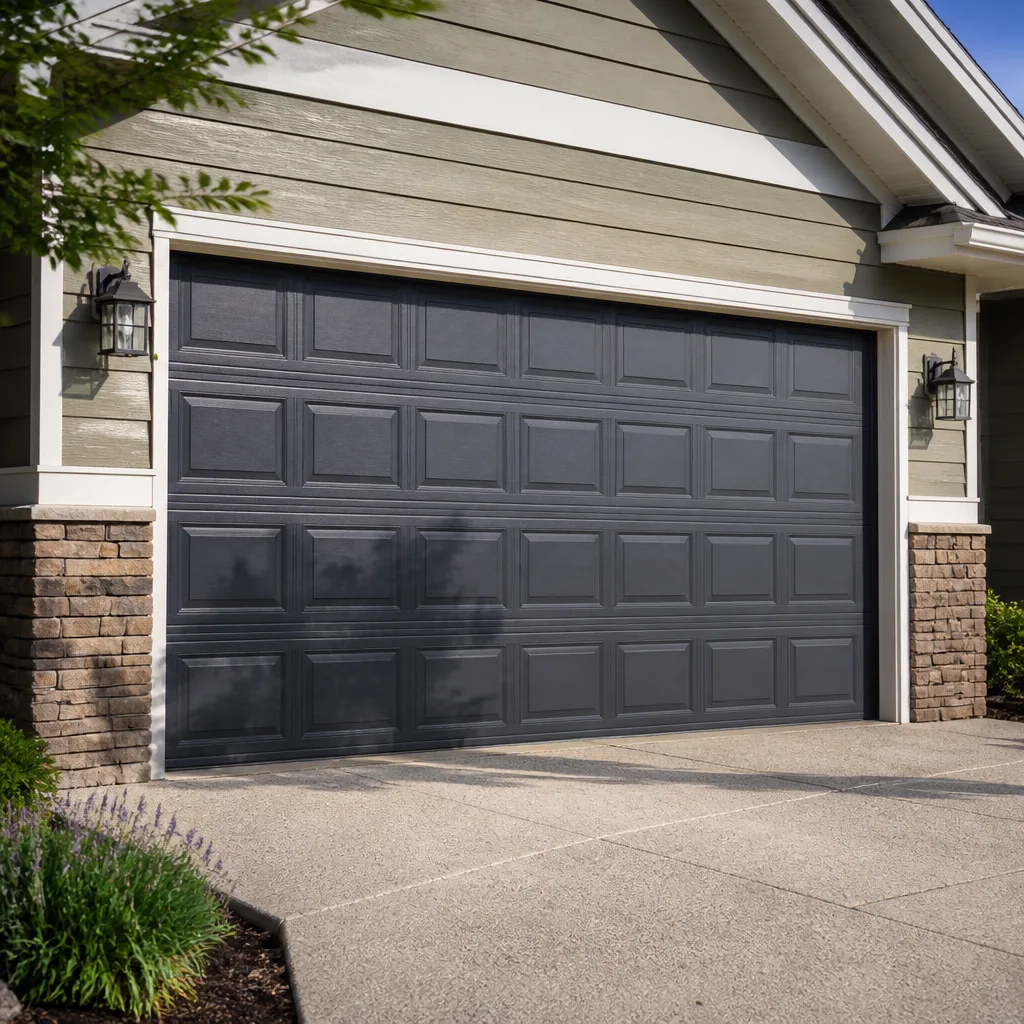 Raised-panel steel
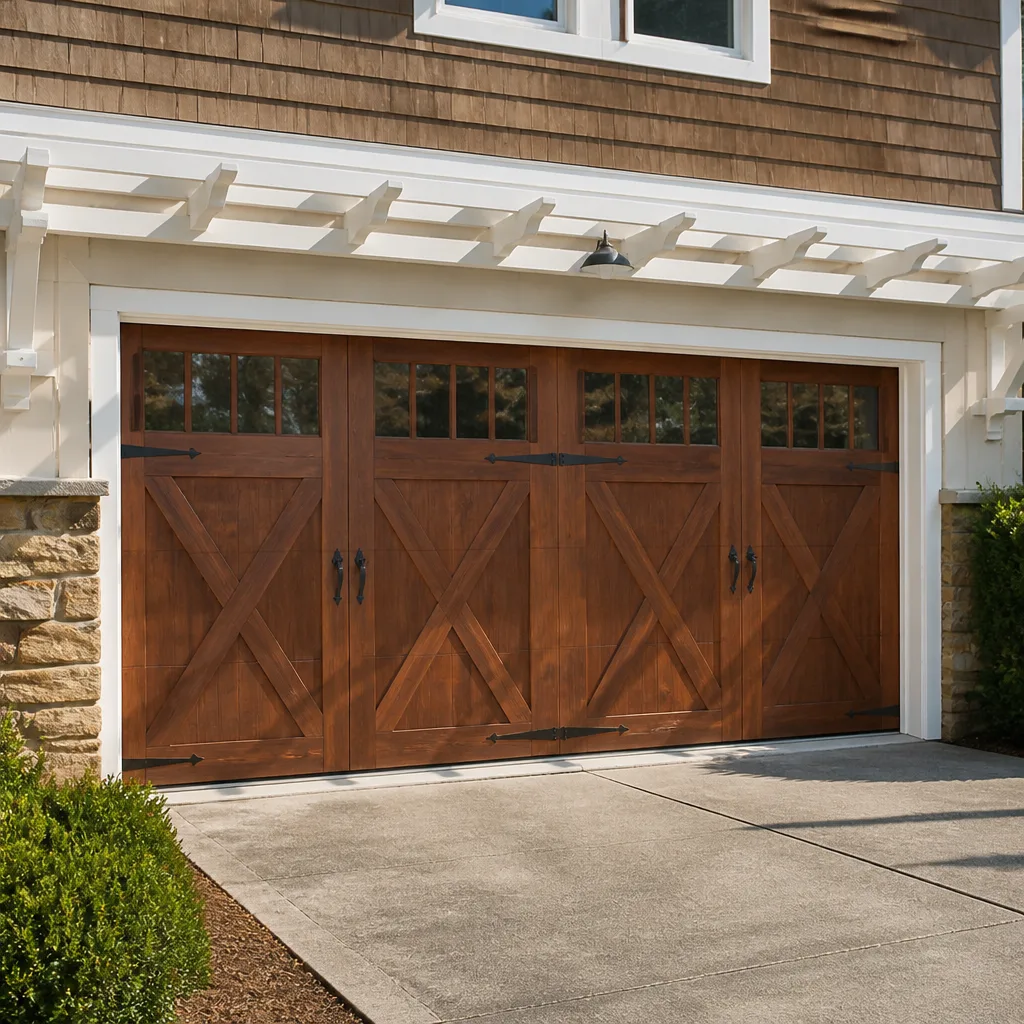 Carriage house
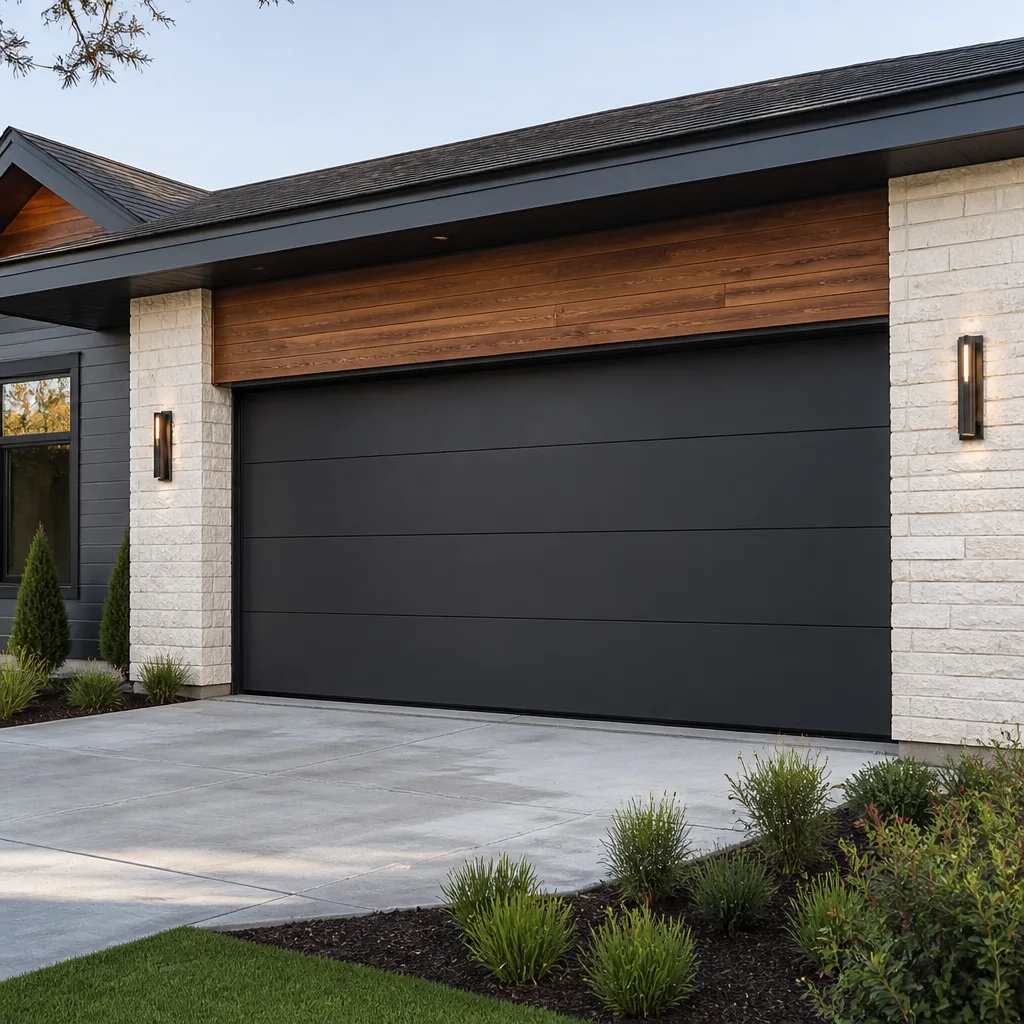 Modern flush
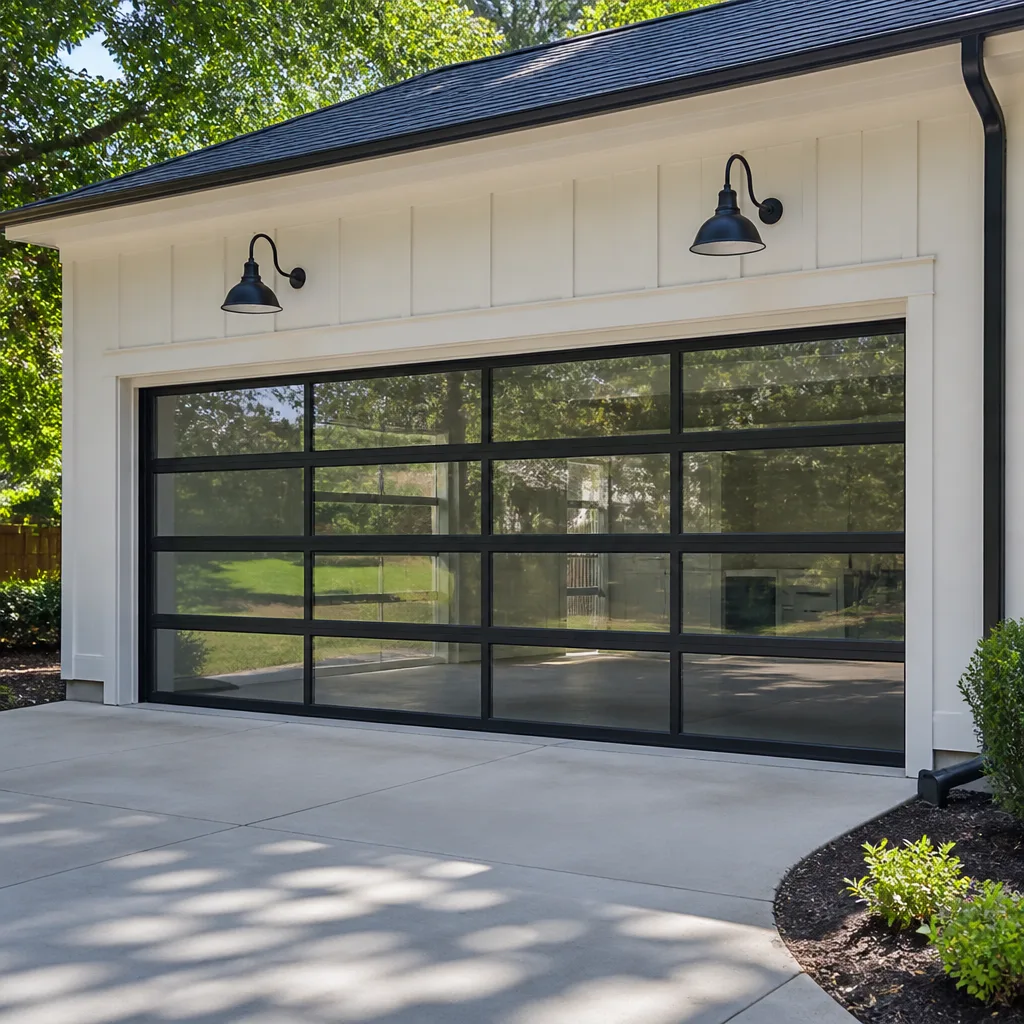 Full-view glass
 LiftMaster openers
 Chamberlain openers
Full 25-point door and opener safety check with every visit - springs, cables, rollers, tracks, and your LiftMaster or Chamberlain opener included
You get a price before we start. It does not change when the pro arrives.
Get your free estimateGarage Door Installation Maintenance Schedule: What to Do and When
A new garage door has a break-in period, and almost nobody documents it. During the first few hundred cycles, new cable clips, roller stems, and hinge plates seat themselves under load. Panels settle, springs relax a fraction, and fasteners that were torque-perfect in the driveway loosen. Skip the 30-day hardware retorque and that settling turns into a rattle by the first cold snap. A door that should run quietly for 20 years starts aging at year three. Below is the maintenance schedule we give to Whitney homeowners after a new door is hung, with the intervals that matter, the measurements to record, and what your warranty likely requires you to keep.
Quick Answer
A newly installed garage door needs three checkpoints in its first 90 days: a visual and hardware check at week one, a fastener retorque at day 30, and a professional adjustment and balance inspection at month three. After year one, the door moves to a standard annual tune-up with lubrication twice a year. Record baseline measurements at installation so you can tell normal settling from a real problem.
Styles & brands we work with
- Raised-panel steel
- Carriage house
- Modern flush
- Full-view glass
- LiftMaster openers
- Chamberlain openers
Table of Contents
- What Break-In Actually Means for Springs, Cables, and Rollers
- Recording Baseline Measurements on Installation Day
- Month 1: The First 30 Days
- Month 3: The 90-Day Inspection
- Year 1: The First Full Annual Cycle
- The Annual Schedule From Year 2 Onward
- Warranty-Preservation Maintenance
- Common Mistakes to Avoid
What Break-In Actually Means for Springs, Cables, and Rollers
“Break-in” sounds like a marketing phrase. Mechanically it is a real thing. A torsion spring that carries a door’s full weight starts life at a calibration; over the first several hundred cycles it settles by a small amount. On a standard door, that settling shows up as the door sitting a half-inch higher or lower when closed than it did on installation day. It is normal. It is also measurable, which is the point.
Cables are the second moving part that shifts. New cable clips and drum wraps seat under tension during the first weeks. If a clip was slightly under-tightened at the shop, the settling reveals it as a thin gap or a faint ticking sound as the cable travels. Rollers go through a similar adjustment as their stems press into the hinge plate.
Normal break-in looks like this:
- A slightly louder door in the first two weeks that quiets down after lubrication and retorque
- Small gaps or uneven seating at the bottom seal that close as the door compresses under load
- A minor change in door balance – noticeable only when you manually lift it halfway
Abnormal break-in looks different:
- Grinding, snapping, or popping sounds that persist past week two
- A door that reverses on its own or stops before reaching the floor
- Visible cable fraying, kinks, or a drum wrap that looks uneven
- Any panel that looks out of square with its neighbor
Here in the Las Vegas Valley, the dry heat and sharp seasonal swings make break-in more visible than in milder climates. Summer afternoons in Whitney push garage interiors past 110°F, then winter nights drop into the 30s. Steel expands and contracts through that range, and the result is that the retorque at day 30 is not optional – it is what keeps a new door quiet through its first winter.
Recording Baseline Measurements on Installation Day
The single most useful thing you can do on installation day is write numbers down. Without a baseline, “the door still works” is your only performance metric, and by year three you have no way to tell whether a slow opening cycle is normal aging or a real decline. With five numbers on an index card taped inside the garage, you have something to measure against.
Record these on the day the installer finishes:
- Closed-floor gap: slide a tape measure under the closed door at three points – left edge, center, right edge. Note each in fractions of an inch.
- Halfway-hold test: with the opener disengaged, lift the door by hand to waist height and let go. It should hold position within a few inches. Note how far it drifts.
- Opening time: time the door from fully closed to fully open. A properly balanced door runs the cycle in about 12 to 14 seconds.
- Cycle count: note the date and mark it as cycle 0 in a small notebook in the garage. Every time you open or close the door, add one.
- Photo set: photograph the spring assembly, the cable drums, and the opener rail. Those photos become your visual baseline.
Two minutes on installation day saves a service call later. When a homeowner calls us in Whitney worried that the door feels “heavier than it used to,” the first question we ask is whether they have a baseline. If they do, we can usually explain the difference over the phone before anyone gets in a truck.
Month 1: The First 30 Days
The first month is about letting the door settle and watching for anything that does not settle back. On most doors this is a week-four visit, though if you or your installer are close to the equipment, a week-one visual is worth doing. The important tasks in month one:
- Week one – visual check. Look at the spring assembly, the drums, and the cables. Note any gaps, debris, or obviously loose hardware. Do not adjust anything. Just note it.
- Week one – safety reversal test. Put a 2×4 flat on the floor under the door’s path and close the door with the opener. If the door does not reverse on contact, the opener’s force setting needs adjustment. Repeat with the photo-eye beam by passing a hand through the beam while the door is closing.
- Week two – lubrication. Apply a silicone-based lubricant to the torsion spring coils, the rollers, and the hinge points. Do not use WD-40 – it collects dust in a Whitney garage and turns into grit over the season.
- Day 30 – hardware retorque. Every hinge bolt and roller stem gets a snug turn with the right socket. Also check the lag bolts that hold the opener rail to the ceiling. This is the single most-missed step.
- Day 30 – recheck the floor gap. Compare against your baseline card. You should see the gap close by a fraction, not widen.
None of these tasks require heavy tools. What they require is that you actually do them. We’ve seen doors in Whitney seven months old that have never been retorqued, and every one of them rattles.
Month 3: The 90-Day Inspection
By the 90-day mark, a new door has cycled somewhere between 200 and 500 times for most households. That is enough for springs, cables, and rollers to finish their initial seating. The month-three checkpoint is the one that separates doors that age well from doors that age fast.
What a proper 90-day professional inspection covers:
- Balance test: the door is disengaged from the opener and manually moved through its range to confirm it holds at midpoint. On a new door this should be near-perfect; if it isn’t, the spring tension needs adjustment.
- Spring calibration: the installer confirms the springs match the door’s actual weight in place, not the shipping-dock estimate. Your garage’s structure sometimes affects the final balance.
- Cable clip inspection: every clip and drum wrap is checked for seating. This is where a bad clip shows up.
- Fastener retorque round two: lag bolts at the track brackets, jamb brackets, and opener rail.
- Opener force and travel adjustment: the up and down limits should already be dialed in. A 90-day visit is when to verify they haven’t drifted.
- Weather seal check: the bottom seal should be making full contact along the floor. In Whitney, the summer heat softens vinyl seals slightly, so the fit that was snug in March may need a small adjustment by June.
This is also the right moment to schedule the first Garage Door Opener in Whitney service visit if the opener was installed with the door, particularly if it’s a belt-drive LiftMaster or Chamberlain unit – the belt tension settles just like the door hardware does.
Year 1: The First Full Annual Cycle
By the one-year mark, a new door has been through one full seasonal cycle in Whitney – the summer heat stretch and the cold nights that follow. Year one is when you check the door against its baseline card and confirm that nothing has drifted beyond where it should be.
The year-one tasks:
- Second lubrication pass. Springs, rollers, hinges. Twice a year from here forward, at the season changes.
- Baseline comparison. Re-measure the floor gap, halfway-hold drift, and opening time. A properly maintained door should read very close to its installation-day numbers.
- Bottom seal inspection. Any cracking, hardening, or gaps along the floor is a note for replacement. In Southern Nevada, a vinyl bottom seal typically lasts three to four years before it hardens, less if the door faces west.
- Paint or finish touch-up. If it’s a painted steel Clopay or Amarr door, one small chip touched up in year one prevents a rust spot by year five. The dry air helps, but sun exposure on a west-facing door in Whitney still does real work.
- Opener battery backup test. LiftMaster and Chamberlain openers with battery backup should be tested annually. The unit switches to battery on power loss, and if the battery has degraded it won’t.
- Second professional inspection. A qualified technician catches track alignment and spring wear long before a homeowner notices.
The Annual Schedule From Year 2 Onward
Once the door has finished its break-in, the rhythm is simple: twice a year for lubrication and visual checks, once a year for a professional tune-up. The door settles into a maintenance pattern that is inexpensive and short.
- Spring and fall: lubrication. Silicone spray on springs, rollers, and hinges. Five minutes each round.
- Spring and fall: safety reversal test. Same 2×4 test as month one. Takes two minutes.
- Annual: professional tune-up. Balance check, fastener retorque, cable inspection, roller assessment, opener force test, and seal check. A $89 Seasonal Tune-Up is a set price, not an hourly one – the trip is planned and the price is stated before anyone opens a toolbox.
- Every 3-4 years: bottom seal replacement. Faster if the door faces west or south. Rubber seals last longer than vinyl but cost more.
- Every 6-8 years: roller replacement. Nylon rollers hold up better than steel; the trade-off is cost. A Raynor or Craftsman door with nylon rollers will comfortably go past a decade.
- Every 8-12 years: spring replacement. Standard torsion spring life is about 10,000 cycles. A two-car household cycling four times a day reaches that in roughly seven years. The springs on a spec-built Whitney home’s original door are often the first to go.
Set a calendar reminder tied to a specific date – daylight saving changeovers work well because they happen twice a year and they are easy to remember. Homeowners who tie it to a fixed date actually keep up the schedule. Everyone else keeps meaning to.
Warranty-Preservation Maintenance
Every door and opener warranty has conditions. Read the fine print on day one, because the requirements are almost always phrased as “maintenance responsibilities” that a customer agrees to perform. Miss them and a genuine defect claim becomes a debate.
What written warranties typically require you to do:
- Annual lubrication. Most spring and hinge warranties specify a yearly lubrication routine. Document it – date, product, what was lubricated.
- Annual professional inspection. Some Opener warranties from LiftMaster or Chamberlain require an inspection by a qualified technician once a year to keep the warranty in force. Get a written report.
- No unauthorized adjustments. If a homeowner or an unlicensed handyman adjusts the torsion springs, most spring warranties void immediately. This is a real condition, not a scare tactic.
- Prompt reporting of noticed defects. If you see a frayed cable or a stress crack in a hinge, the warranty terms almost always require you to report it within a defined time window. Waiting until the door stops working often closes the window.
The practical way to protect both the warranty and the door: keep every service record in a folder in the garage. The date of the tune-up, who did it, and what was found. When a warranty claim arises, the folder is your case. At Mainspring, every job we complete is backed in writing by the 90-Day Done Right Promise – if it isn’t right, we come back and make it right, with no paperwork to argue through. That paper is worth keeping too.
Common Mistakes to Avoid
- Skipping the 30-day retorque. The single most common reason a new door rattles by winter. Fasteners settle under load and that settling is never “automatic”. Someone has to snug them.
- Using WD-40 as a lubricant. It’s a solvent, not a lubricant. In a Las Vegas Valley garage that sees dust blow through, WD-40 attracts grit and turns into an abrasive paste on the rollers within a month. Silicone spray only.
- Adjusting springs on your own. Torsion springs hold hundreds of pounds of tension. A wrong move on a spring winding bar has sent people to the ER. This is one task that belongs to a trained technician, no exceptions.
- Assuming the warranty covers everything. Door warranties cover panels and hardware against manufacturing defects – they do not cover labor, spring wear, or anything caused by skipped maintenance. Read the fine print and keep your service records.
- Ignoring the first rattle. In Whitney, a small rattle in spring can become a snapped cable in fall. Rattles are cheap to fix when they first appear and expensive when they’ve been left alone through a season of cycling.
- Not recording baselines. Without installation-day numbers, you cannot tell degradation from normal wear. Two minutes on installation day is worth every later service call.
- Letting an unlicensed handyman touch the opener. Opener force and travel settings are what keep the safety reverse working. A handyman who overwinds the force setting to “make it close faster” defeats the entire safety system.
See the difference
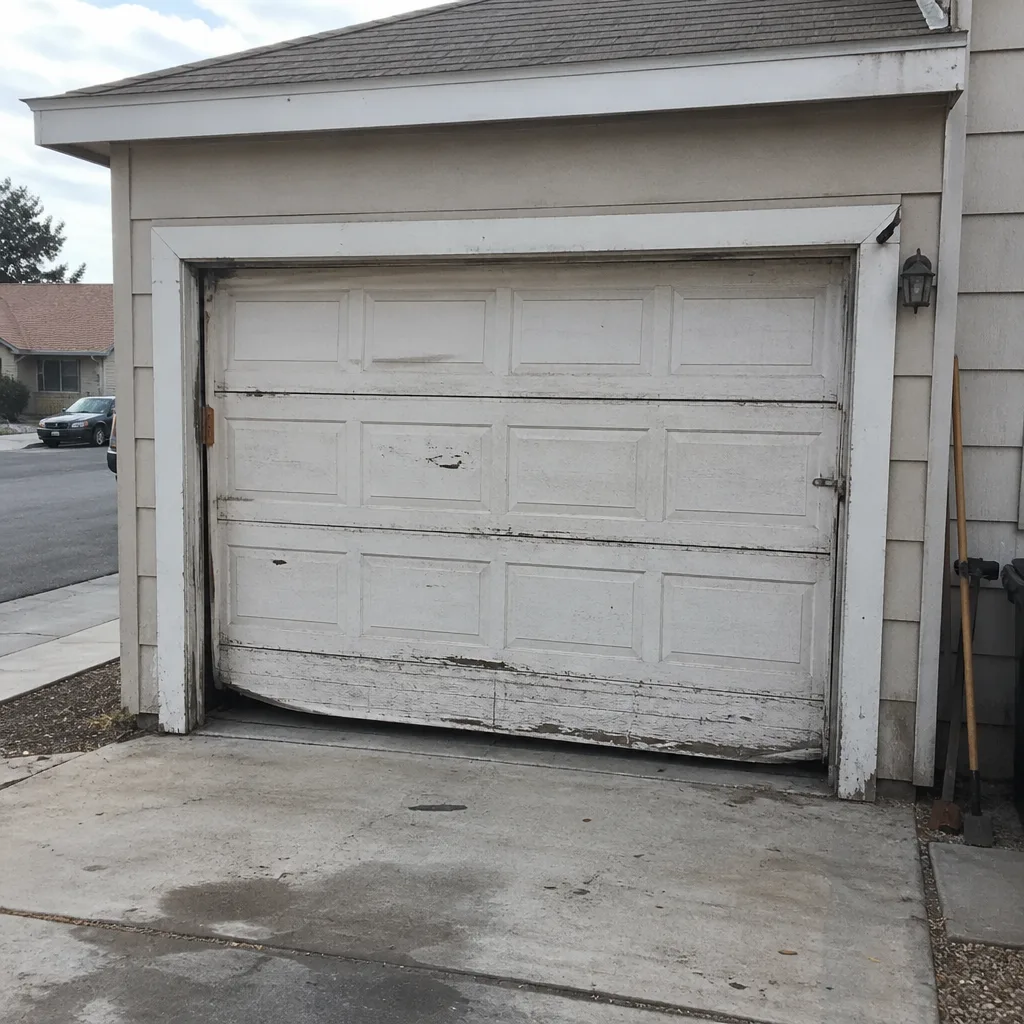 Before
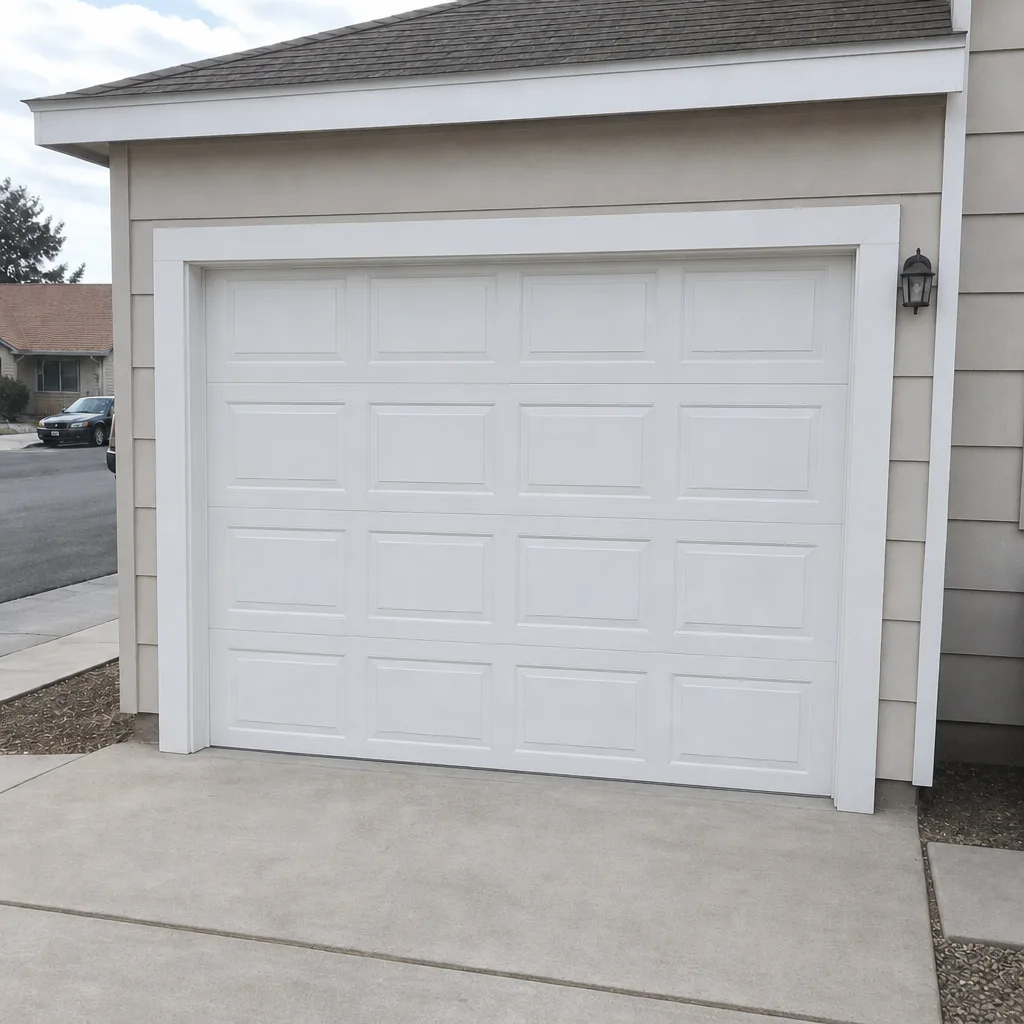 After
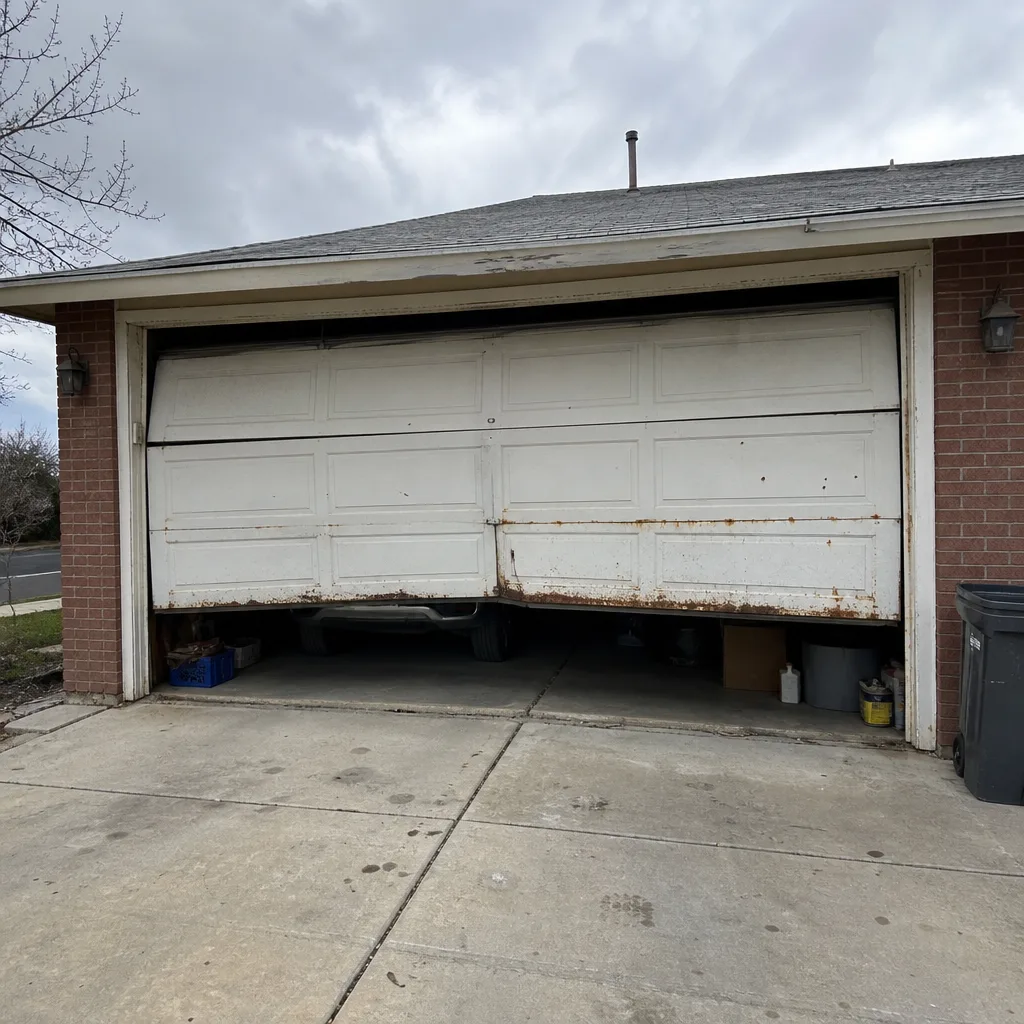 Before
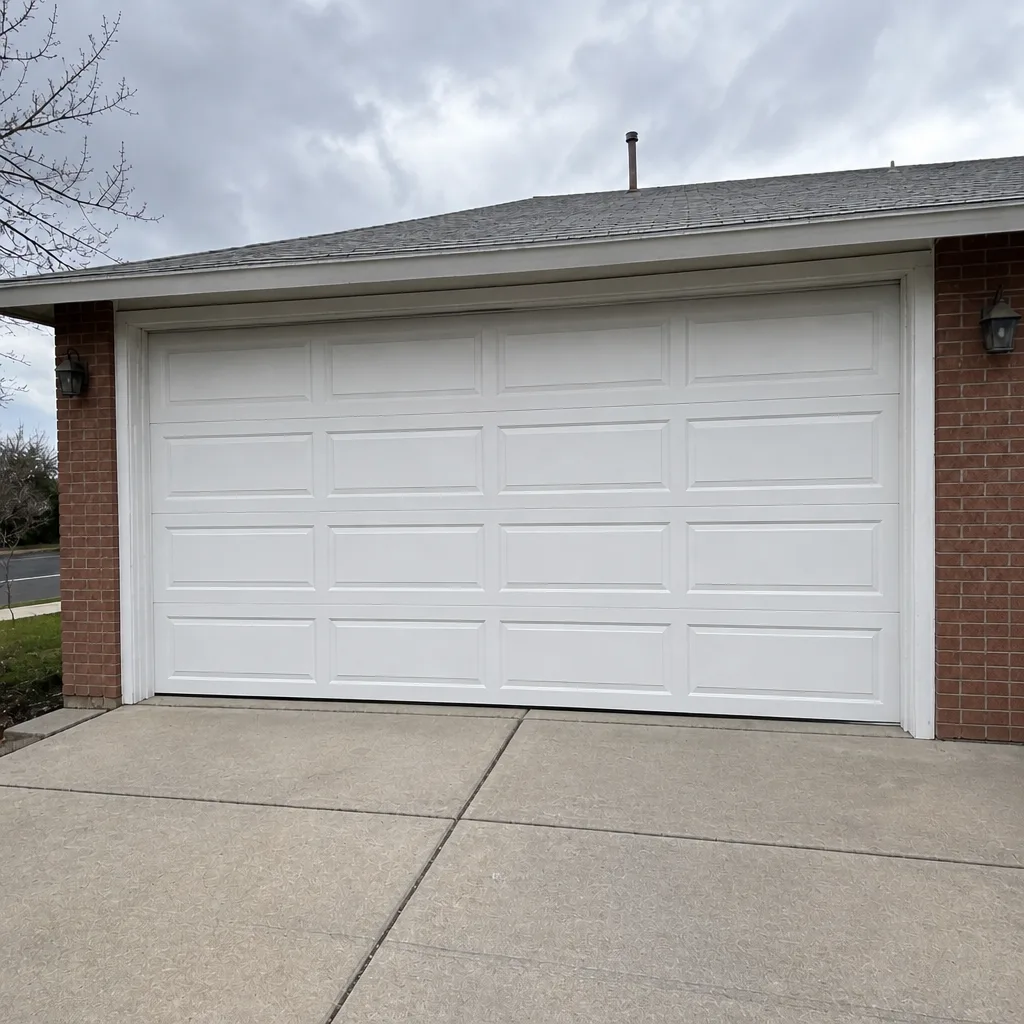 After
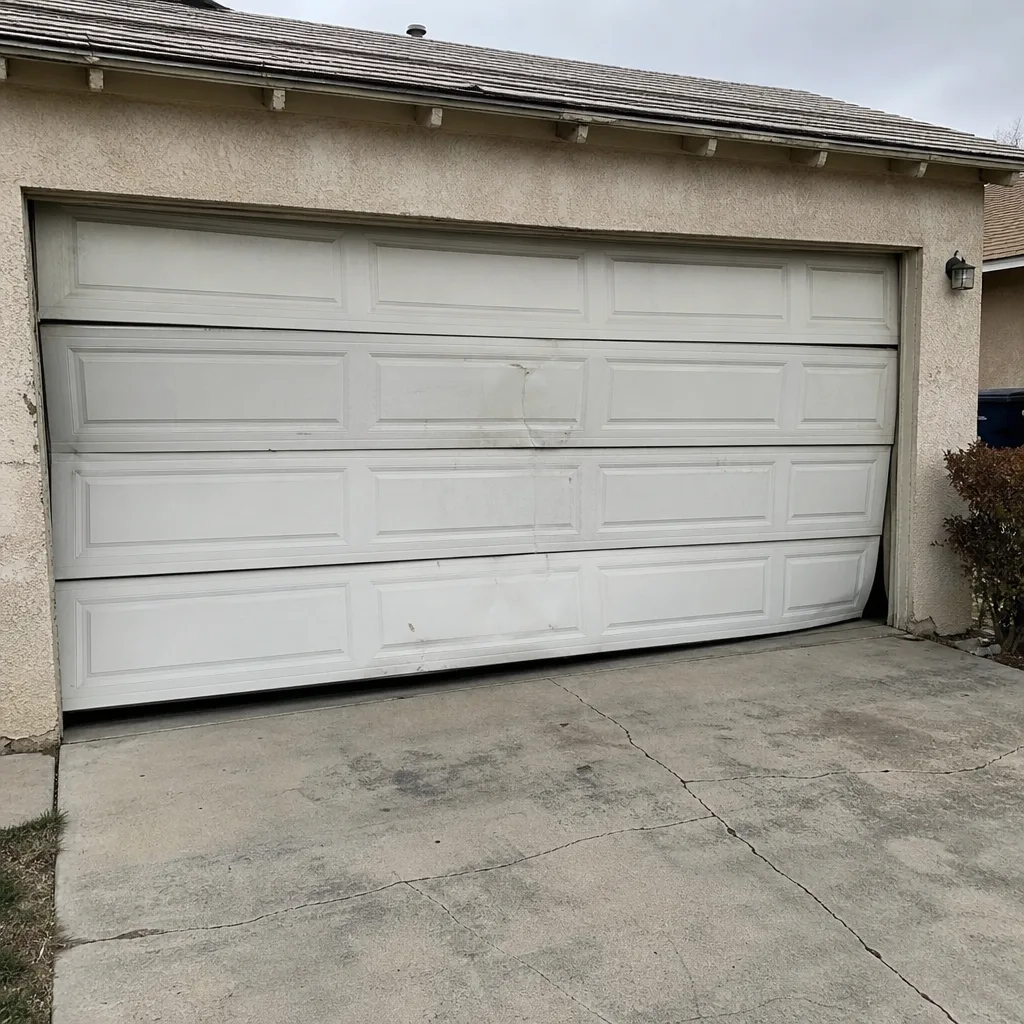 Before
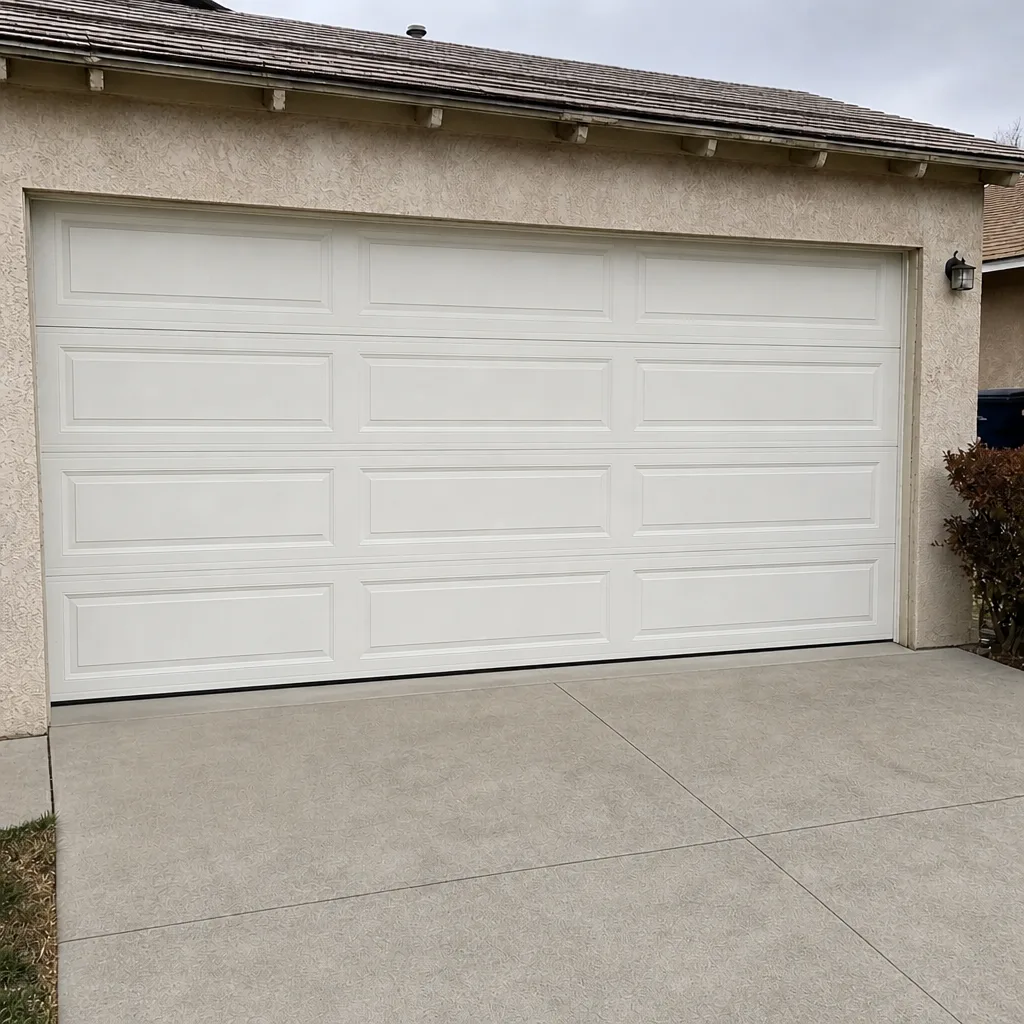 After
When to Call a Professional
Call a trained technician when the door is out of balance, when a cable shows any sign of fraying or kinking, when the opener reverses or stops without your command, or when any part of the spring assembly is under visible stress. Torsion springs and cables are not a homeowner project – the tension they hold does real damage when it releases unexpectedly, and a broken spring is worth a professional call, not a shoulder. For routine maintenance, a properly scheduled annual tune-up catches almost every issue before it becomes a repair. Mainspring Garage Door Co. Whitney offers free estimates in Whitney – call (844) 797-9248, and a live person answers, day or night.
Frequently Asked Questions
Ninety days after installation. That is the interval that catches spring settling, cable clipping issues, and fastener loosening before they become habits. Book it before the door is even hung, so it doesn’t get forgotten. Call (844) 797-9248 to schedule – estimates are free.
Yes. New fasteners and roller stems seat under load during the first few hundred cycles, and the retorque is what keeps them snug. Skipping it is the most common cause of a rattle that appears by the first cold month. It’s a fifteen-minute visit and worth every minute.
Normal break-in is a small settling – a quarter- to half-inch change in door height, a slightly louder first two weeks. A problem is a door that fails to hold at midpoint, that reverses on its own, or that shows a visible kink in the cable or an uneven drum wrap. The second category warrants a call, not a wait-and-see.
Lubrication and visual checks will not – in fact, they’re usually required to keep the warranty in force. Adjusting the torsion spring assembly yourself will void most spring warranties outright. Routine maintenance you can do; spring calibration and opener force settings belong to a trained technician. Call (844) 797-9248 with warranty questions before you touch anything.
Annual lubrication, an annual professional inspection (for some opener brands), no unauthorized spring adjustments, and prompt reporting of any noticed defect. Keep signed documentation of each. If a defect is ever claimed, your service record is the difference between a covered repair and an argument.
It helps. The technician who installed the door knows the baseline, and the service record stays in one place. Mainspring Garage Door Co. Whitney provides installation, tune-ups, repair, and opener service under one roof, and every job is covered by our 90-Day Done Right Promise. Call (844) 797-9248 and we’ll get you on the schedule.
The Bottom Line
A new garage door is not finished the day it is hung. The first 90 days determine whether it runs quiet for two decades or rattles by year three. The schedule is short: a week-one visual, a day-30 retorque, a 90-day professional inspection, and a year-one baseline comparison. After that, twice-yearly lubrication and one professional tune-up a year keep the door on track. Record baselines on installation day, keep every service record for warranty purposes, and call a trained technician the moment anything looks off-balance. That is what a 20-year door actually looks like – not a lucky one, a maintained one.
Have a new door that hasn’t had its first inspection, or an older door you suspect is past due? Mainspring Garage Door Co. Whitney provides installation, repair, tune-ups, and opener service throughout Whitney, with upfront flat pricing and a live person answering the phone any hour. Call (844) 797-9248 for a free estimate on your next service.
Written by the team at Mainspring Garage Door Co. Whitney.