
Last updated November 17, 2026
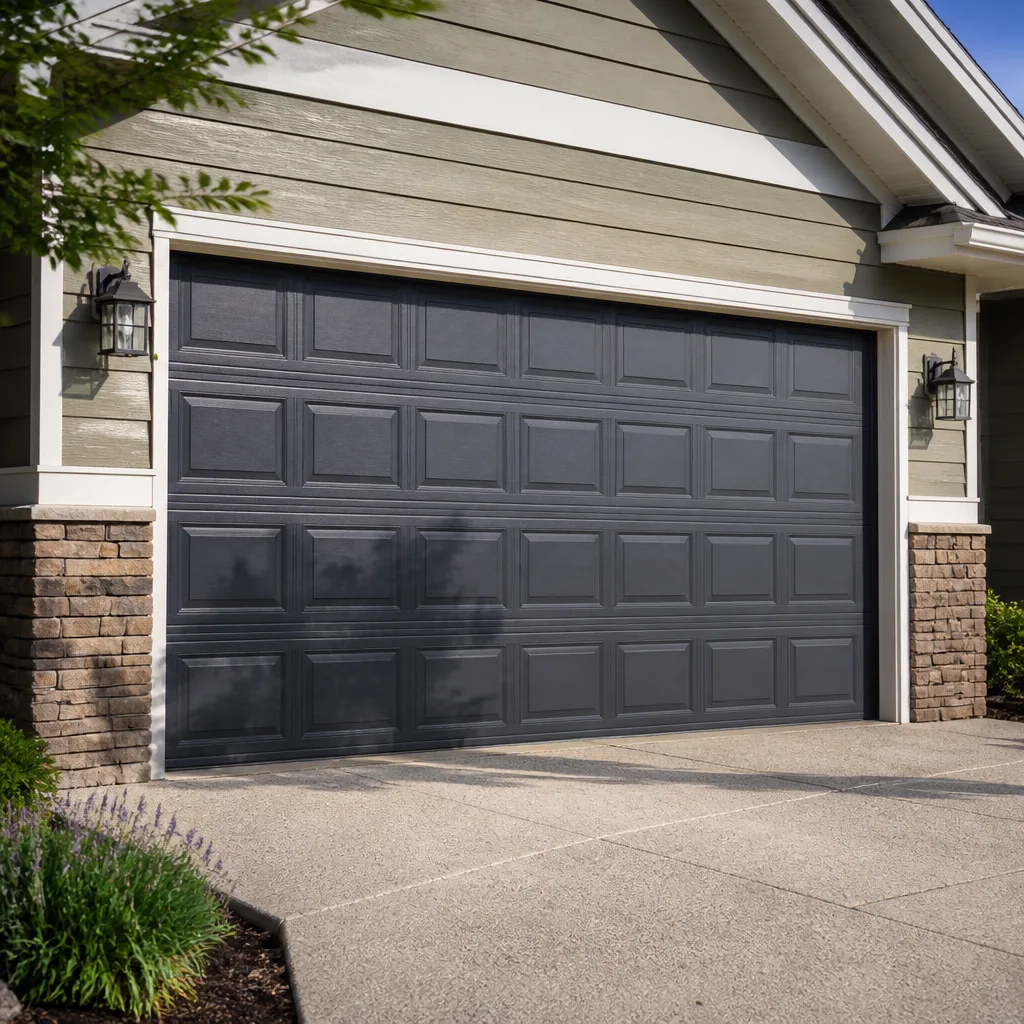 Raised-panel steel
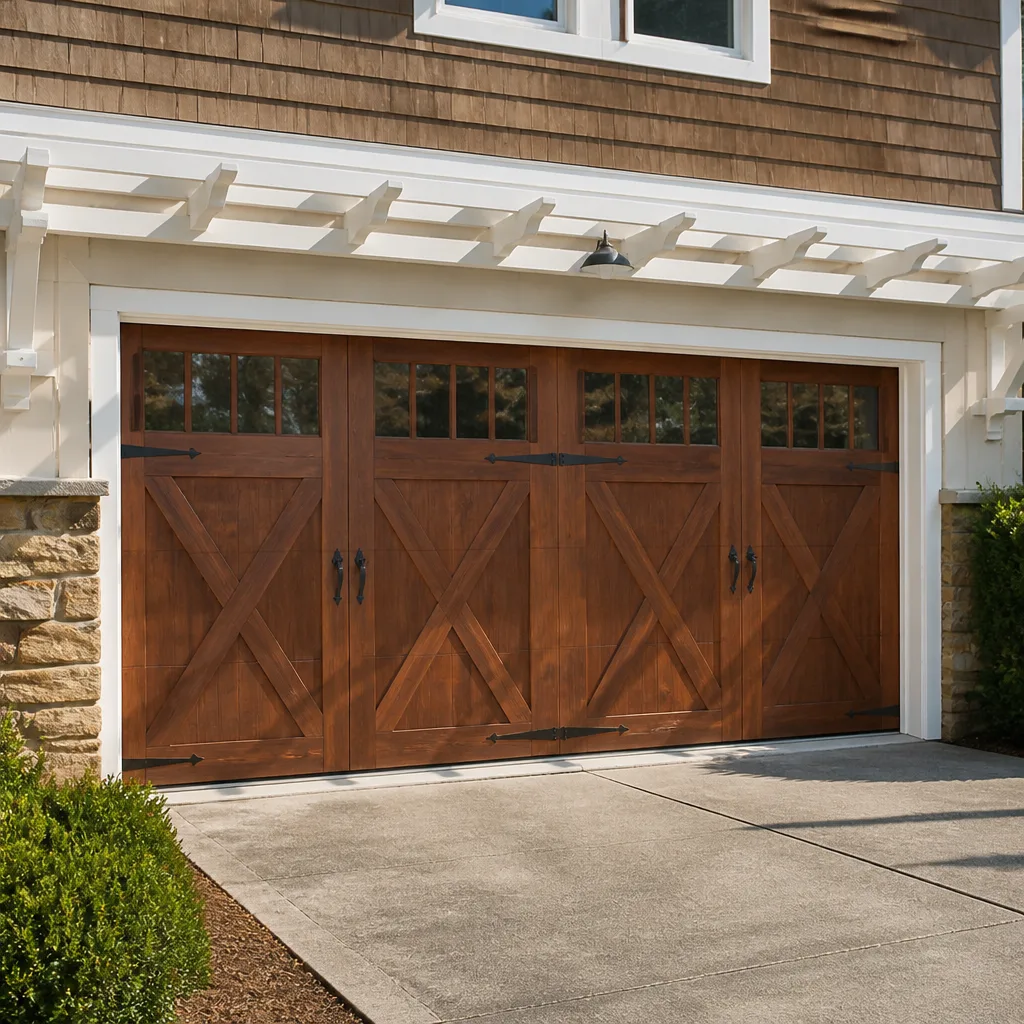 Carriage house
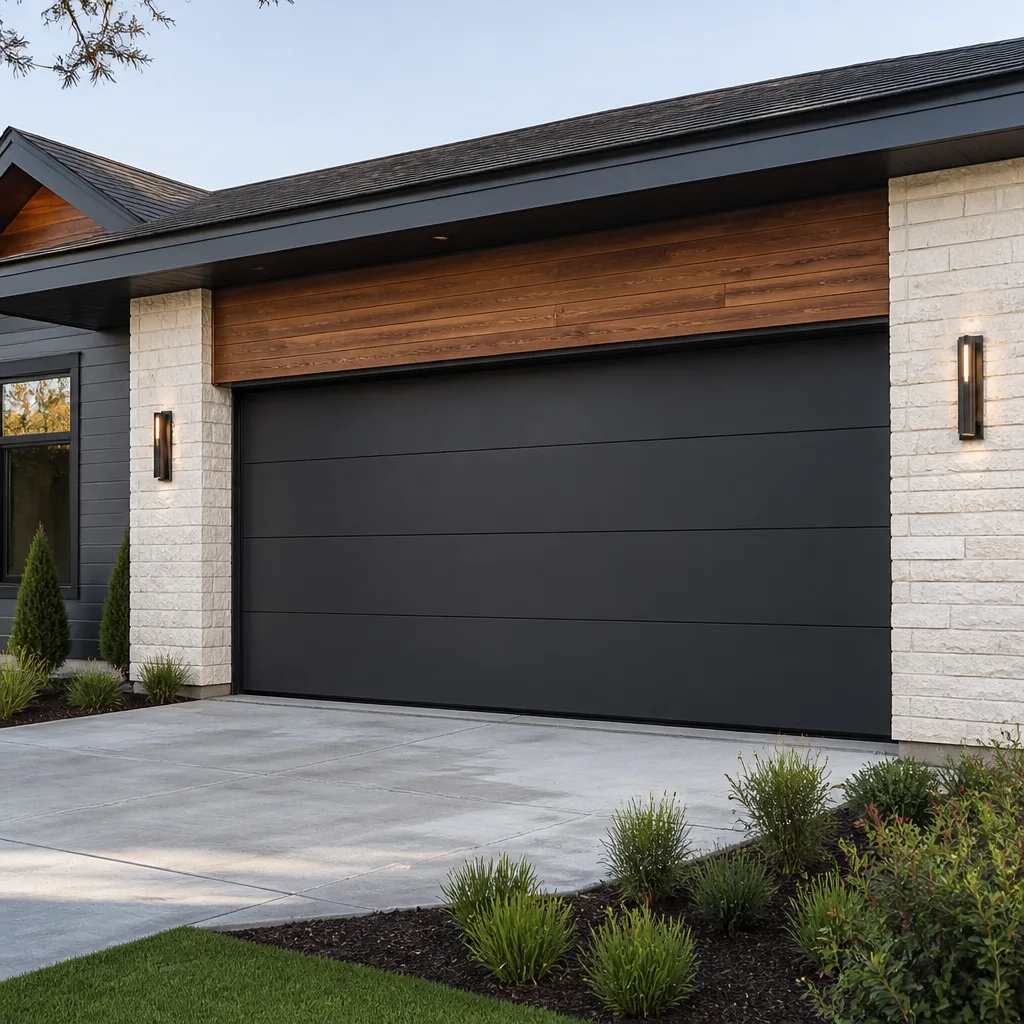 Modern flush
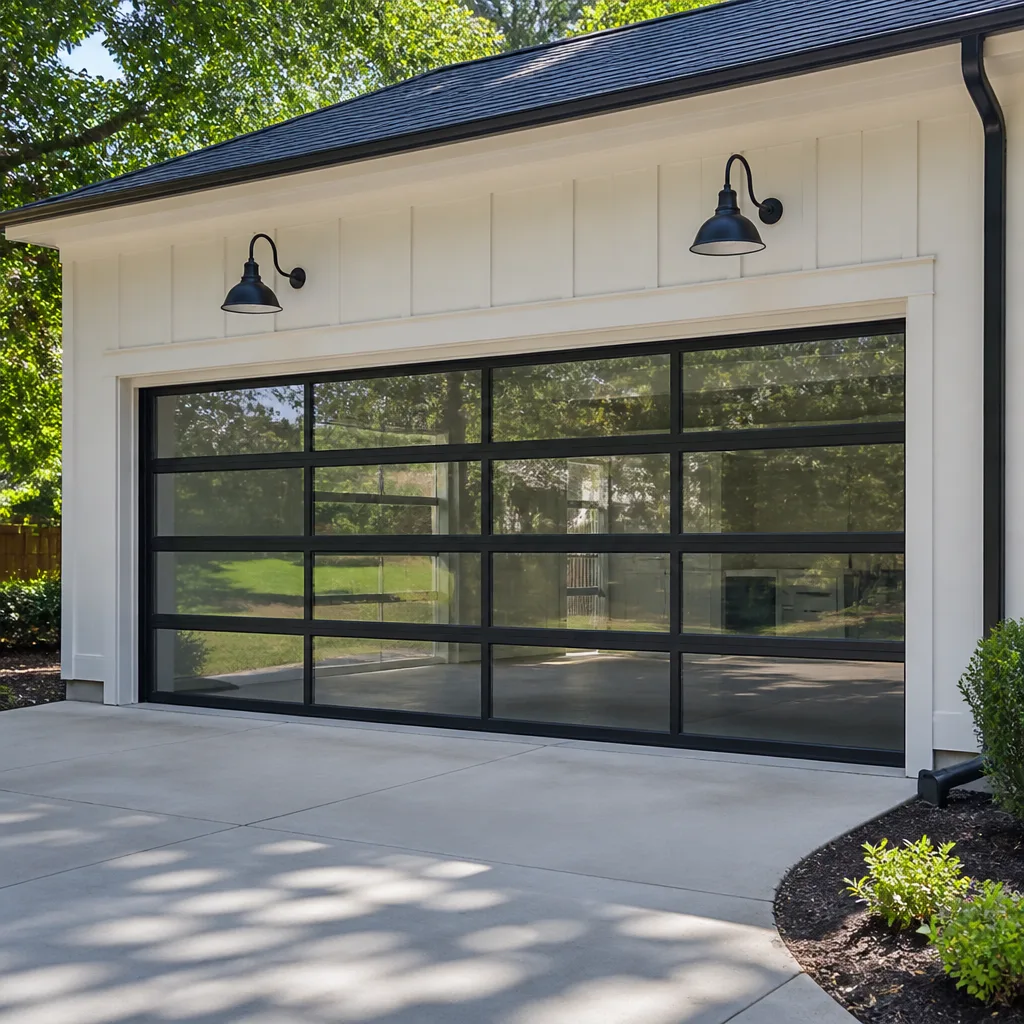 Full-view glass
 LiftMaster openers
 Chamberlain openers
Full 25-point door and opener safety check with every visit - springs, cables, rollers, tracks, and your LiftMaster or Chamberlain opener included
You get a price before we start. It does not change when the pro arrives.
Get your free estimateGarage Door Opener Troubleshooting: Common Problems and How to Fix Them
Most garage door openers that get replaced in Whitney didn’t need replacing. They needed a new battery in the remote, a sensor realigned by half an inch, or ten seconds of power cut and restored to a logic board that had simply stopped listening. We know this because we pull openers out of local homes every week and find the motor underneath in fine shape. The part that failed was something smaller and far cheaper. This guide walks you through the order a trained technician actually uses: power, then remote, then travel limits, then sensors, then the logic board, then the mechanical parts. Work the steps in that order and most homeowners find the fault before the first tool comes out. What follows is the same sequence we run on service calls across Whitney, written so you can run it yourself.
Quick Answer
A garage door opener that won’t close is most often a misaligned or dusty safety sensor, not a failed motor. Work the simple causes first: fresh remote batteries, a live outlet, correct travel limits, then the safety eye mounted six inches off the floor. Read the opener’s blink code before you touch anything else. Most “dead motor” calls turn out to be something you can fix in ten minutes, and the rest need a technician to disconnect power and go inside the housing.
Styles & brands we work with
- Raised-panel steel
- Carriage house
- Modern flush
- Full-view glass
- LiftMaster openers
- Chamberlain openers
Table of Contents
- Start Here: The Diagnostic Order That Saves You Money
- How to Read Your Opener’s Blink Codes
- The Safety Sensor: Forty Percent of “Won’t Close” Calls
- Travel Limits, Force Settings, and the Door That Reverses
- Worn Drive Gear vs. Failing Motor vs. Stripped Flywheel
- Intermittent Failures: The Opener That Works Nine Times Out of Ten
- What’s Safe to Adjust at Home and What Isn’t
- When to Call a Professional
Start Here: The Diagnostic Order That Saves You Money
The mistake most homeowners make in Whitney is starting with the part they suspect and working backward. Start with the cheapest, simplest causes and work forward. That order is not arbitrary; it’s the same one that keeps a service call short.
Here is the sequence we run, and the one you should run too:
- Confirm the outlet has power. Openers plug into a standard outlet, often on the ceiling. Check that outlet with a lamp or a phone charger. A tripped GFCI in the garage or a tripped breaker in the panel will make the opener look completely dead. Whitney homes with garage outlets on the same circuit as outdoor lighting trip these more than you’d think.
- Test the wall button, then the remote. If the wall button works and the remote doesn’t, the problem is the remote or its battery. If neither works, the problem is power, the logic board, or the safety sensor locking out the door.
- Replace the remote battery. This is the single most common cause of “my remote stopped working.” A CR2032 costs a couple of dollars and takes a minute. Do this before anything else on the remote side.
- Check the safety sensor. Look at the two small LED-lit eyes near the floor. Both should be lit steady. A blinking or dark LED points you straight to the sensor section below.
- Read the blink code. Every major brand, including LiftMaster and Chamberlain, flashes the overhead light or an LED on the motor housing in a repeating pattern to tell you what it thinks is wrong. More on that next.
- Inspect the mechanicals last. Only after power, remote, sensor, and code are ruled out do you look at the gear, the chain, or the motor itself.
Run those six steps and you’ll know whether you’re looking at a ten-minute fix or a real repair. The rest of this guide expands each one.
How to Read Your Opener’s Blink Codes
Your opener is trying to tell you what’s wrong. It does this by flashing its overhead light or a small LED on the motor housing in a repeating sequence. Learning to read that sequence cuts diagnostic time roughly in half, because it takes you straight to the suspect instead of making you guess.
The pattern works like this: the opener flashes a number of times, pauses, then repeats. Count the flashes in one cycle and hold that number.
- One or two flashes usually point to a sensor or wiring fault. On LiftMaster and Chamberlain units this is frequently the safety sensor circuit.
- Three or four flashes often indicate a travel limit or force setting problem, or an obstruction the opener thinks it sees.
- Five or more flashes commonly point to the logic board, a motor fault, or a failed component inside the housing.
Codes vary by brand and model, so check the sticker inside the motor housing or the manual for your exact unit. Genie and Chamberlain use slightly different sequences. Write the flash count down before you call anyone. When a homeowner in Whitney tells us “it flashes five times and stops,” we know what to bring before we leave, which is why most jobs finish in a single visit. The code is the shortcut. Use it.
The Safety Sensor: Forty Percent of “Won’t Close” Calls
The two small sensor eyes mounted about six inches off the floor are responsible for roughly 40% of all “opener won’t close” complaints. From the button, a sensor fault looks identical to a dead motor: you press, the door starts down, the light flashes, the door reverses or never moves. It’s almost never the motor.
The sensor works by shooting an invisible beam across the opening. If anything interrupts that beam, the door won’t close, by design. In Whitney, the interruptions are predictable:
- Dust and desert grit. The fine dust that settles on everything in the valley also coats the sensor lens. A soft cloth and a minute of wiping fixes a surprising number of these.
- Direct sunlight. An afternoon sun angle hitting the receiving eye can wash out the beam. We see this on west-facing garages in Whitney, where the sun lands squarely on the lens for an hour each afternoon. If the door only fails in late afternoon, this is your culprit.
- A bumped or loosened bracket. The sensor has to be aimed at its partner. A broom handle, a garbage can, or a kid’s bike knocks them out of alignment. Loosen the wing nut, aim the eye until its LED glows steady, and retighten.
- A staple or nick in the low-voltage wire running from the sensor to the motor head. Look for a pinched wire near the door track.
Test it yourself: press the wall button and watch the sensor LEDs. Both should be lit steady when the door is idle. If one is dark or blinking, that’s your fault, not the motor. Wipe, realign, and test again before you spend money on anything.
Travel Limits, Force Settings, and the Door That Reverses
The door goes down halfway, then reverses for no reason. Or it closes, then opens itself. Nine times out of ten, that’s a travel limit or a force setting, not a mechanical failure. Both are adjustable, and both are set with the same caution: know which one you’re touching.
Travel limits tell the opener where “fully open” and “fully closed” are. If a limit drifts, the door stops short or won’t close. On most modern units there are up/down limit screws or digital buttons on the motor housing. Adjust in small increments and test after each change.
Force settings control how hard the opener pushes before it gives up. A force setting turned too low makes the door reverse on a cold morning or when a roller stiffens. A setting turned too high lets the door push through an obstruction it should have stopped for. That second one is a safety problem.
In Whitney, temperature swings matter here. A door that ran fine in fall can bind slightly in a cold snap or in summer heat that swells the wood or warps the track. If the door reverses only in certain weather, suspect force and alignment before you suspect the motor. We adjust a lot of these on seasonal tune-up calls. Get the door balanced and rolling freely first, then set the force. Setting force on a binding door is treating the symptom.
Worn Drive Gear vs. Failing Motor vs. Stripped Flywheel
This is where homeowners spend money on the wrong part. “The opener is grinding, it must be the motor.” Not usually. The motor sits inside the housing and is one of the more durable pieces in the assembly. The parts that fail first are the ones that wear against each other every day. Here’s how to tell them apart.
- Worn drive gear (the plastic gear on the motor shaft). You’ll hear a rhythmic grinding or a sound like stripped gears when the opener runs. The motor hums but the chain or belt barely moves. The gear is a plastic part designed to wear; the motor isn’t. On LiftMaster and Chamberlain chain-drive units this is one of the most common internal failures.
- Failing motor. The motor is the suspect only when it won’t turn at all, smells hot, trips the breaker, or hums with no mechanical movement while the chain is free. A motor that runs quietly but doesn’t move the door is almost never the motor.
- Stripped flywheel or drive sprocket. The sprocket the chain rides on can wear smooth. You’ll hear the opener spin normally but the chain won’t advance. Look for metal shavings or a shiny, toothless sprocket.
Rule of thumb: if you hear grinding but the opener still has life, the mechanical parts are wearing. If it’s silent and dead, look at power and the board first. Test the drive by disconnecting the door (pull the red emergency cord) and running the opener with the door free. If the chain moves fine with no load but stalls under load, the problem is gear or sprocket. Replacing the whole unit when a gear is the fault is money left on the table.
Intermittent Failures: The Opener That Works Nine Times Out of Ten
The door opens fine all week, then fails once for no apparent reason. These intermittent failures drive people to replace working equipment. In our experience, an opener that works most of the time and fails occasionally is rarely a mechanical problem. The mechanical parts don’t heal themselves between tries. A sensor or a board does.
Here’s why. Sensors are the most common intermittent fault because their failure depends on conditions: dust builds up, the sun hits at the right angle, the beam is interrupted by a passing shadow, or a wire makes intermittent contact. Circuit boards fail the same way, often triggered by heat, a power flicker, or a loose connector. The motor and gear either work or don’t.
What to check on an intermittent unit:
- Note the time of day. Afternoon-only failures point to sun on the sensor.
- Note the weather. Failures that only happen on hot or cold days point to a board or a binding door.
- Check for a flicker in the house lights at the moment of failure. Power dips can reset a logic board mid-cycle.
- Re-seat the low-voltage sensor wires at the motor head. Loose terminals cause exactly this pattern.
- Try a board reset. Disconnect the opener from power at the outlet for thirty seconds, plug it back in, and test. A logic board that has “gotten confused” clears on a reset. If the same failure returns within days, the board itself is suspect.
If it fails on the tenth try, don’t buy a new opener yet. Watch the pattern. The pattern tells the technician what to bring.
What’s Safe to Adjust at Home and What Isn’t
Some of this work is safe and sensible to do yourself. Some of it isn’t, and it’s worth being honest about which is which. Your opener lives on the ceiling, and much of what’s inside it involves moving parts under tension and line voltage. Here’s the line.
Safe to do at home, with the door closed and the opener unplugged where the step requires it:
- Replace remote and wall-button batteries.
- Wipe the sensor lenses.
- Realign the sensor brackets and retighten.
- Check the outlet and reset a tripped GFCI or breaker.
- Re-seat low-voltage sensor wiring at the head.
- Adjust the force and travel limit settings, in small steps, on the motor housing buttons or screws.
- Do a power-cycle reset of the logic board.
Stop and call a professional for:
- Anything inside the motor housing: gear, sprocket, flywheel, board replacement.
- Any work that requires removing the opener from its mounting, or working on the rails and the torsion assembly.
- High-tension springs and cables. These carry the door’s entire weight and can cause serious injury if handled without the right tools and training. Do not touch them.
- Any electrical work at the panel or anything beyond the plug-in outlet.
- A door that reverses or fails to stop where it should, after a force adjustment. That’s a safety fault, not a nuisance.
When in doubt, leave the cover on. The 10-minute items above solve a great many calls; the rest want a pro with the door disconnected and the power off.
Common Mistakes to Avoid
- Replacing the whole opener before reading the blink code. The code takes a minute and often points straight to a sensor or board. Skip it and you may pay for a new unit you didn’t need.
- Blaming the motor for a stripped gear. The grinding sound that gets blamed on the motor usually comes from the drive gear. Test as above before you spend money on the motor.
- Turning the force setting up to “fix” a binding door. That lets the door push through an obstruction it should stop for. Fix the binding or the sensor, then set the force.
- Ignoring sun on a west-facing sensor. In Whitney, that afternoon glare on the receiving eye causes a lot of failures blamed on the opener. A repositioned sensor or a small sun shield solves it.
- Standing on a chair to reach the motor head. Use a proper step ladder and have someone hold it. The ceiling is high, the light is poor, and the fall risk is real.
- Skipping the power-cycle reset. A logic board that lost its mind after a power flicker comes back after thirty seconds unplugged. Try it before you call anyone.
- Calling a sensor an emergency when the door works from the wall button. That’s often a remote battery. Replace it and save the call.
See the difference
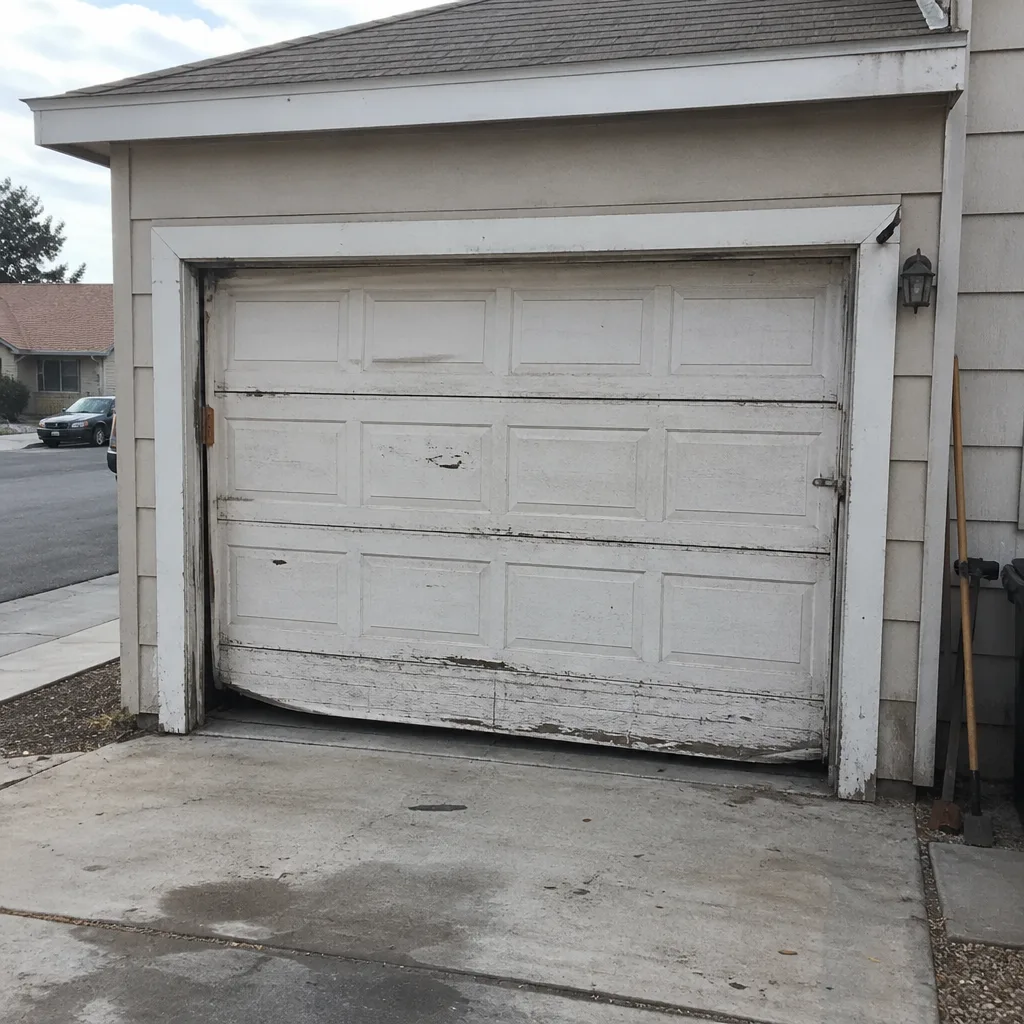 Before
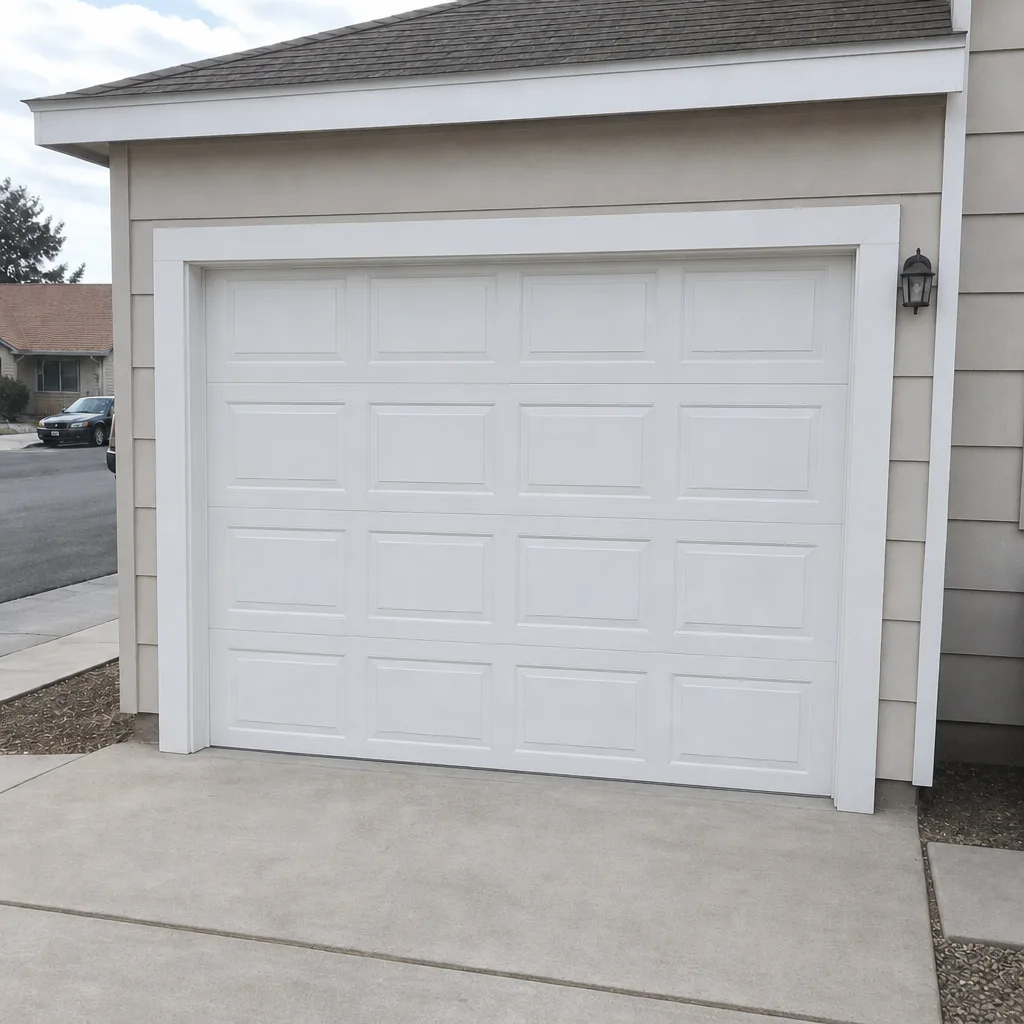 After
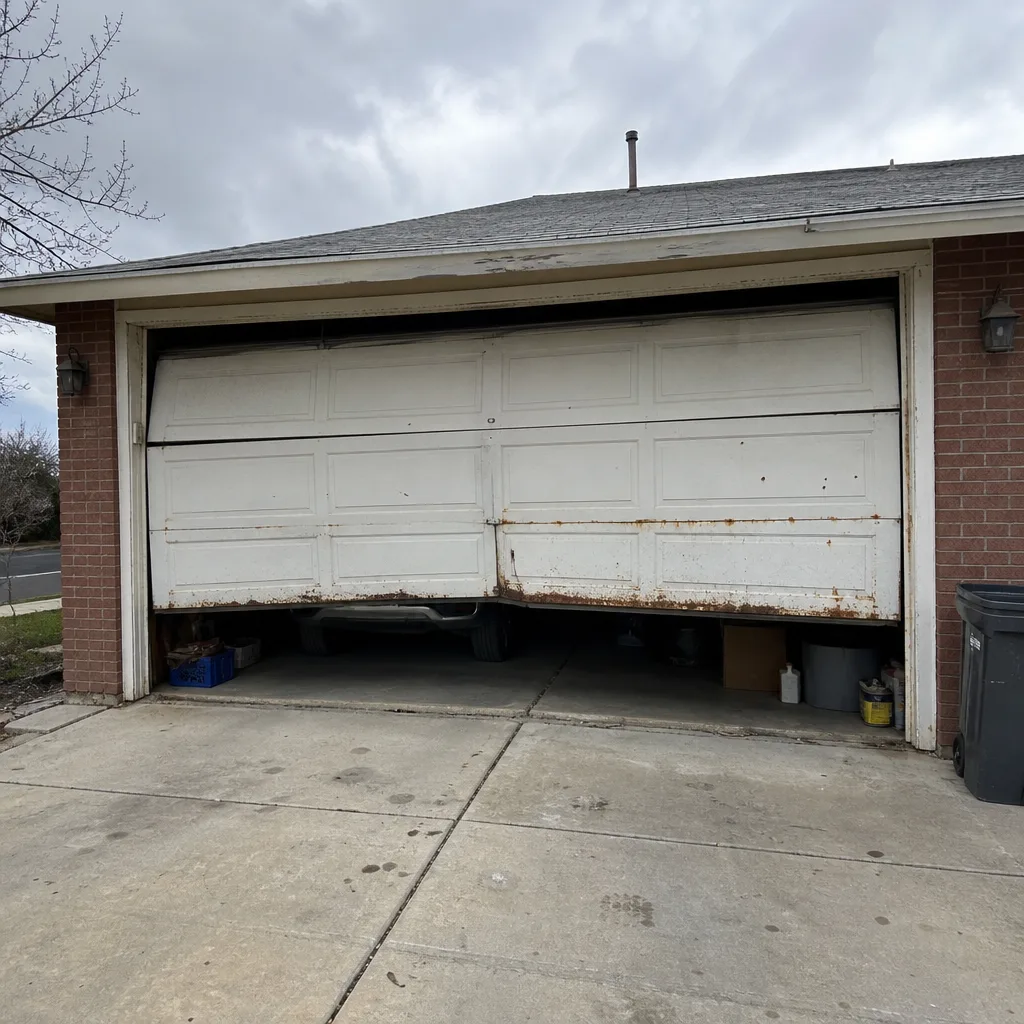 Before
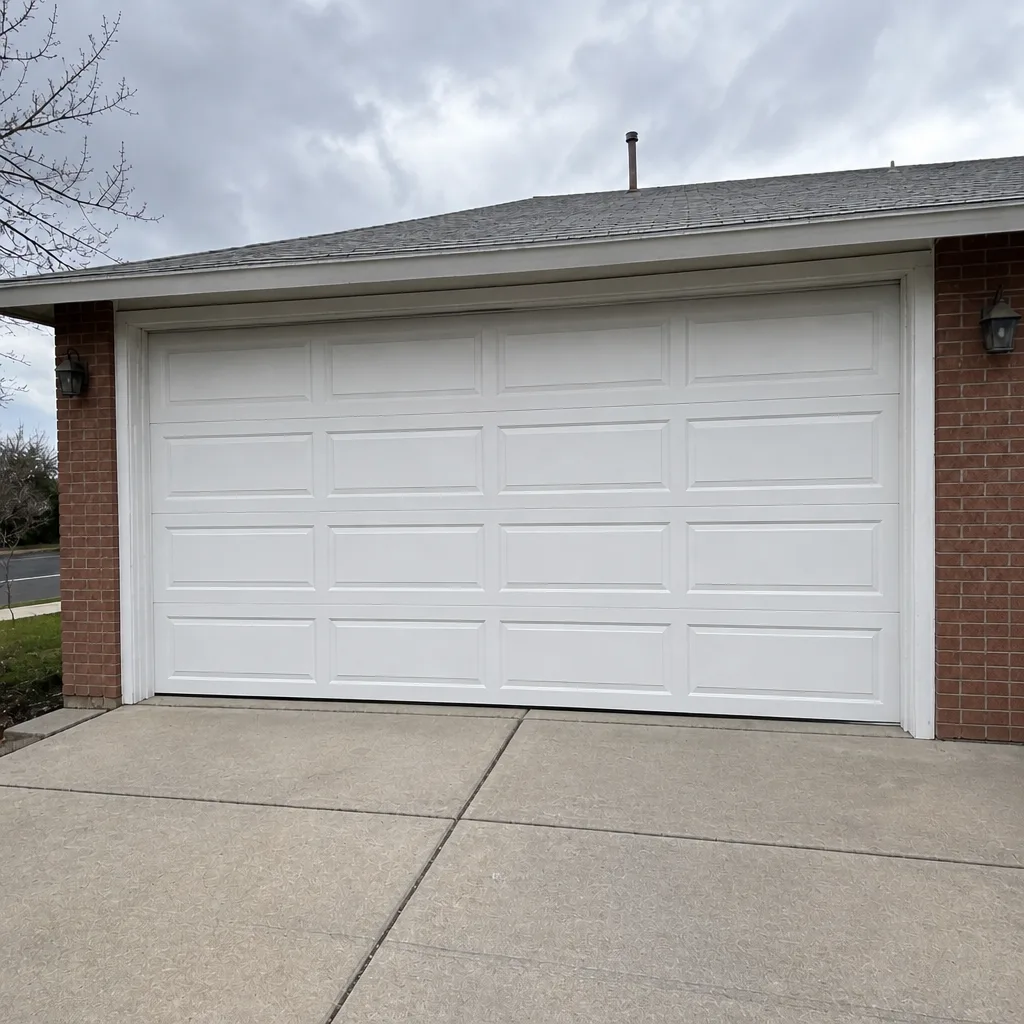 After
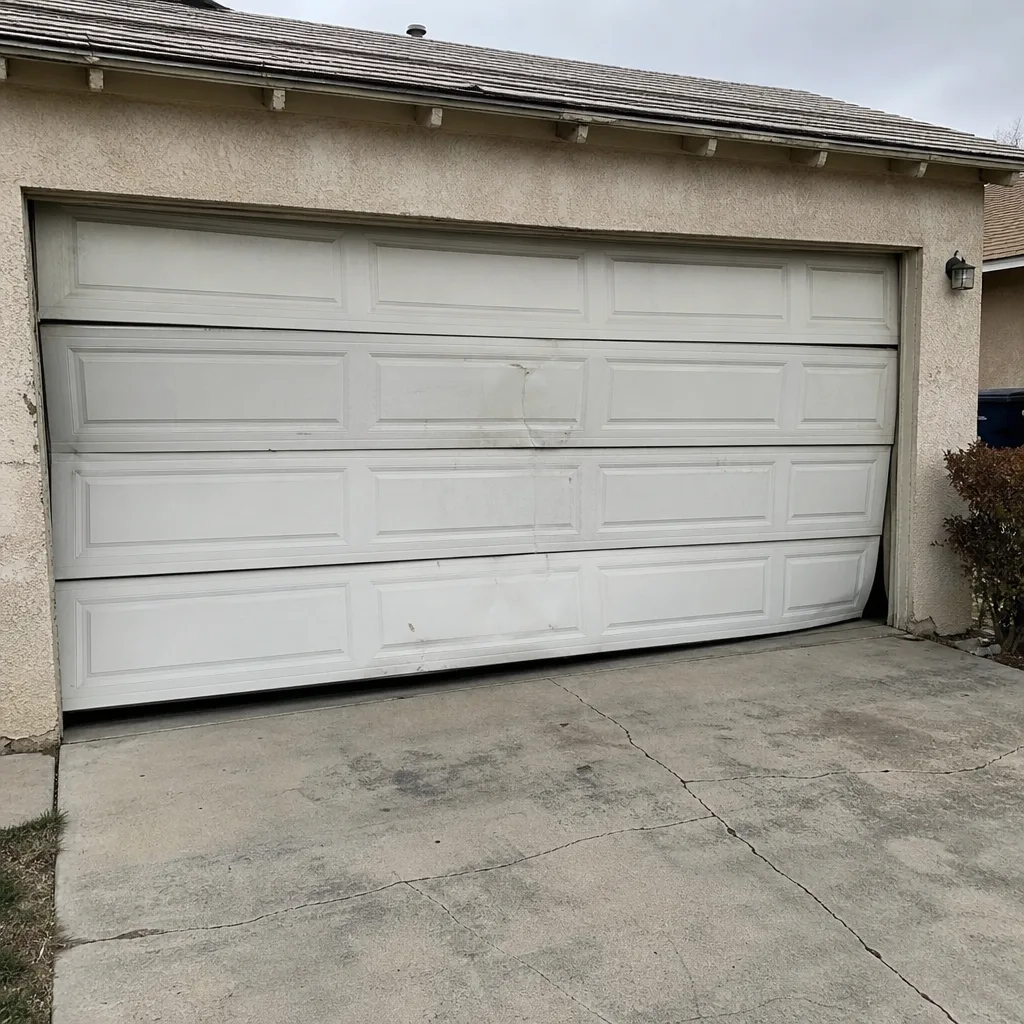 Before
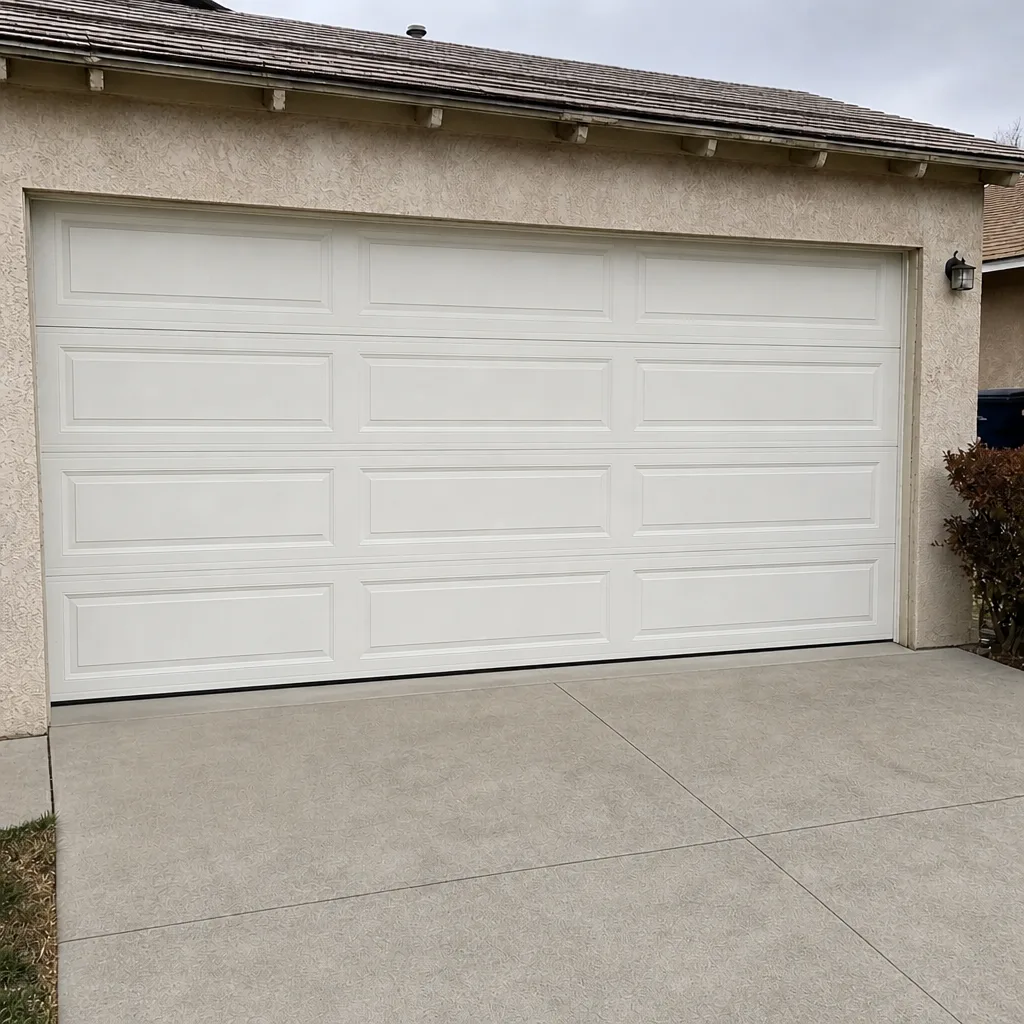 After
When to Call a Professional
Call a technician when the blink code points inside the housing, when you hear grinding from the motor and the drive gear is suspect, or when a force adjustment doesn’t hold and the door reverses unpredictably. Also call if you’ve been through power, remote batteries, sensor cleaning, realignment, and a board reset and the door still fails, because at that point you’ve ruled out the easy 90% and the fault is genuinely inside the unit or its wiring. And call for anything that involves the springs, cables, or torsion assembly on the door itself. Those are not homeowner jobs. Mainspring Garage Door Co. Whitney offers free estimates in Whitney. Call (844) 797-9248 and we’ll work the same sequence with you over the phone, then send a technician with the right part if you need one.
Frequently Asked Questions
A running opener that won’t move the door closed is usually a safety sensor or a travel limit issue, not a motor failure. Check that both sensor LEDs are lit steady, wipe the lenses, and realign the brackets. If the LEDs look fine, check the travel limit and force settings. Call (844) 797-9248 for an exact quote if you want it looked at in person; estimates are free.
Count the flashes in one repeating cycle, then check the manual or the sticker inside the motor housing for that brand. A few flashes usually means a sensor or wiring fault; five or more usually points to the board or motor. Write the number down before you call. LiftMaster and Chamberlain use slightly different sequences, so match your model. Call (844) 797-9248 for a free estimate if the code points inside the housing.
We keep parts on the truck and most repair calls are handled in a single visit, often the same day. Phones are answered by a live person around the clock, so call (844) 797-9248 and we’ll tell you honestly when we can be there. For installation and new-door work, we schedule a free measure and a written price first; that work isn’t done same-day.
No. We state the flat price before any work begins, based on what we find on the call, so nothing on the bill is a surprise. If the fix turns out different from what we thought on the phone, we tell you the price again before the wrench comes out. The 90-Day Done Right Promise backs every job in writing. Call (844) 797-9248 for a free estimate.
Repair usually wins when the unit is under about twelve years old and the fault is a gear, sensor, or board. Replace when the motor itself is failing, the unit is very old, or repairs approach the cost of a new unit. We’ll give you the honest comparison, not the upsize. Call (844) 797-9248 for a free second opinion on any written estimate.
Yes. Our technicians are background-checked and trained as journeymen under our K.E.Y.S. values code, and our technicians have up to 10 years of experience. Every completed job is covered by our 90-Day Done Right Promise in writing: if it’s not right, we return at no charge. Call (844) 797-9248 for a free estimate.
The Bottom Line
Most “dead opener” calls in Whitney are not dead openers. They are a battery, a sensor eye a little off aim, or a logic board that needs thirty seconds unplugged. Work the cheap, simple causes first: power, remote, travel limits, sensors, then the blink code. Only then look inside the housing at the drive gear, sprocket, and motor. Know the line around springs and the inside of the unit, and don’t cross it. Approach it in that order and you’ll solve a great many problems in ten minutes and know exactly when to hand it to a technician for the rest.
If you’ve worked the sequence and the door still misbehaves, we’re here. Mainspring Garage Door Co. Whitney handles opener service, repair, and parts for all major brands. Call (844) 797-9248 for a free estimate, and we’ll arrive with the right part, state the price upfront, and stand behind the work in writing.
Written by the team at Mainspring Garage Door Co. Whitney.