
Last updated November 17, 2026
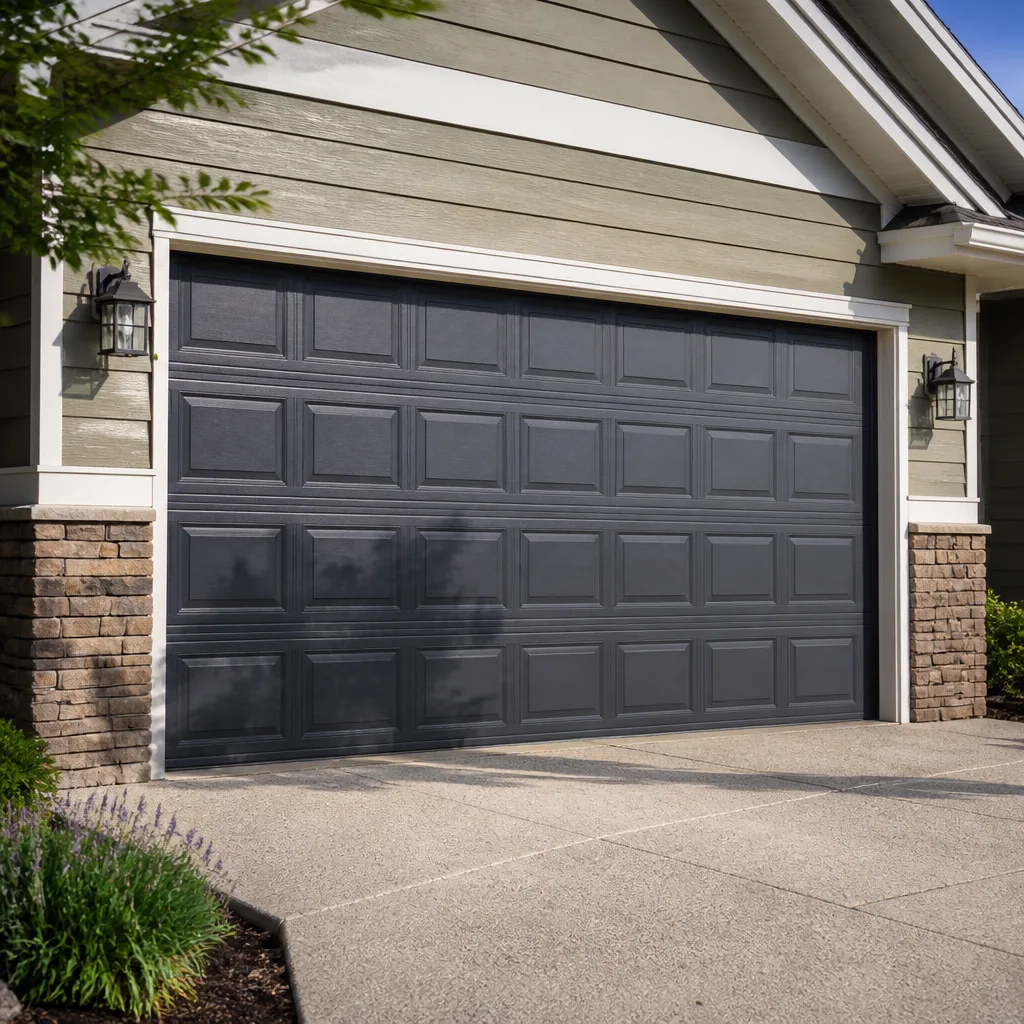 Raised-panel steel
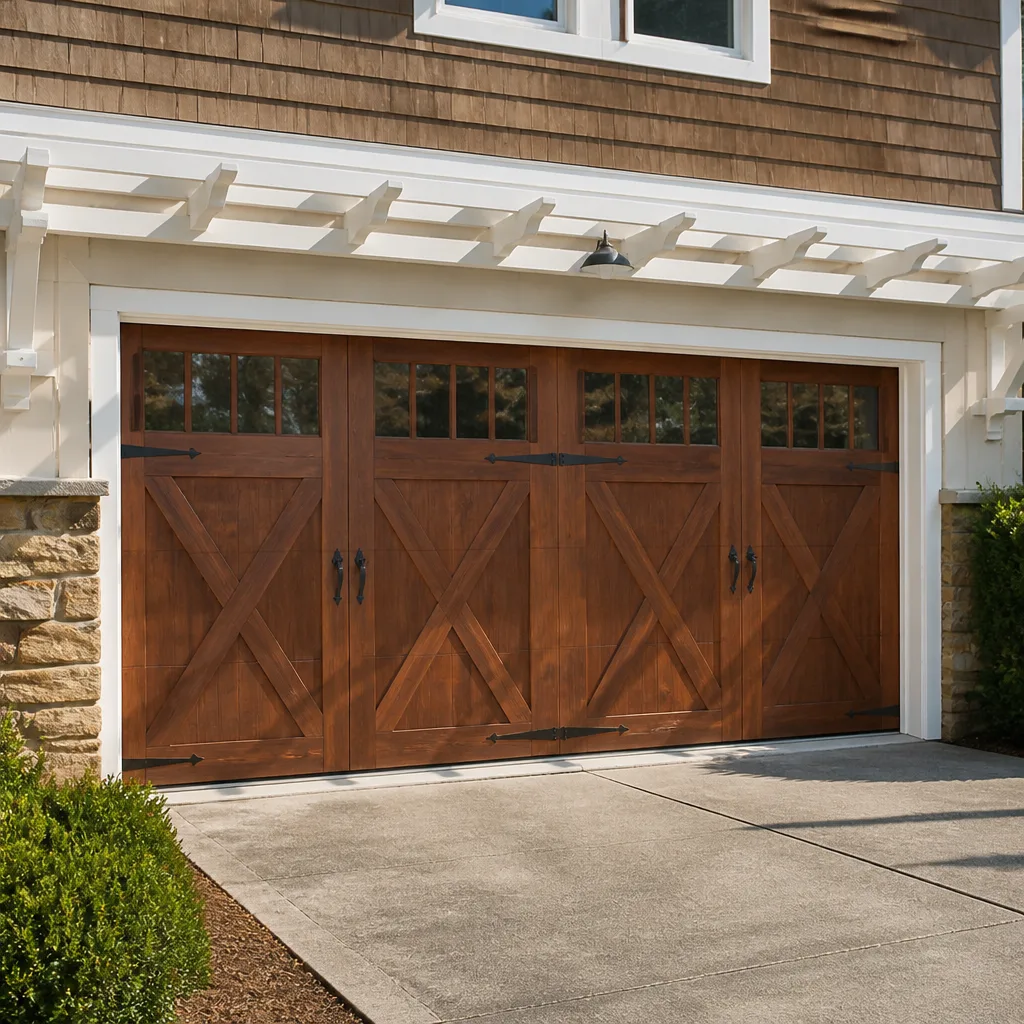 Carriage house
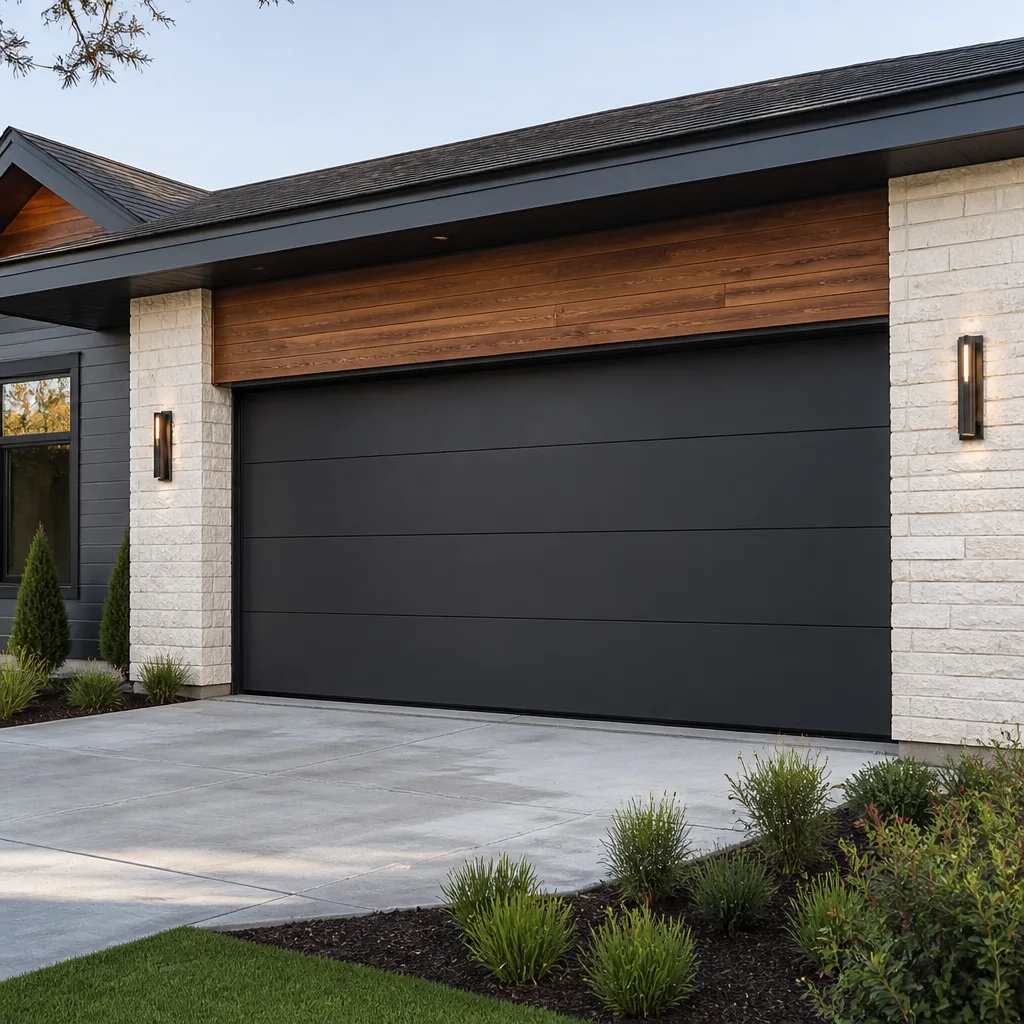 Modern flush
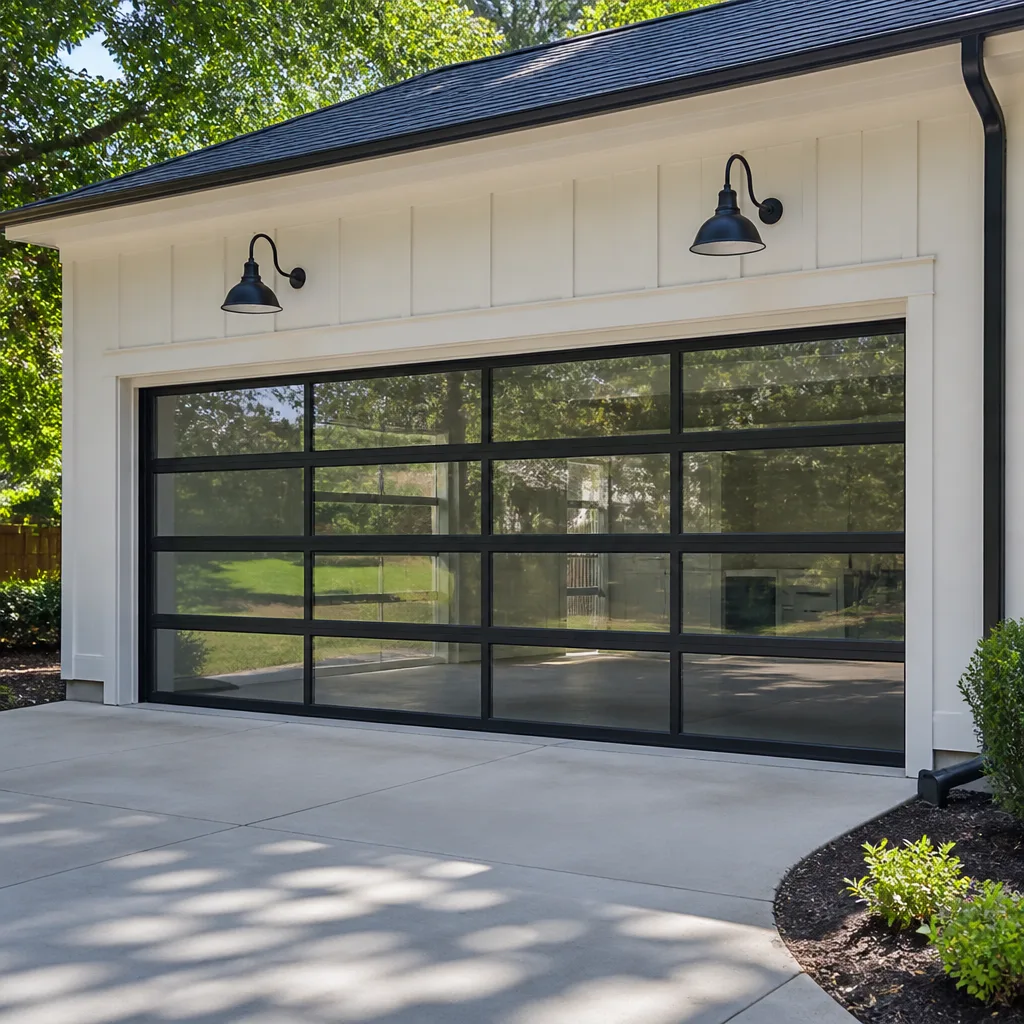 Full-view glass
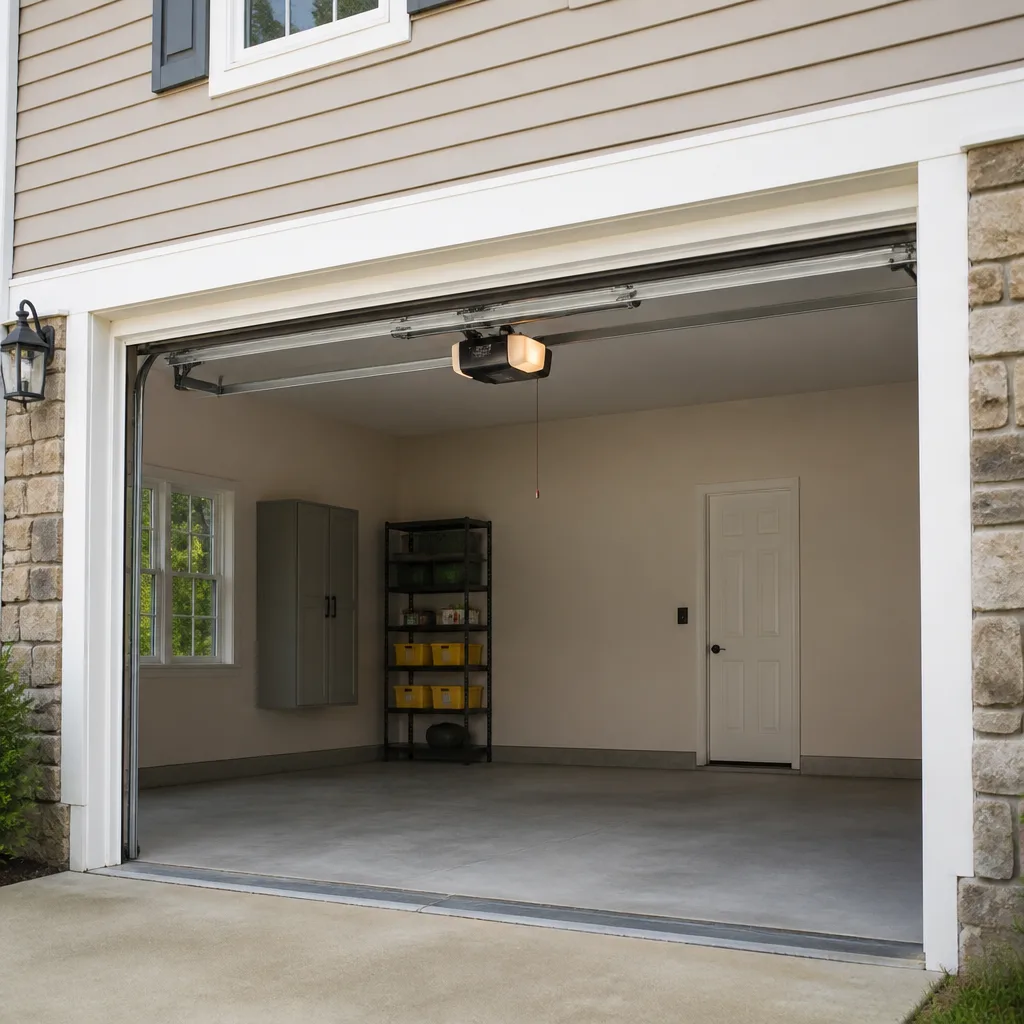 LiftMaster openers
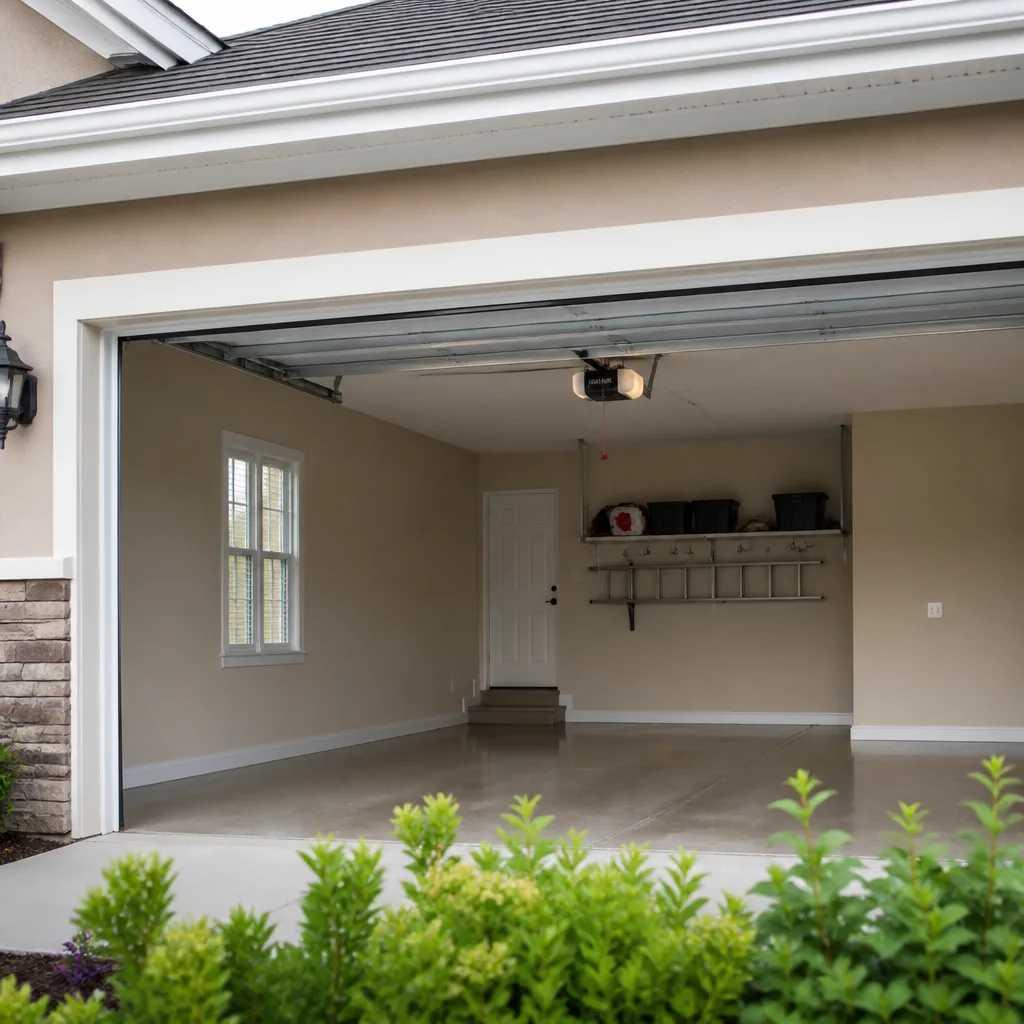 Chamberlain openers
Full 25-point door and opener safety check with every visit - springs, cables, rollers, tracks, and your LiftMaster or Chamberlain opener included
You get a price before we start. It does not change when the pro arrives.
Get your free estimateDIY vs Professional Garage Door Opener: What’s Safe to Do Yourself
Replacing a direct-drive opener on a door with a sound spring system is a legitimate weekend project for a handy homeowner. The very same opener bolted to a door whose torsion spring has never been inspected is a different job entirely, and it’s the opener installation that finally loads that tired spring to failure. We’ve walked into Whitney garages where a homeowner was an hour into a swap when the spring let go. The difference between those two situations isn’t skill. It’s the condition of the door the opener is about to pull. This guide draws the line plainly: what you can safely do, what you shouldn’t touch, and what a professional install actually includes that the manual skips.
Quick Answer
You can safely replace a garage door opener yourself if the door is balanced, the existing springs were recently serviced, the header bracket is sound, and you’re working with a standard 7-foot residential ceiling. Call a professional if the door needs spring adjustment, the hardware shows corrosion or frayed cables, the door is a heavy carriage-house or custom build, or the header height is non-standard. In Whitney, spring fatigue is common because of our summer heat cycles, so we treat any door older than about ten years as “inspect first, install second.”
Styles & brands we work with
- Raised-panel steel
- Carriage house
- Modern flush
- Full-view glass
- LiftMaster openers
- Chamberlain openers
Table of Contents
- The Conditions That Make Opener Installation Genuinely DIY-Safe
- The Conditions That Mean You Need a Professional
- What Goes Wrong in a DIY Install, and What It Costs
- How to Prep the Job and Cut Install Time
- What a Professional Install Includes That DIY Usually Skips
- Choosing an Opener: What Brand and Type Fits Your Door
- Common Mistakes to Avoid
- When to Call a Professional
The Conditions That Make Opener Installation Genuinely DIY-Safe
An opener swap is a mechanical job with a short list of preconditions. When all of them are true, a careful homeowner with a socket set and a Saturday can do the work and do it well. We’ve seen plenty of clean homeowner installs on Whitney doors where the old opener simply wore out and the door itself was in good shape.
The preconditions, in plain terms:
- The door is balanced. Disconnect the opener, lift the door halfway by hand. It should stay put without drifting up or down, and a light two-finger pull should move it the rest of the way.
- The spring system was serviced recently. A torsion spring on a standard door typically carries a cycle life of 10,000 to 15,000 open-and-close cycles. A door opened four times a day eats through that in roughly seven to ten years. If your spring has never been looked at, don’t strap a new opener to it.
- The header bracket is sound and in the right place. Look for splitting, rot, or a bracket that’s been wallowed out by years of pull. A 20-year-old lag bolt into a stud is different from a 20-year-old lag bolt into a half-inch of drywall patch.
- The ceiling is a standard 7-foot residential height. Standard-rail openers come in the right lengths for this. Vaulted, cathedral, or 8-foot-plus ceilings push you into extension rails and non-standard brackets.
- You have a helper. An opener motor assembly is 30-50 pounds of awkward weight above your head. Two people make it a ten-minute lift. One person makes it a risk.
When all five line up, a Chamberlain or Genie belt-drive swap is well within reach. In our experience, the install itself runs two to four hours for a first-timer, and the finished job is genuinely equivalent to a professional one if the calibration steps get done at the end (more on those below).
The Conditions That Mean You Need a Professional
The line where DIY tips into “call someone” is narrower than most homeowners think, but clearer than they expect. If any one of these is true, stop and pick up the phone:
- The spring system needs adjustment or replacement. Torsion springs are wound to a specific number of turns under significant tension. A torsion spring under tension can release enough stored energy to break bones or worse. This is not a DIY component, full stop. Even experienced garage door technicians treat spring work as two-person, controlled-release work with specific winding bars.
- Any sign of frayed or kinked cables. Lift cables run under tension and a snapped cable is a genuinely dangerous event. Corroded or frayed strands mean the cable has to come off, and that means the door has to be secured safely first.
- Corroded or wallowed-out hardware. Hinges, rollers, and brackets on a Whitney door that’s spent two decades in dry desert air with evening temperature drops often show stress cracks. A new opener amplifier on tired hardware is asking for trouble.
- A heavy, carriage-house, or custom door. Steel single doors weigh 90-130 pounds. Solid wood and composite carriage-house doors run 200-300 pounds. The spring system has to be matched to that weight, and so does the opener.
- Non-standard header height or a low-clearance door. A low-clearance track or a header under 6 feet pushes the opener closer to the door, changes the rail geometry, and demands a different bracket. Not a homeowner job.
- The door was previously installed by a hobbyist. If you inherited odd brackets, missing lag bolts, or a rail held together with a self-tapping screw, let a pro sort it before adding equipment.
The single clearest test: if you disconnect the opener and the door won’t hold itself in place, that door has a balance or spring problem hiding underneath the opener job. Installing the new opener will only reveal it worse. This is exactly why our team encourages a free second opinion on any written estimate before committing.
What Goes Wrong in a DIY Install, and What It Costs
Most DIY opener installs fail in quiet ways. Not dramatic accidents, just small errors that shorten the door’s life or create a nanny-cam moment you’d rather not have.
Stripped rail brackets. The rail sections on a sectional-rail opener bolt together with #10 or 1/4″ screws that thread into sheet metal. Over-torqued or cross-threaded, they strip the boss and the rail flexes under load. That flex shows up as a rattle in a year and a run-away opener in three.
Misaligned travel limits. The open and close limits are set on the opener’s logic board (or on physical cams, on older models). A close limit set too far down drives the door into the concrete slab and stress-cracks the bottom panel. A close limit set too high leaves a gap under the door and lets the safety reverse trip on cold mornings or on a piece of Whitney’s fine desert dust that blows in under the seal. An open limit set wrong slams the door’s top section into the header.
Improper safety sensor height. The photo-eye sensors have to sit within 6 inches of the floor by code (UL 325), sometimes 4-6 inches depending on the door bottom. Set too high (we’ve seen them at 12-18 inches, often to avoid snow, which we don’t get here but homeowners still worry about) and the door can close on a child’s foot, a pet, or a toy. Set them unevenly and the door reverses intermittently.
Force calibration left at factory default. The opener’s factory force setting is generous. If you don’t calibrate it to your door’s actual weight, the safety reverse won’t trigger properly against a jammed object. That’s the automatic-reverse system failing its only test.
Missing the stiffener or reinforcement bracket. A 25-year-old wood door needs a reinforcement strut on the top panel before a drawbar opener pulls on it. Skip the strut and the top section bows over a few years. Door still opens. Door just stops sealing.
The good news for Whitney homeowners: none of these failures tend to be catastrophic. They’re the slow leaks and annoying rattles of the garage door world. The bad news is that they erase the cost savings of DIY the moment you call someone to fix them.
How to Prep the Job and Cut Install Time
If you decide to hire the install out, there’s real value in needing up front what you can do yourself. A well-prepped bay cuts install time by 30-45 minutes, and a better-measured header often shaves off the surprise factor that pushes a job into a second visit.
The prep list, in order:
- Clear the bay completely. Nothing in the way means no awkward lift over the car, no scraping the door panel with a ladder, and no time lost re-parking. Move bikes, bins, and the deep freezer if it’s near the door track.
- Disconnect the old opener and unplug it. Pull the emergency release, disconnect the door arm from the trolley, and unplug the motor from its outlet. Leave the old unit in place if you’re unsure; your installer can pull it. Don’t try to remove a ceiling-mounted opener alone unless you have help.
- Measure and note the header height and the ceiling height. These two numbers determine which opener and rail length you need. Standard 7-foot ceiling, 6-foot-10-inch header is the baseline. Write down anything that’s off.
- Photograph the existing wall bracket, header bracket, and safety sensors. A clear photo of each saves the estimator a trip and helps confirm what parts match up.
- Read the manual for the model you intend to install. Chamberlain and Genie installation manuals run 30-40 pages and give you the exact tools required. If you’re hiring the install out, still read the install chapter once. You’ll spot the difference between a thorough install and a hasty one.
- Have a plan for the old unit. Many municipalities want metal openers recycled, not curbside. Most installers will haul it off for you as part of the job. Ask ahead.
Preparation is the same courtesy a neat household gives a plumber before a first visit. It pays you back in time, fewer surprises, and a cleaner hand-off when the crew arrives.
What a Professional Install Includes That DIY Usually Skips
When an experienced technician finishes an opener install on a Whitney door, the last 20 minutes are where the real value sits. Those final steps are what a self-install typically rushes, and they’re exactly what determines whether the door runs quiet and safe for the next decade or starts acting up in a year.
A complete professional install includes:
- Force calibration. The opener’s force setting is dialed in to the specific weight of the door on the day of install. Set too light, the door won’t close fully. Set too heavy, the auto-reverse fails to trigger against an object. It’s calibrated with the door running cold, warm, and under a hand-resistance test.
- Safety reverse test (the 2-inch test). A standard test: place a 2×4 block flat on the garage floor in the door’s path, close the door, and confirm it reverses on contact. If it doesn’t, the sensors or force setting are wrong. This must pass on the first try, every time.
- Photo-eye alignment and test. Sensors aimed and locked, then tested by breaking the beam with a hand while the door is closing. The door should reverse immediately. Both the wall-mounted opener button and the remote are tested.
- Travel limit check under load. Open and close cycles run three to five times to confirm the door seats on the floor without slamming and stops cleanly at the open position without stress on the springs.
- Written documentation. Model, force setting, reverse test results, and any adjustment notes. This matters if you ever have a warranty claim, sell the house, or call a different company next time.
The 90-day window after install is when most “the opener just doesn’t feel right” issues surface. Our Garage Door Opener in Whitney service includes the calibration, the tests, and written documentation on every job, and if something isn’t right within 90 days, we come back at no charge.
Choosing an Opener: What Brand and Type Fits Your Door
The three main residential opener types fit different doors and different households. We’re factory-familiar with all of them, and in Whitney we install Chamberlain, Genie, LiftMaster, and Craftsman units most often:
- Belt drive. The quiet choice. Best for homes where a bedroom sits above or beside the garage. Chamberlain’s belt-drive line is a common pick. Belt drives run quiet but cost a bit more than chain.
- Chain drive. Dependable and inexpensive. A little noisier. Genie’s chain units handle heavy doors well. Best for a detached or standalone garage bay.
- Screw drive. Fewer moving parts, less maintenance. A good fit for doors that open 8-10 times a day. Not as quiet as belt.
- Direct drive / jackshaft. Mounts beside the torsion bar rather than on the ceiling. Ideal for vaulted ceilings, high-lift doors, or homes where the ceiling is finished and you don’t want a rail bolted to it. Requires a torsion bar, which is another reason a proper spring inspection comes first.
Door type matters too. A Clopay steel door in good repair takes a standard drawbar opener without reinforcement. A solid wood or Amarr carriage-house door needs the stiffener bracket and may need a heavier-duty unit. Whatever brand you choose, the opener has to be sized to your door and your spring, not the other way around.
Common Mistakes to Avoid
- Installing a new opener on a tired spring. This is the single biggest mistake we see. The new opener pulls on the door with the same force the old one did, but if the springs have lost tension, the door feels heavier and the spring runs closer to its breaking point. Inspect first, install second.
- Skipping the 2-inch reverse test. A quick “it went back up” test on the wall button isn’t the same test. Put a 2×4 flat on the floor in the door’s path and confirm the door reverses on contact. In a Whitney garage where desert dust can trip the photo-eye intermittently, this test matters even more.
- Setting photo-eyes too high or unevenly. The code is on the floor and matters. Sensors set too high or aimed poorly miss small objects – a ball, a toy, a pet – and the auto-reverse never gets a chance to work.
- Bolting the header bracket into drywall or a patch. It has to lag into an actual stud or header board. A 20-year-old lag bolt can fail when a new opener changes the pull geometry. Check for splitting and re-set if in doubt.
- Reusing old brackets and screws on a new opener. New opener means new hardware. The 15-year-old wall bracket that came with the last unit isn’t rated for the new one’s forces and often doesn’t match bolt patterns.
- Removing the door-arm safety pin or emergency release. The emergency release exists for safety. It has to be reachable, connected, and tested. A disconnected or jammed release can trap someone under a closing door.
- Ignoring the reinforcement bracket on a wood door. The top panel of a heavy wood or composite door will bow if the drawbar pulls directly without a stiffener. If you own a Clopay wood-look door, check the manufacturer’s requirement before install.
When to Call a Professional
Call a professional when the spring system needs any work, when cables show fraying or hardware shows corrosion, when the door is heavy, non-standard, or over 20 years old, or when the header and ceiling fall outside standard residential measurements. If you’re unsure, a free in-person assessment answers it quickly. In Whitney, we see a lot of doors near the 15-to-20-year mark where the springs are one dry season away from a failure, and putting a new opener on is the trigger. Mainspring Garage Door Co. Whitney offers free estimates in Whitney and a free second opinion on any written estimate – call (844) 797-9248 and a live person will pick up, day or night. We haven’t had a phone tree in 42 years, and we don’t intend to start.
See the difference
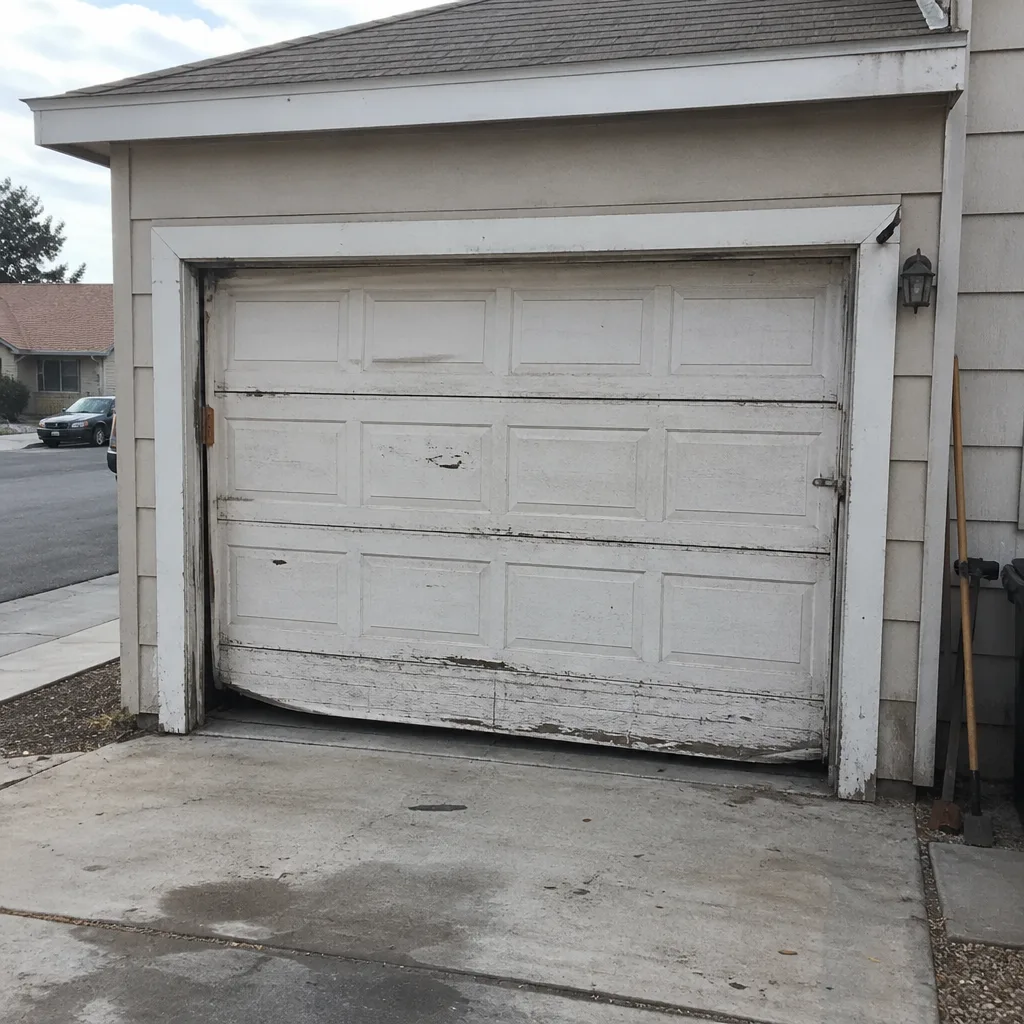 Before
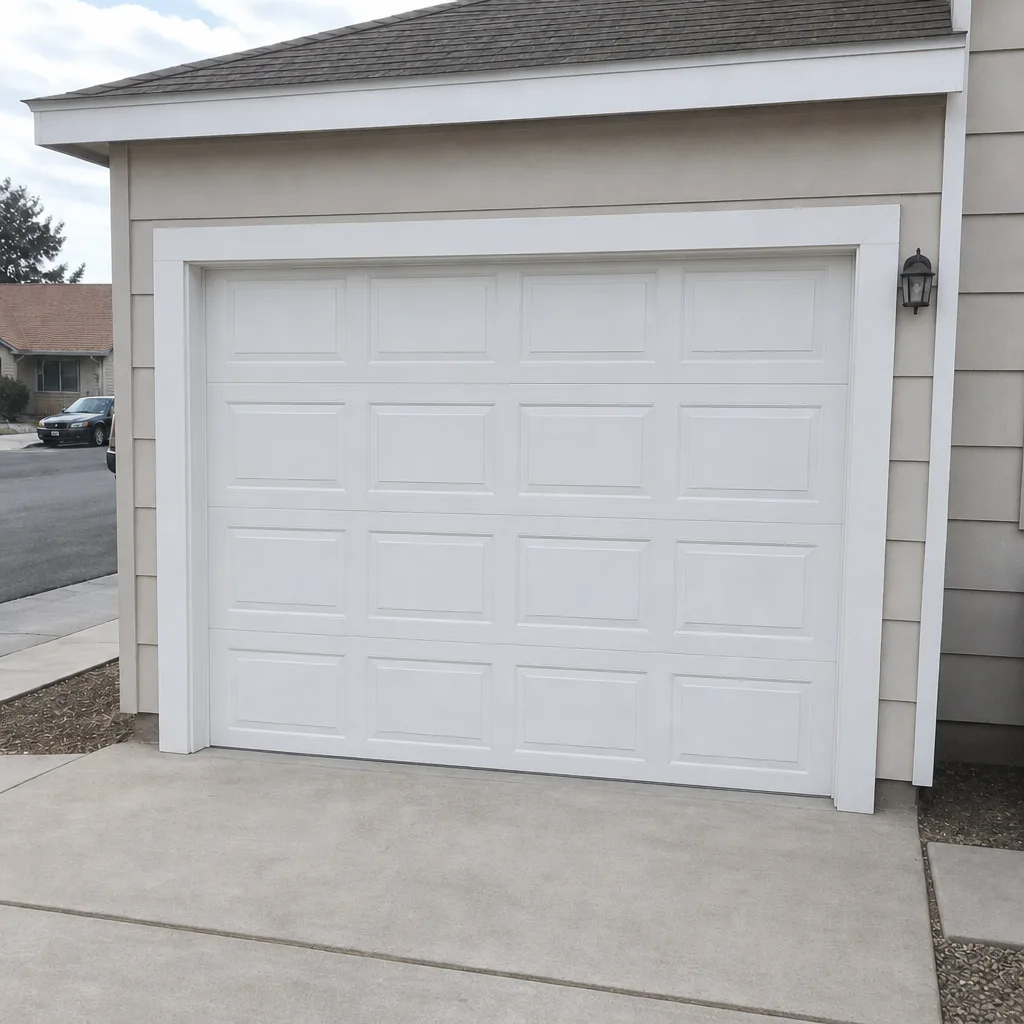 After
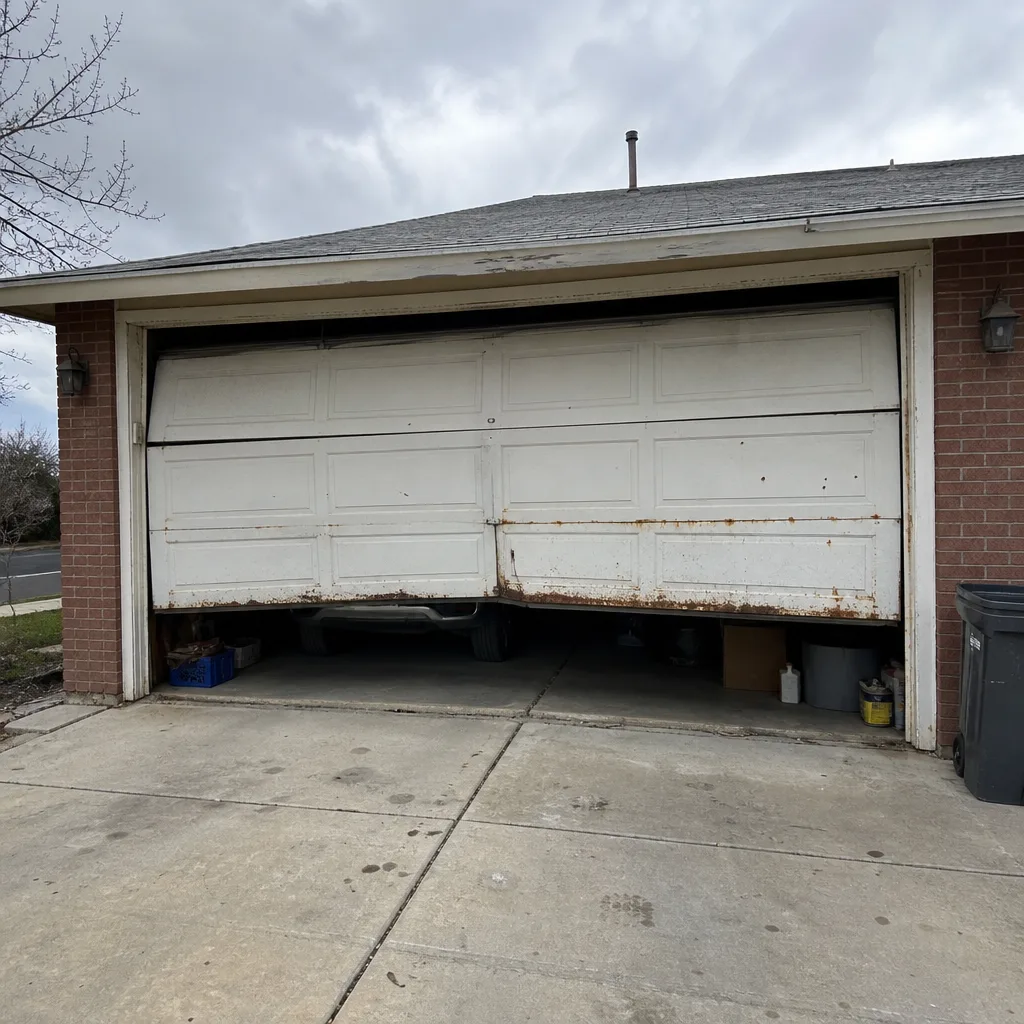 Before
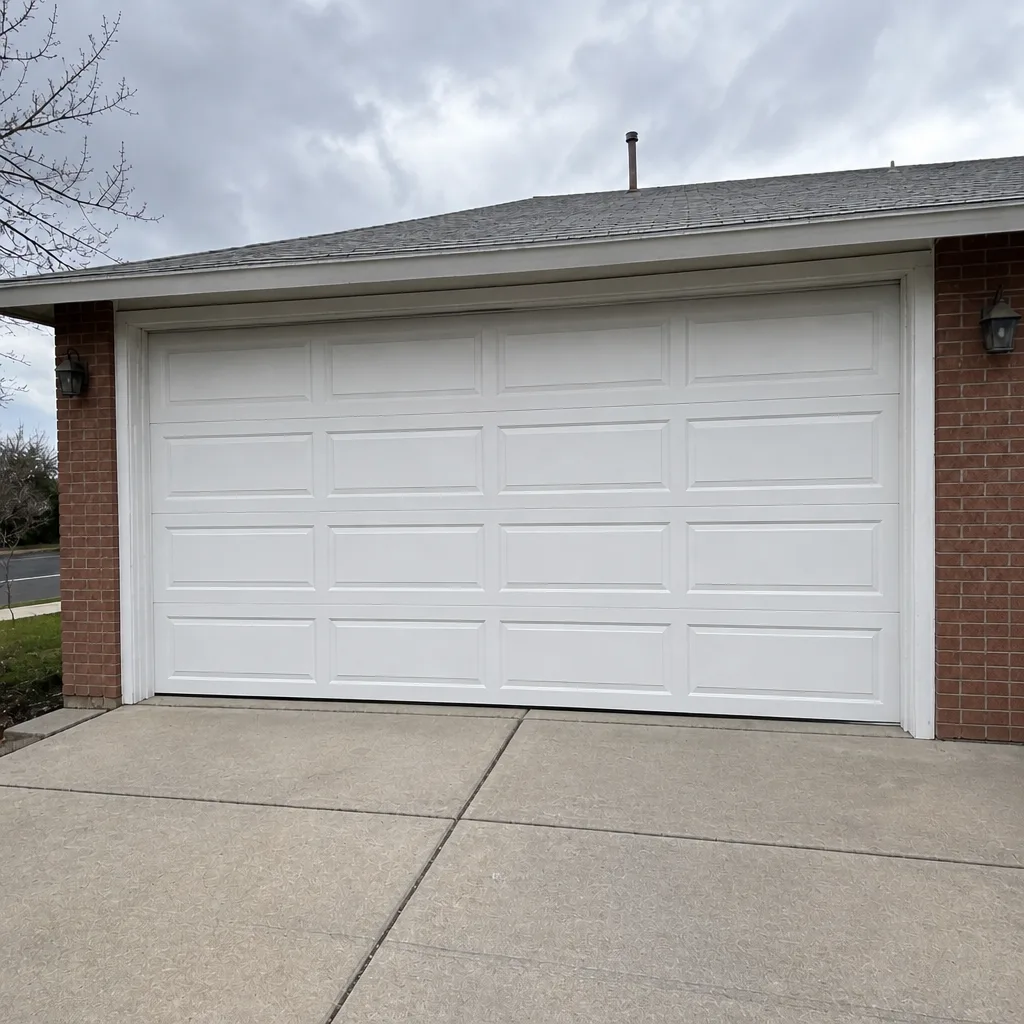 After
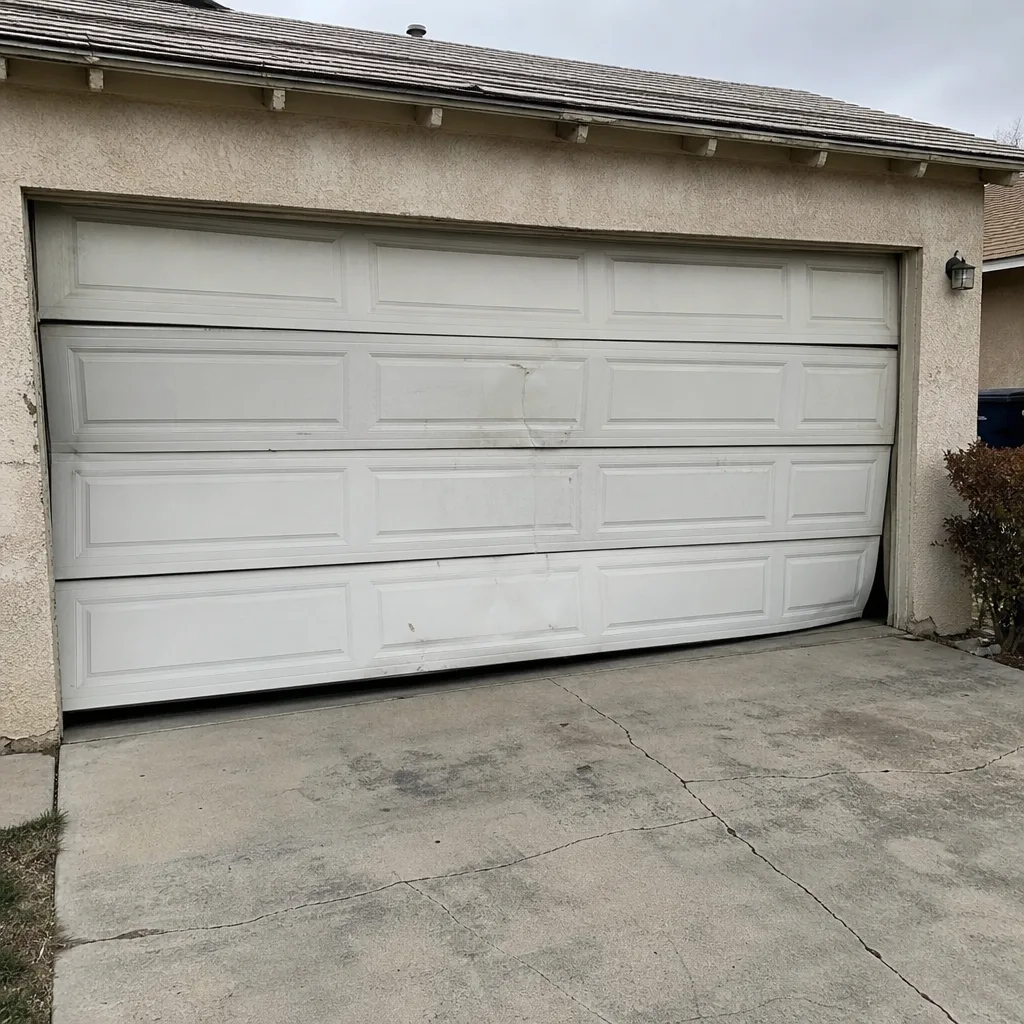 Before
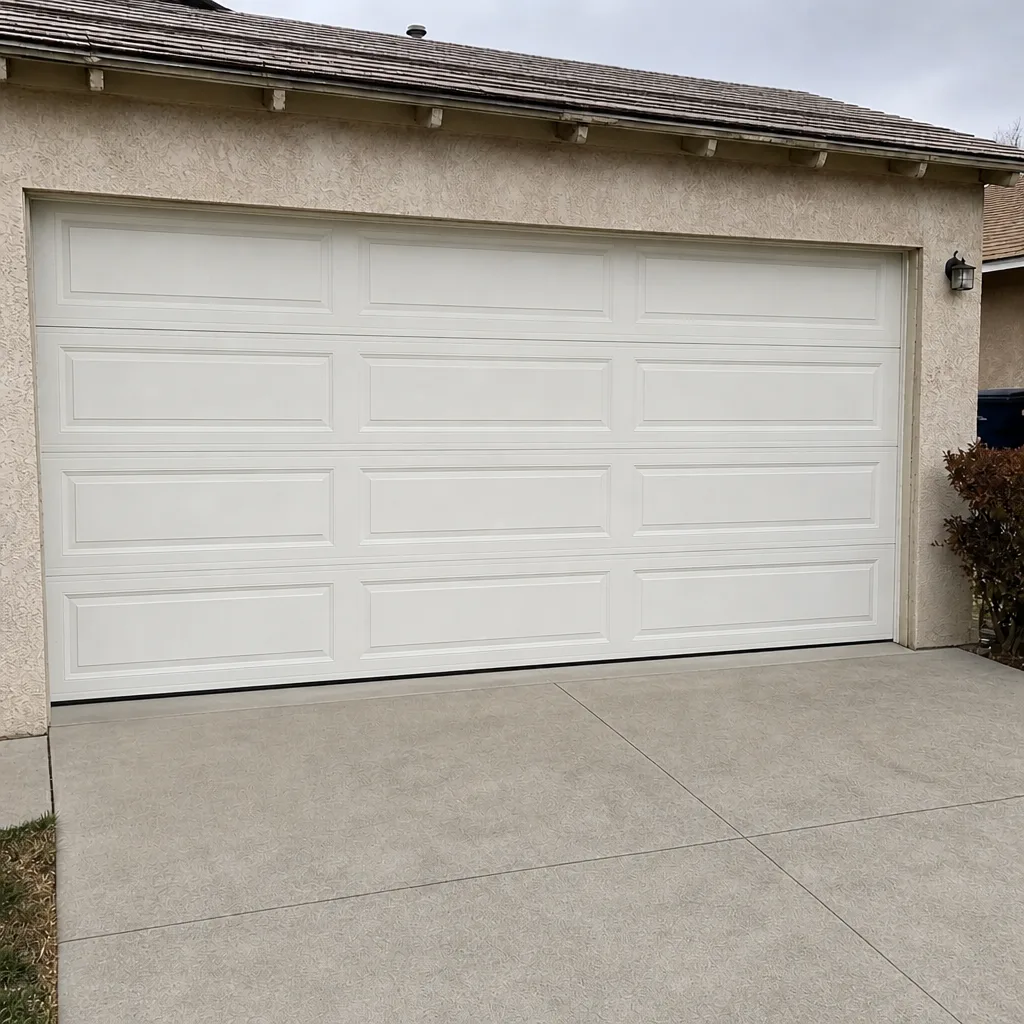 After
Frequently Asked Questions
Yes, if your door is balanced, your springs have been serviced in the last few years, the header bracket is sound, and you’re working with a standard 7-foot ceiling. If any of those is off, call a professional. A new opener on a tired spring is the most common cause of an injury we hear about, and the install itself is what triggers the failure. For a door that meets the conditions, a belt-drive Chamberlain or Genie unit is a solid weekend project.
Professional opener installation in the Whitney-area market typically runs $300 to $600 depending on the opener type, the door weight, and whether the spring system needs any adjustment. Belt-drive units sit at the higher end, chain at the lower. Jackshaft and direct-drive installs go a bit higher because they require a torsion-bar mount. Any price we quote is flat and stated before work begins – call (844) 797-9248 for an exact estimate, and it’s free.
Yes, or at least an inspection first. A spring that’s carrying a load but has lost tension runs the door heavier than the opener is calibrated for, which stresses the gear and the door’s hardware. In Whitney we see this a lot in homes built in the early 2000s where the original spring is still in place. An inspection costs less than a spring failure. Our $89 Seasonal Tune-Up is a straightforward way to check this before an opener install.
Force calibration and the safety reverse test. Lifting the opener onto the ceiling and bolting the rail together is manageable with a helper. The last 20 minutes – dialing in the force setting, running the 2×4 reverse test, verifying the photo-eyes trip the auto-reverse – is where a rushed job fails. A door that opens and closes isn’t the same as a door that opens and closes safely, and that gap is what a professional install closes.
Sometimes, yes. Chamberlain and Genie both honor most standard warranties on homeowner installs, but some premium units require a certified installer for full coverage. Read the warranty card in the box, or check the manufacturer’s site for your specific model before you buy. If you’re installing a high-end jackshaft or smart opener, professional installation is often worth the coverage alone.
Yes, and it’s a common call. Re-leveling a misaligned rail, resetting force and travel limits, and re-hanging photo-eyes properly is a short list of work. Replacing a bowed top panel from a missing stiffener is more serious. If your install is done and the door rattles, reverses unexpectedly, or slams, stop using it and call (844) 797-9248 – free estimates and we’ll tell you straight what’s involved.
The Bottom Line
DIY opener installation is safe when the door is balanced, the springs are healthy, and the hardware is sound. It’s not safe when the spring, cable, or header has any question mark on it, and the opener install is exactly what pushes a tired spring past its limit. If you’re on the fence, an inspection costs little and answers fast. If you’re ready to hand off the install, our Garage Door Installation in Whitney service handles the full job in a single visit, with the 90-day guarantee in writing. And if you need a repair rather than an install, our Garage Door Repair in Whitney team is the same crew that answers the phone at 2 a.m. You can start at our Mainspring Garage Door Co. Whitney home page for everything else.
Contact
If this guide raised more questions than it answered, that’s usually the signal that a free estimate will settle it in 20 minutes. Call Mainspring Garage Door Co. Whitney at (844) 797-9248 for a free estimate, a free second opinion on any written estimate, and a live person on the other end, day or night. We’ll tell you straight whether your Whitney door is a DIY job or a call-us job, and quote a flat price before any work begins.
Written by the team at Mainspring Garage Door Co. Whitney.